Chapter 7 Resource Management
In the resource management module, users without the resource management permission cannot see anything in this module. Users with resource management permission can see the project, data table, answer and dashboard created by themselves and all the information of project, data table, answer and dashboard created by other users.
7.1 Resource Classification
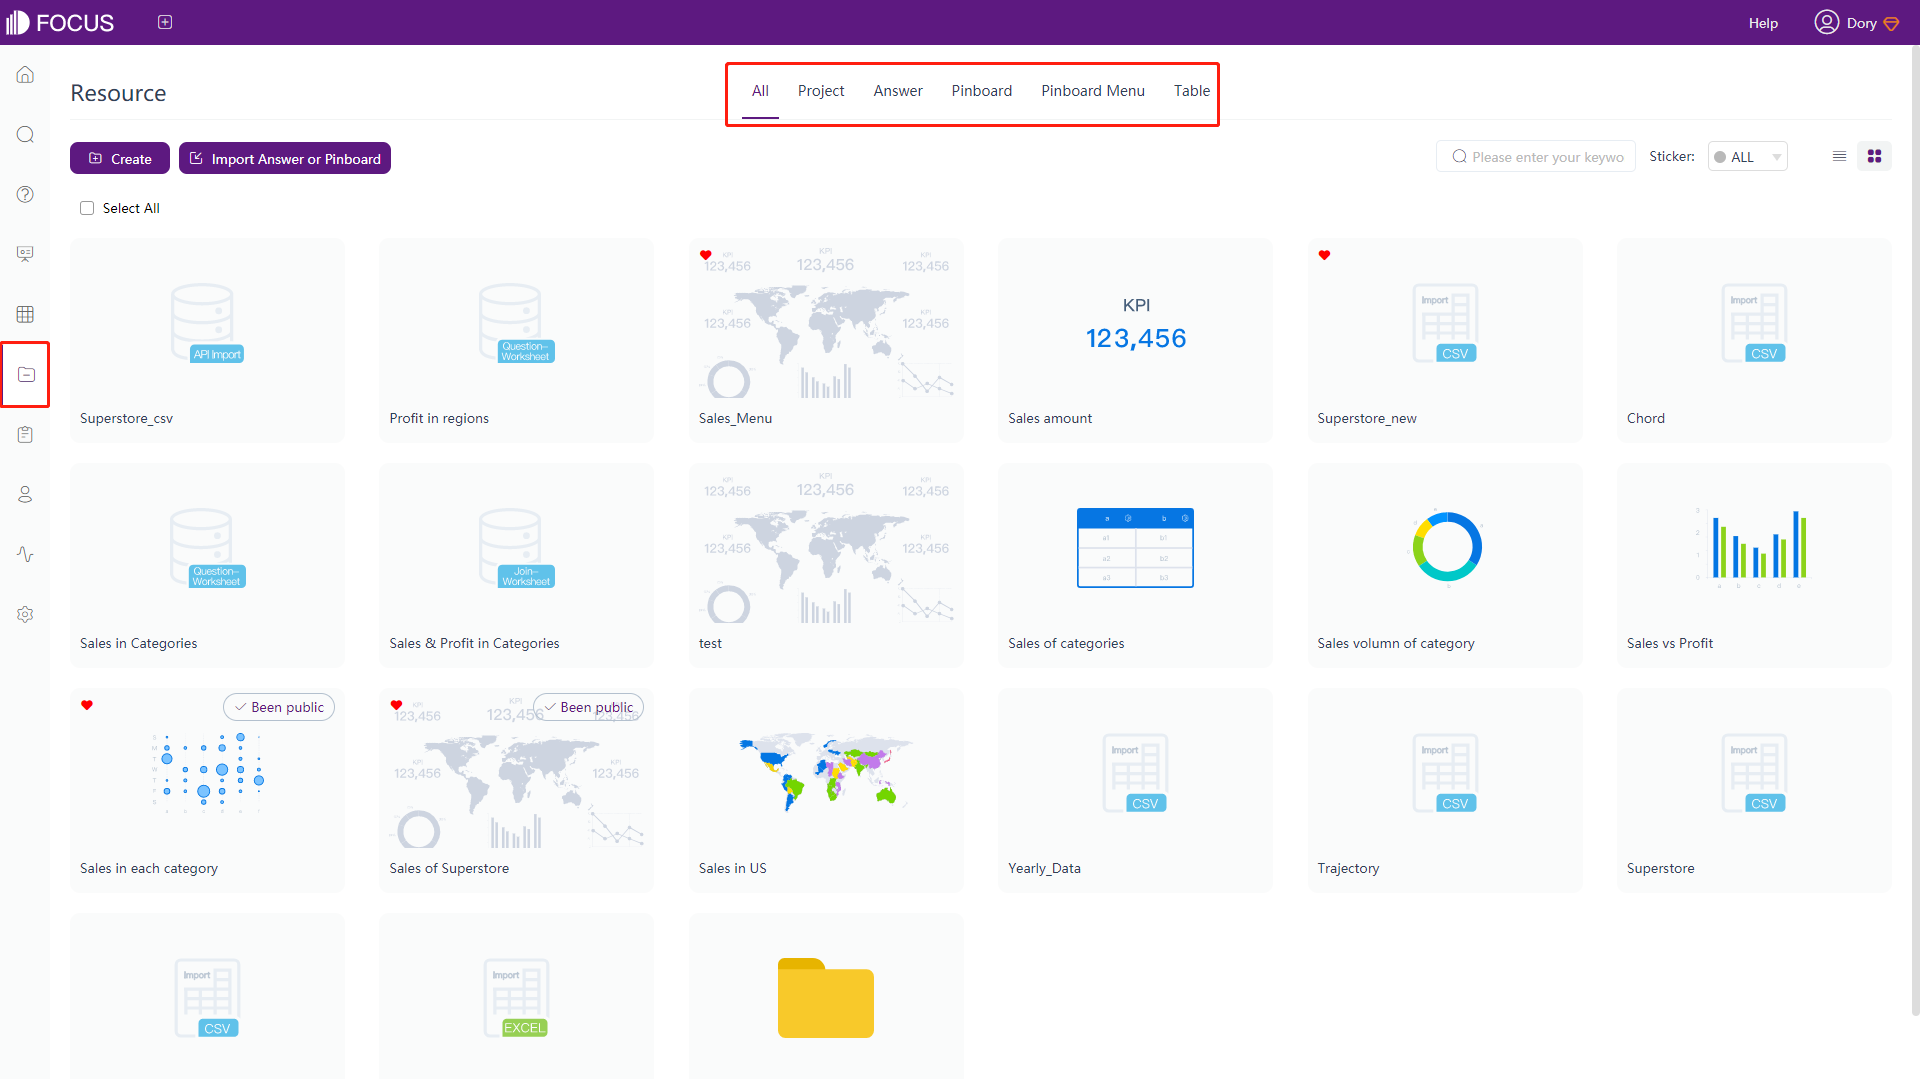
The resource management function modules can be mainly divided into project, answer, dashboard, dashboard menu, and data table.
The “All” page displays all the existing resources in the system, including project, answer, dashboard, dashboard menu and data table, as shown in figure 7-1-1;
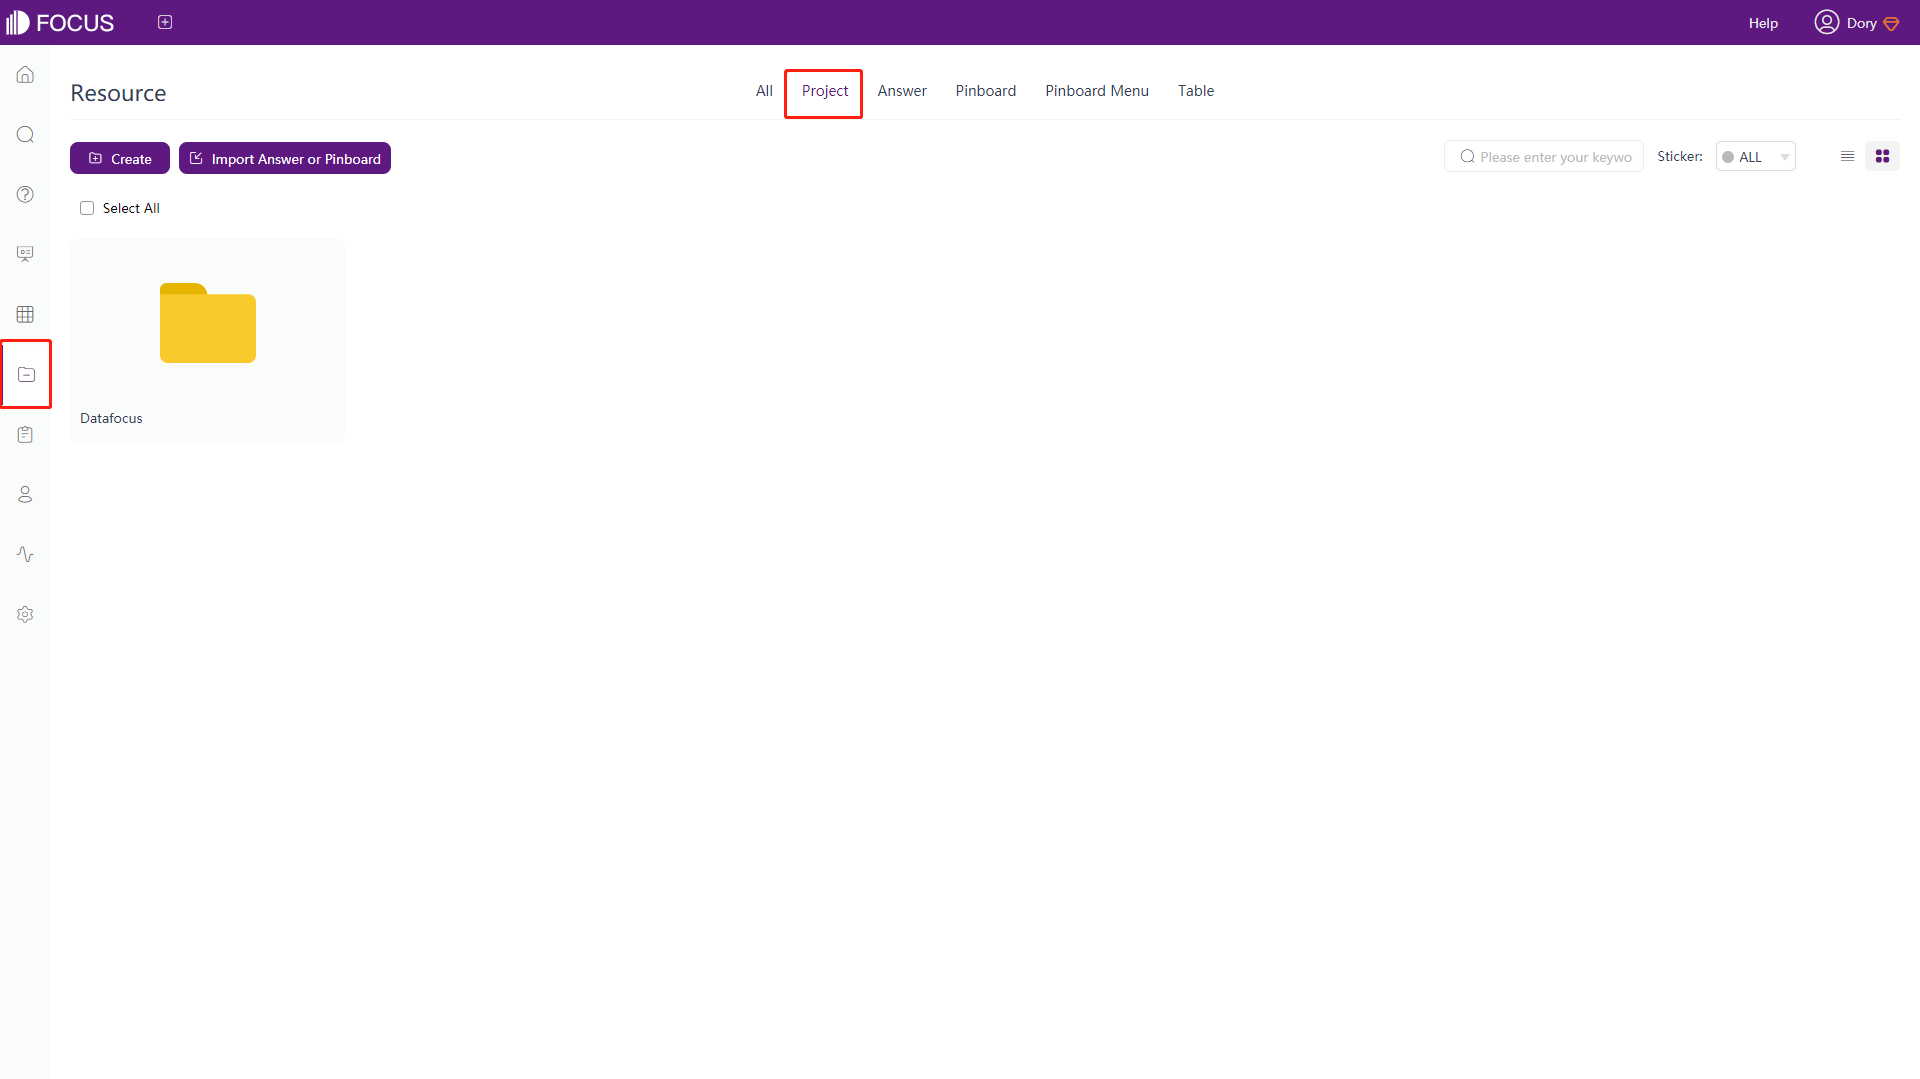
“Project” is similar to the folder on the desktop, which can categorize dashboard, answer, and data tables, so that users can quickly find all resources related to the project, as shown in figure 7-1-2;
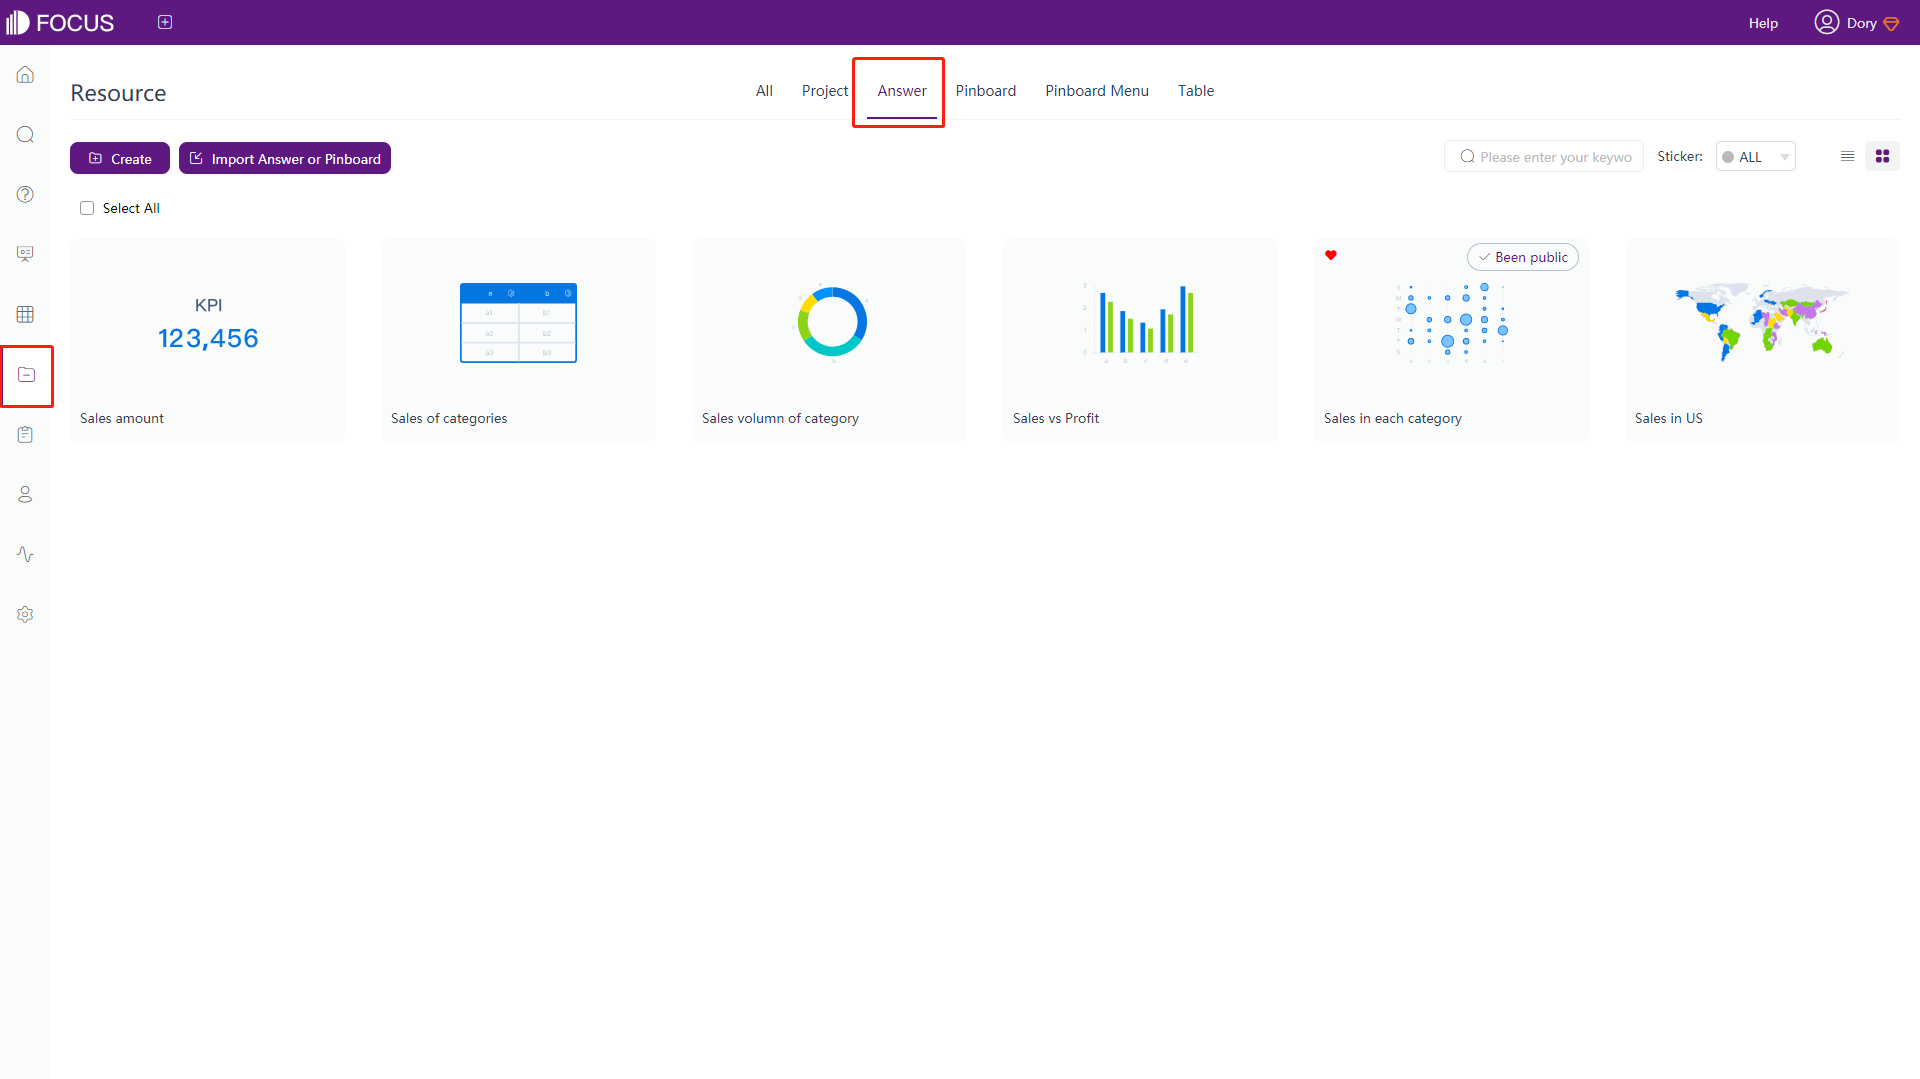
The answer page displays all the answers that are not placed in the “Project”, as shown in figure 7-1-3.
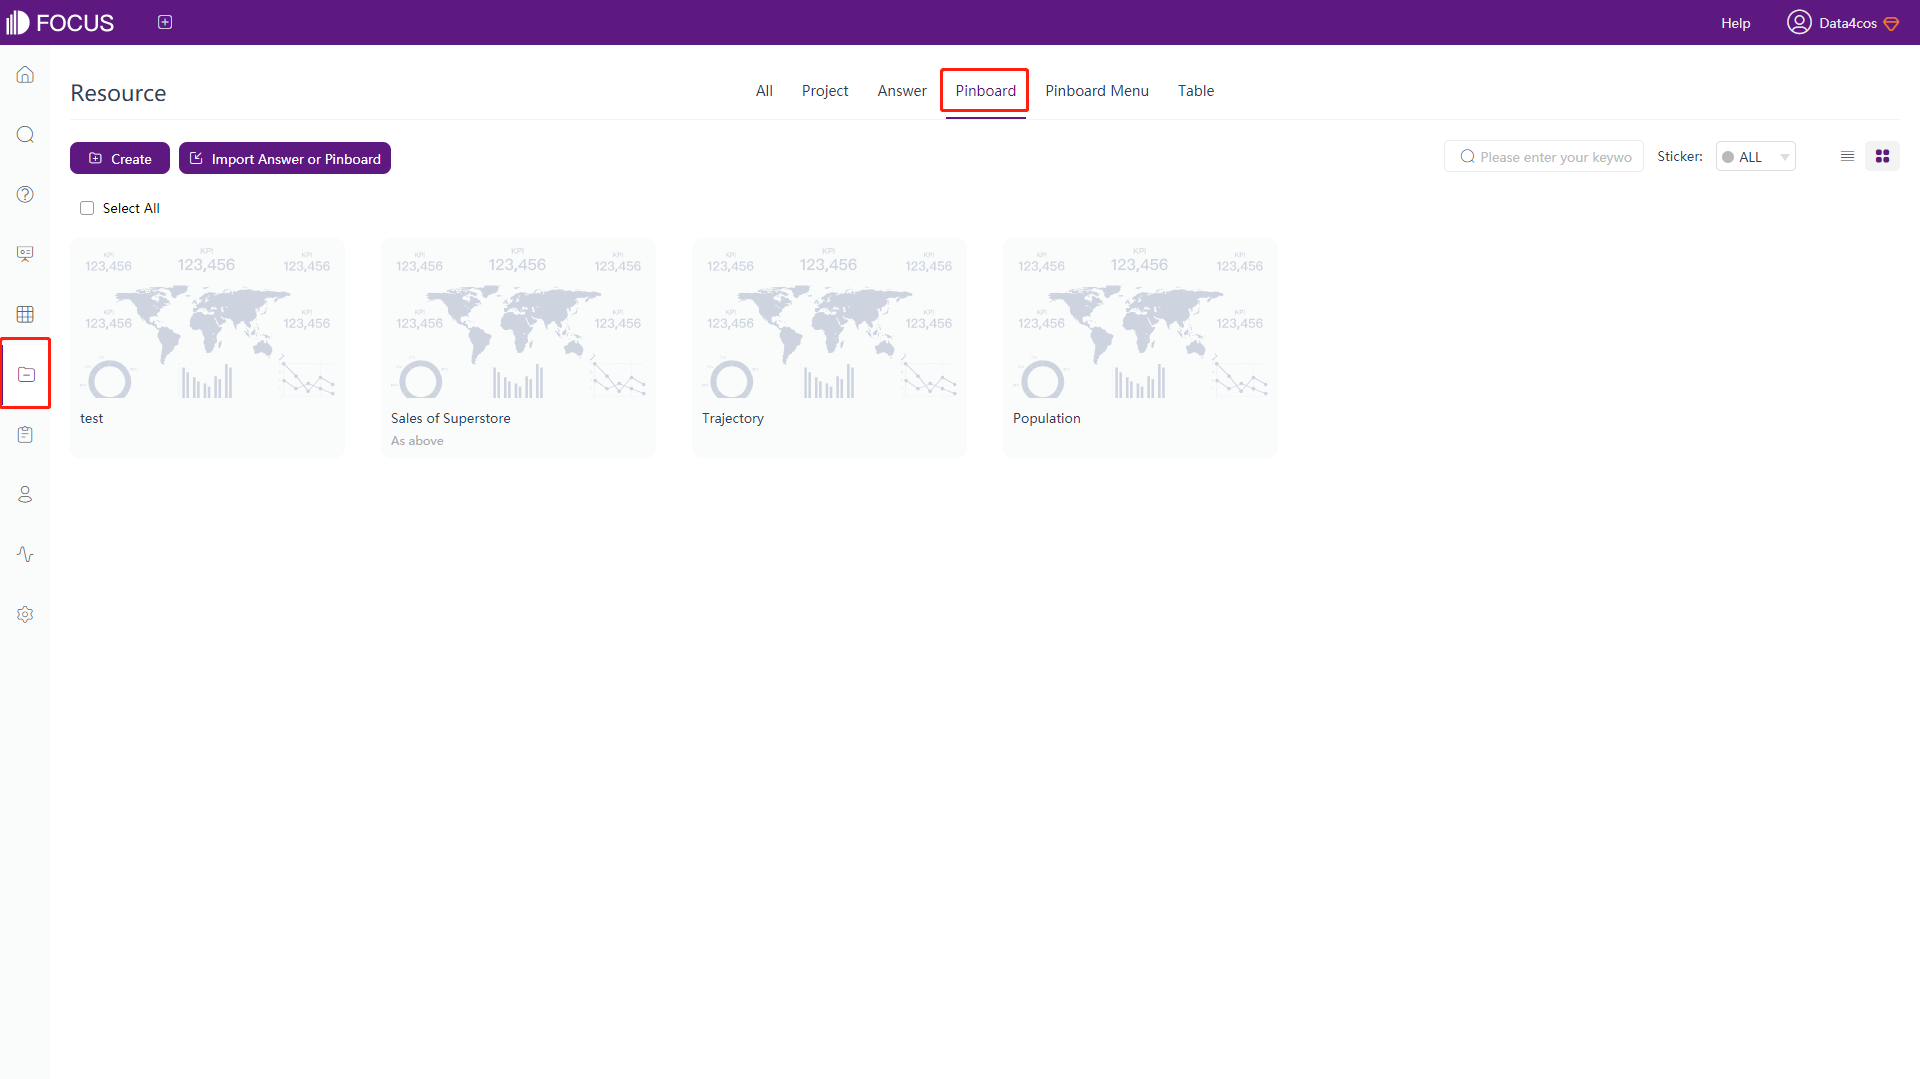
The dashboard page displays all the dashboards that are not placed in the “Project”, as shown in figure 7-1-4.
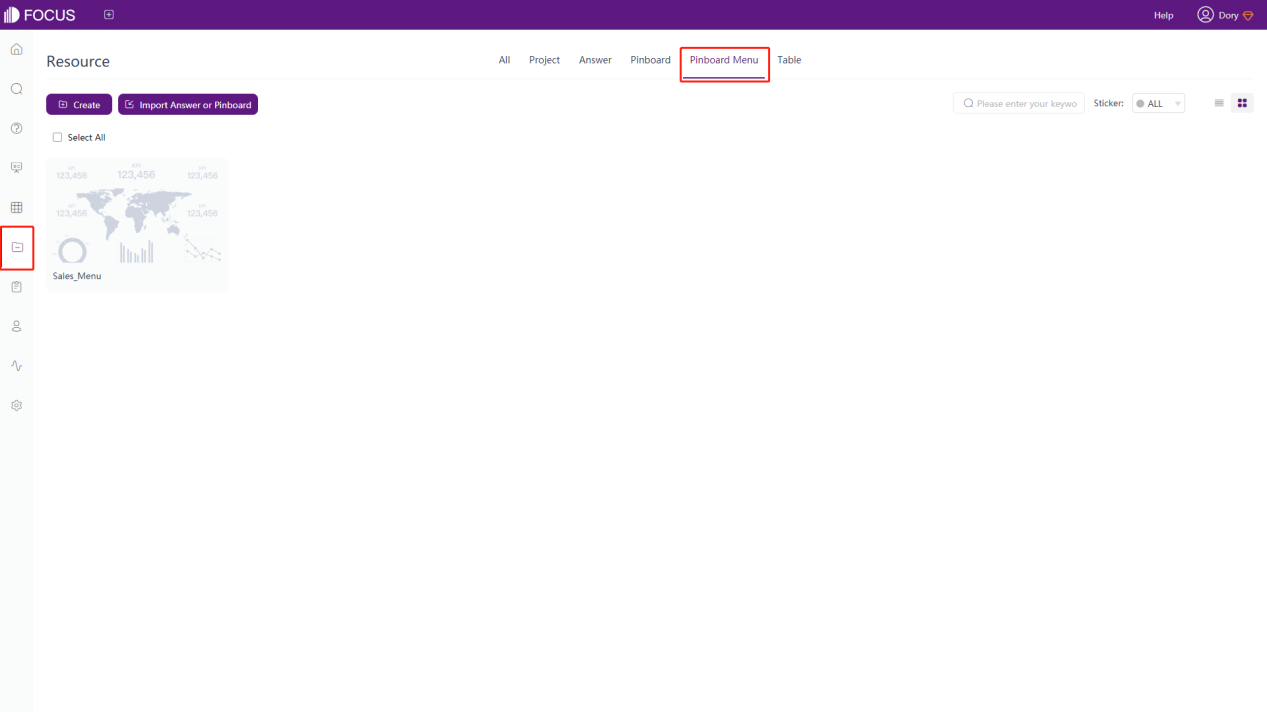
The dashboard menu page displays all the dashboard menus that are not placed in the “Project”, as shown in figure 7-1-5.
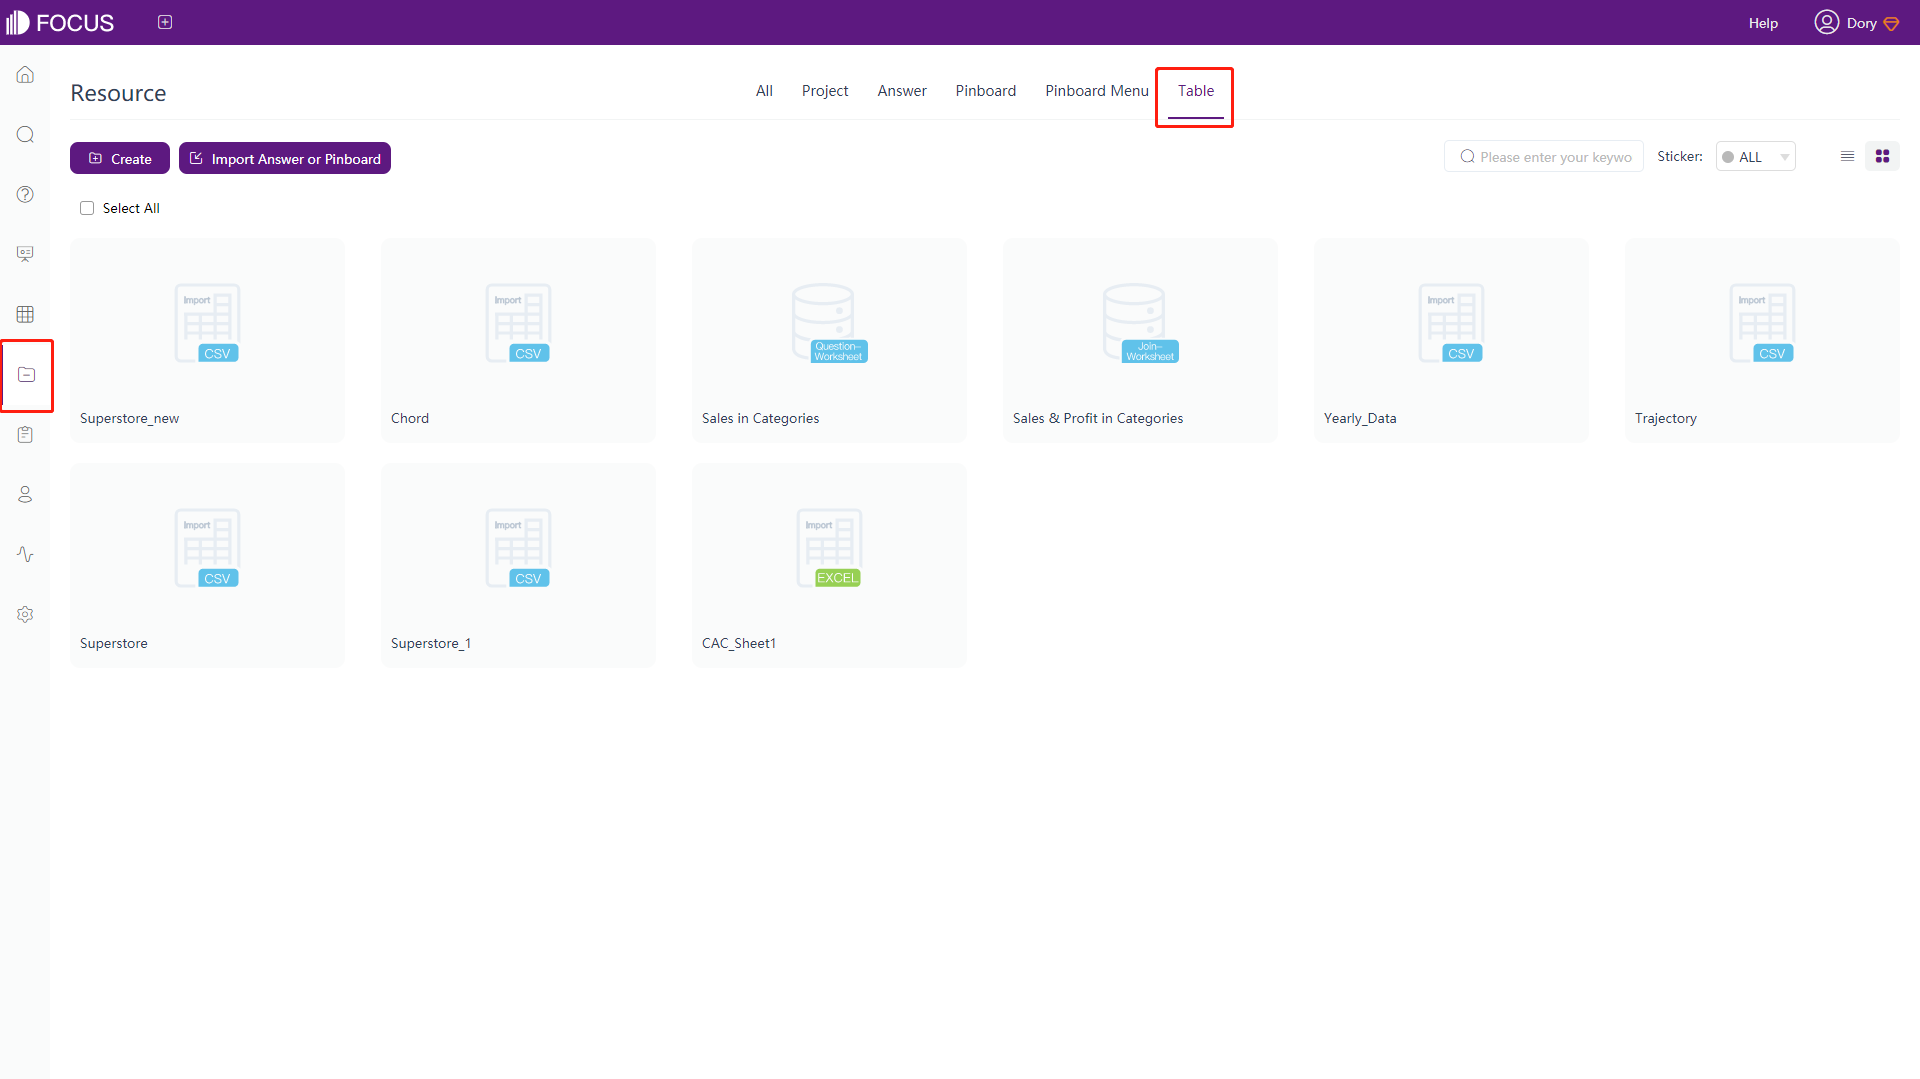
The data table page displays all the data tables that are not placed in the “Project”, as shown in figure 7-1-6.
7.2 View Data
For details, please refer to Section 6.2, which will not be repeated here.
7.3 Data Content
For details, please refer to Section 6.3, which will not be repeated here.
7.4 Create Intermediate Table
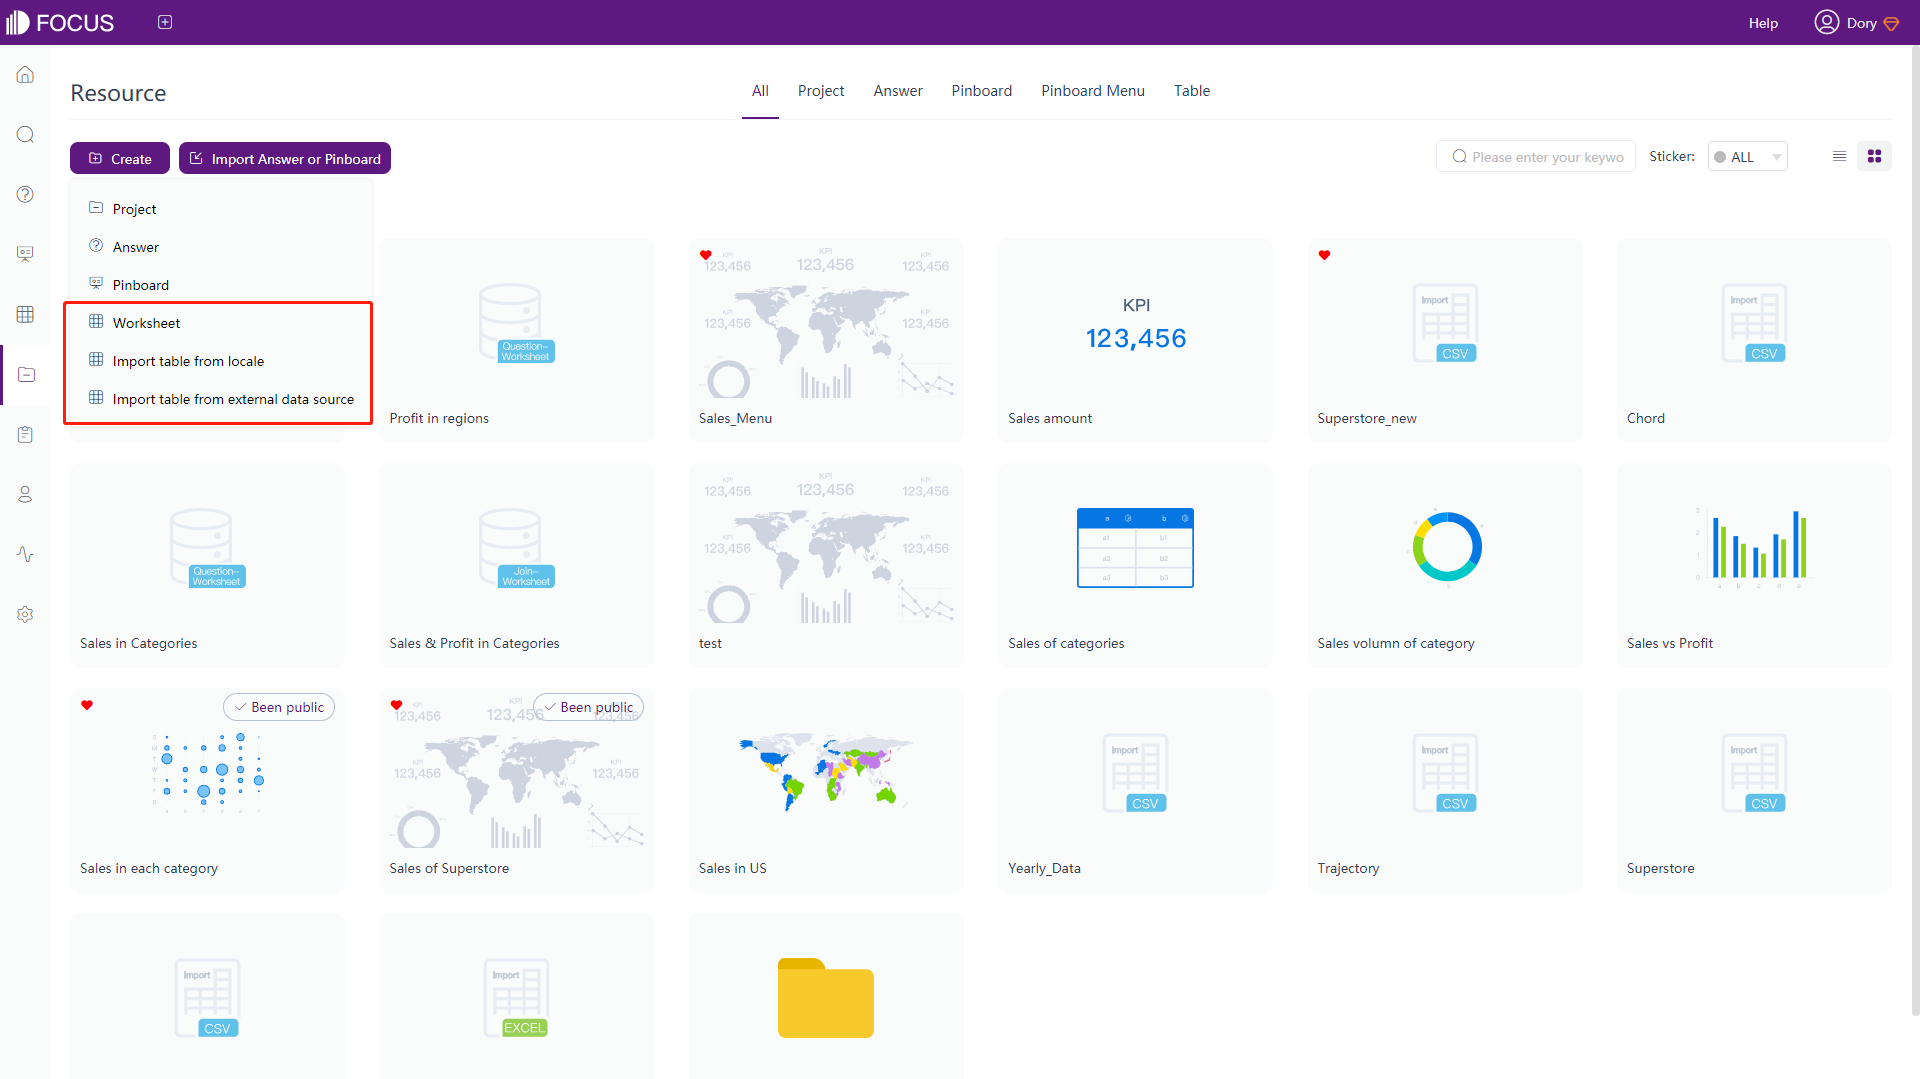
Only users with the resource administrator role can see the “Intermediate Table” after clicking “Create” on the resource management module.
There are two types of intermediate tables:
-
Intermediate answer table: through the search analysis page, click the “Actions” button, and select “Save as Worksheet”, as shown in figure 7-4-1;

Figure 7-4-1 Create intermediate answer table -
Intermediate join table: Create an intermediate table on the resource management module, click the “Create” button on the upper left corner of the page, and select “Worksheet” as shown in figure 7-4-2;
For details, please refer to Section 6.1.1, which will not be repeated here.
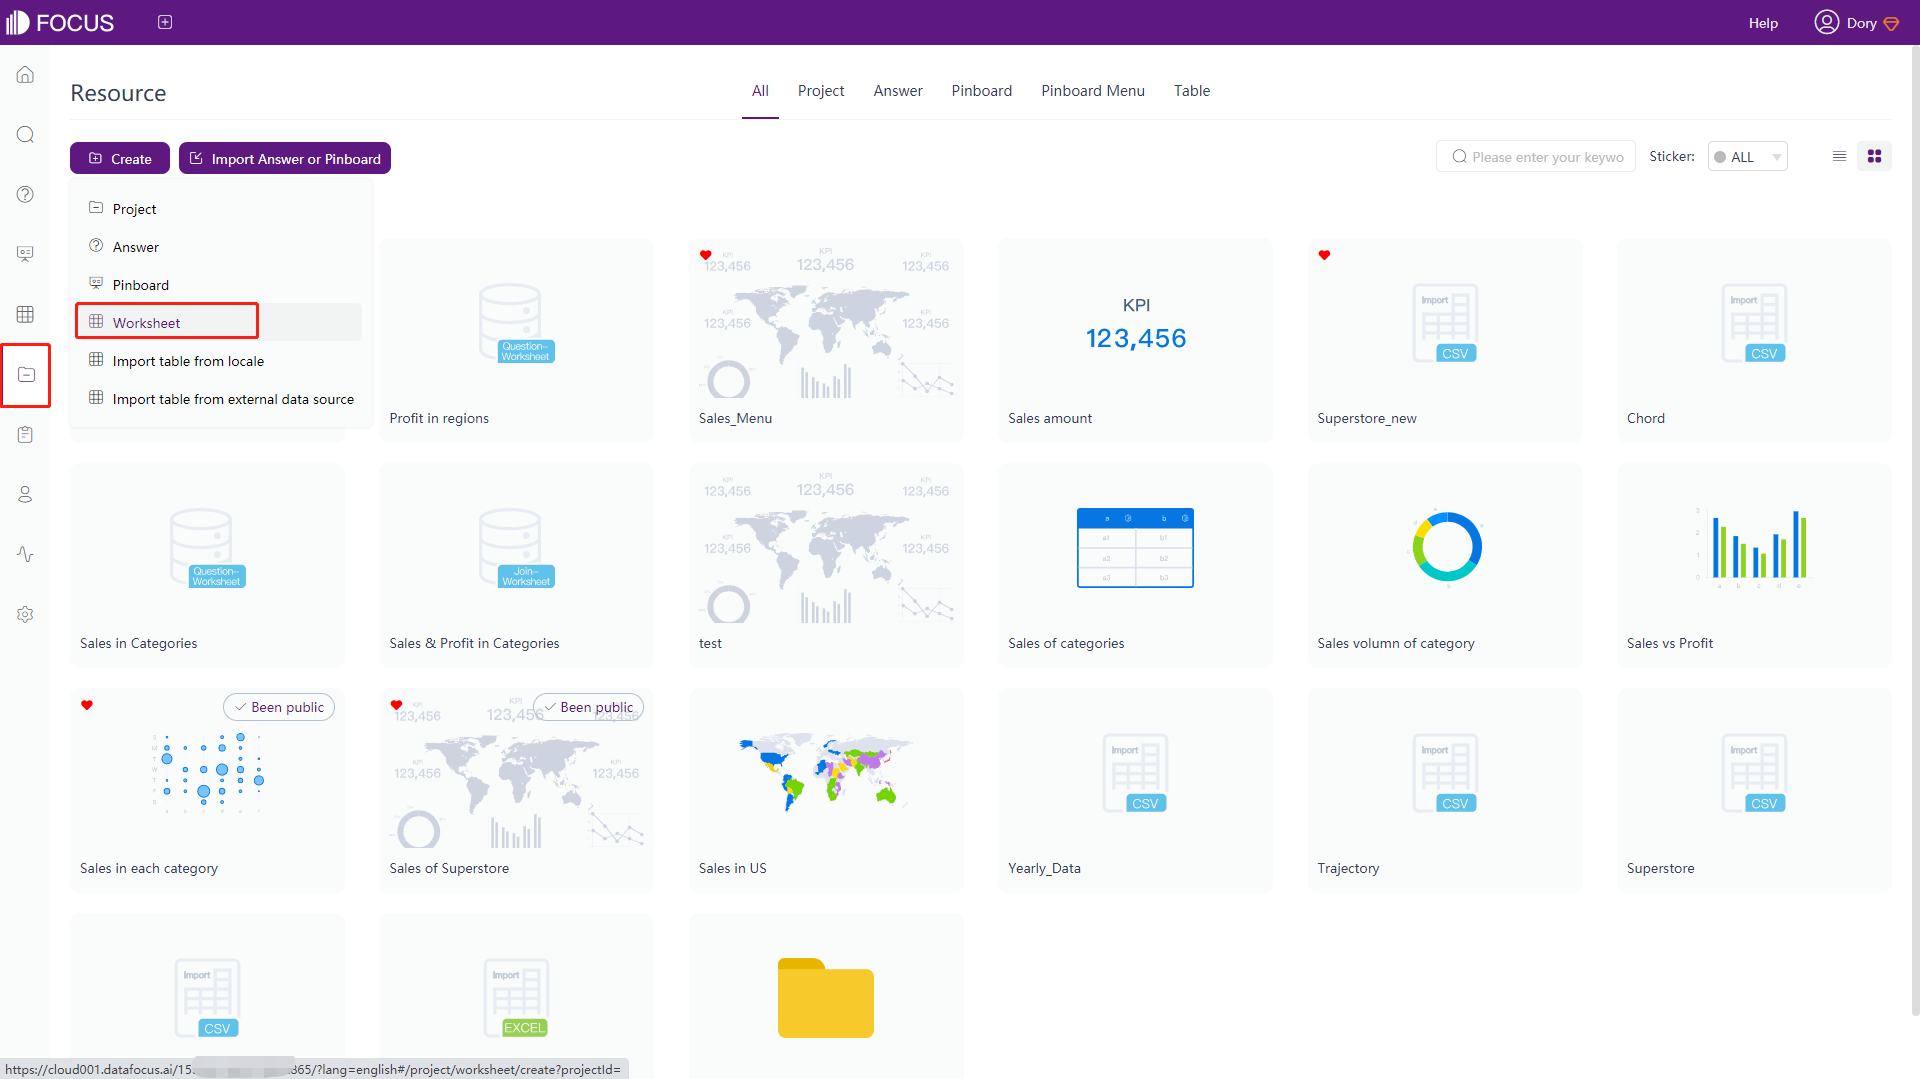
Figure 7-4-2 Create intermediate join table
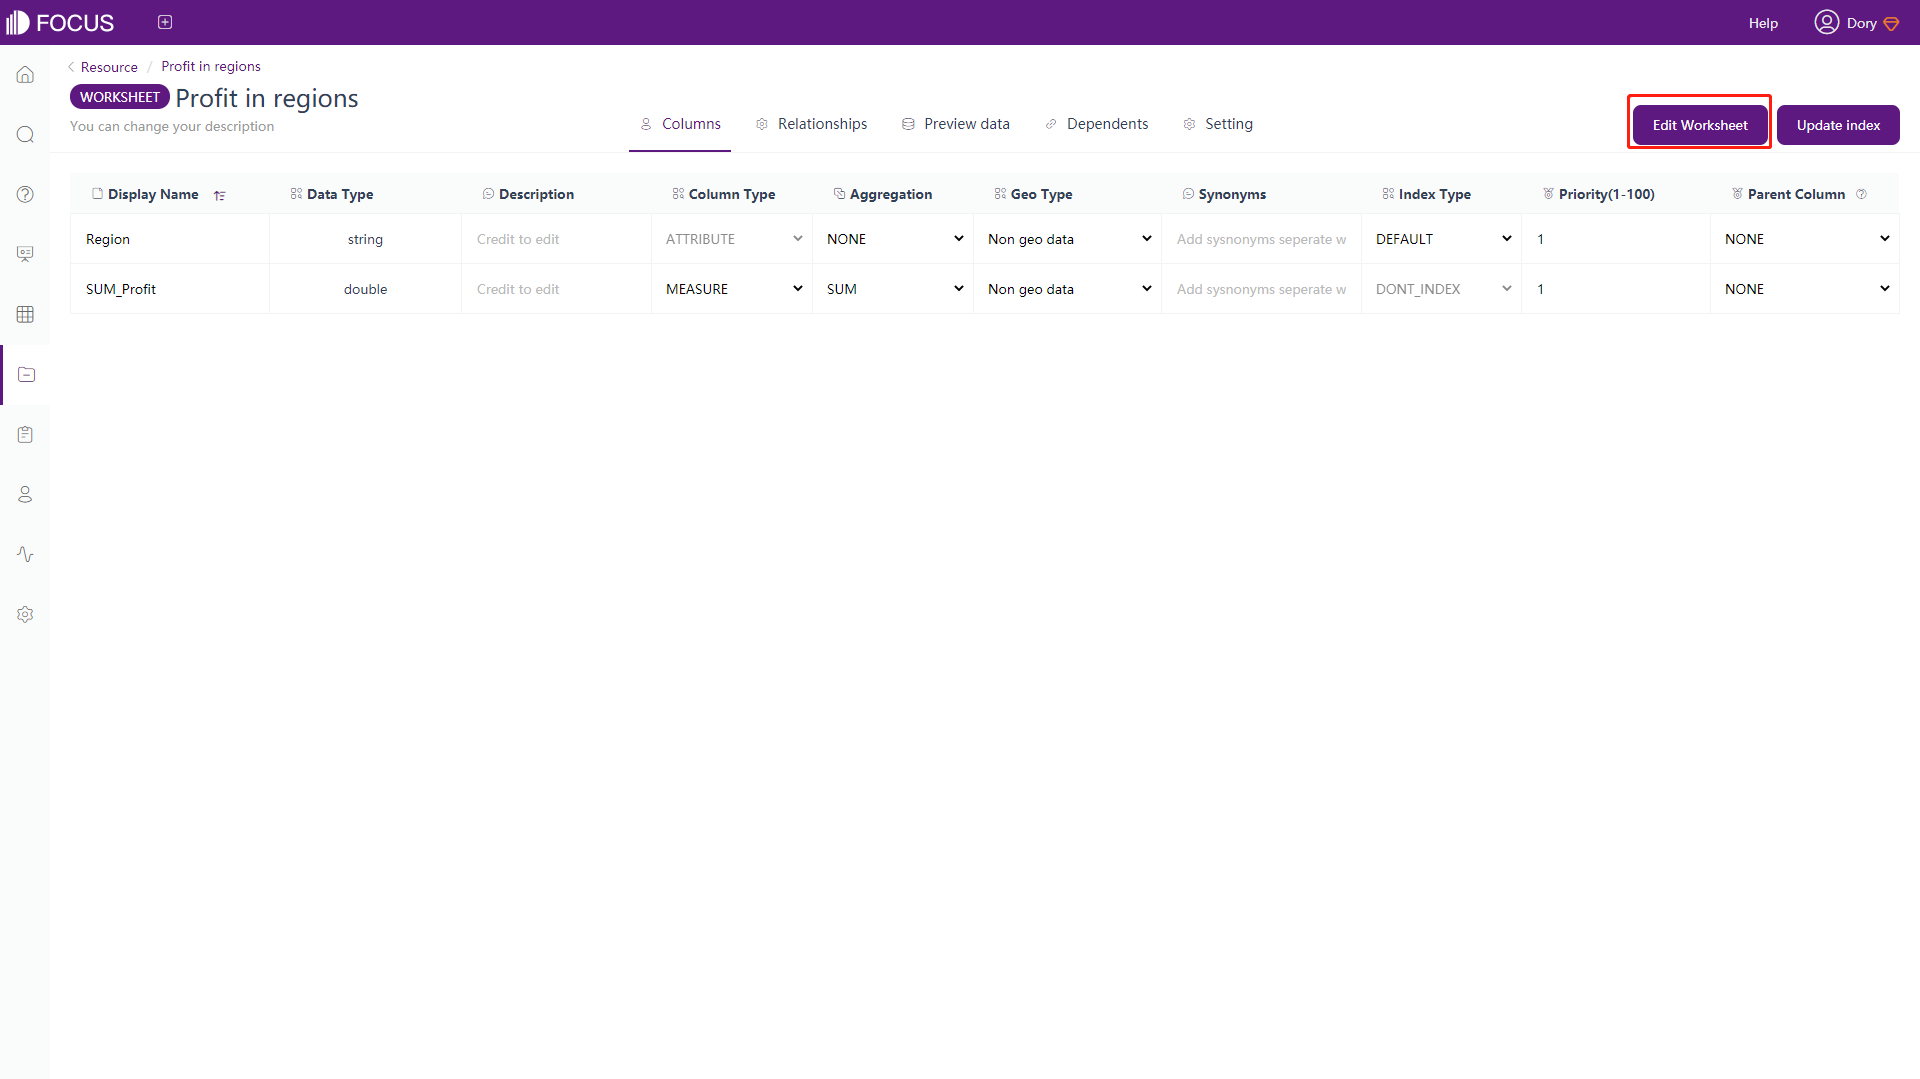
7.5 Edit Intermediate Table
As shown in figure 7-5-1, on the data table management module, hover over the intermediate table you want to edit. Click “Detail” to enter the data content interface, as shown in figure 7-5-2, modify the intermediate table on this page, see Section 6.3 for details. Click “Edit Intermediate Table” to enter the search analysis page.

7.5.1 Edit Intermediate Answer Table
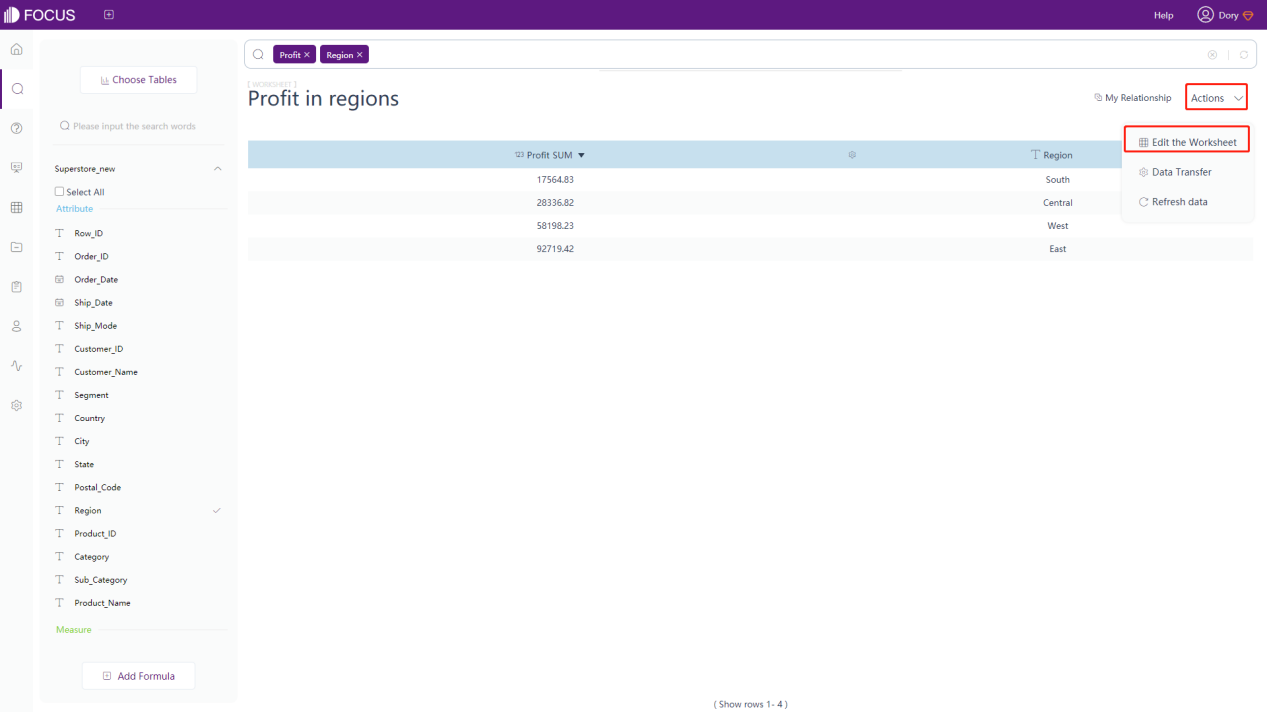
On the detail page of intermediate answer table, click “Edit Worksheet”. As shown in figure 7-5-3, it will return to the search analysis page where the intermediate answer table was created. The editing of the intermediate table will be performed on this page and is consistent with the search operation but limited. You can only add or remove columns or filters but cannot modify the chart configuration. Then click “Edit Worksheet” under “Actions”, the intermediate table will be recreated.
7.5.2 Edit Intermediate Join Table
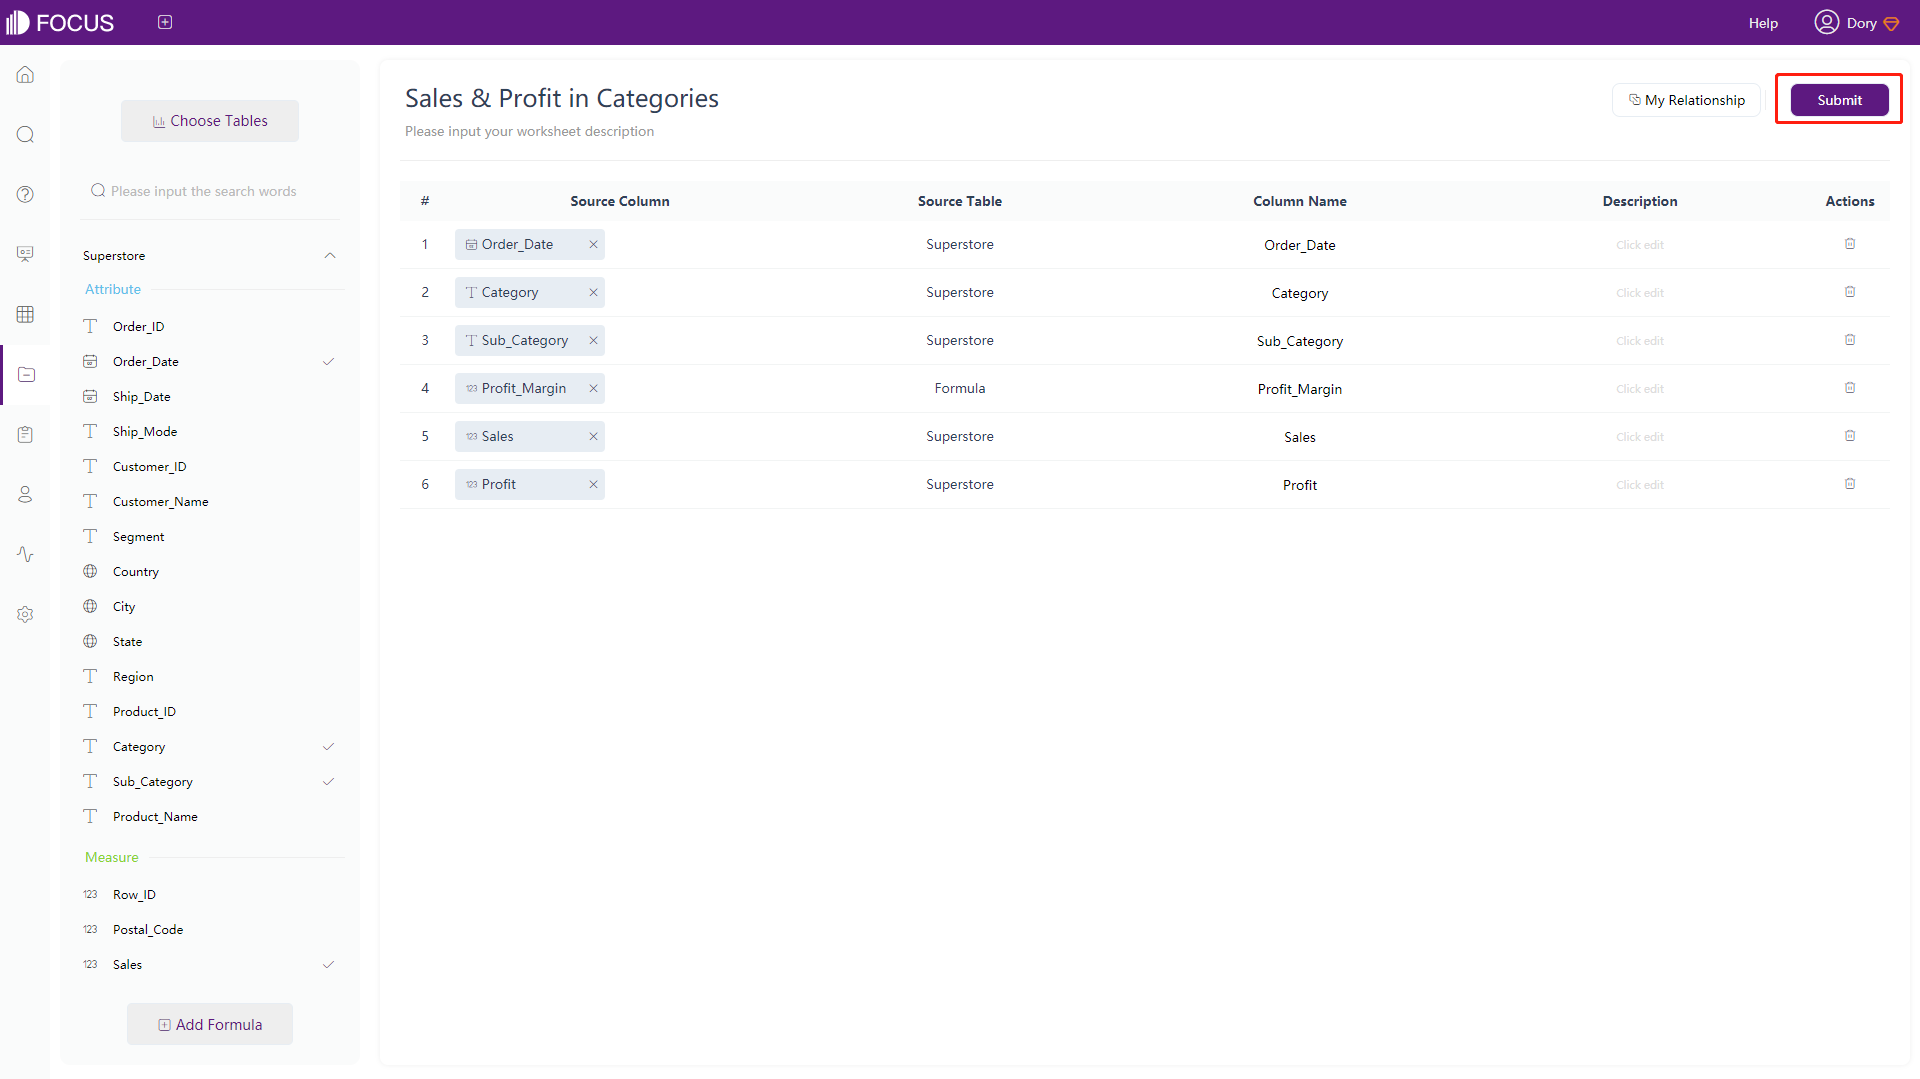
On the detail page of the intermediate join table, click “Edit Worksheet”. As shown in figure 7-5-4, it will return to the creation page of the intermediate join table. The editing is the same as the creation. Click “Submit” and the intermediate table will be recreated.
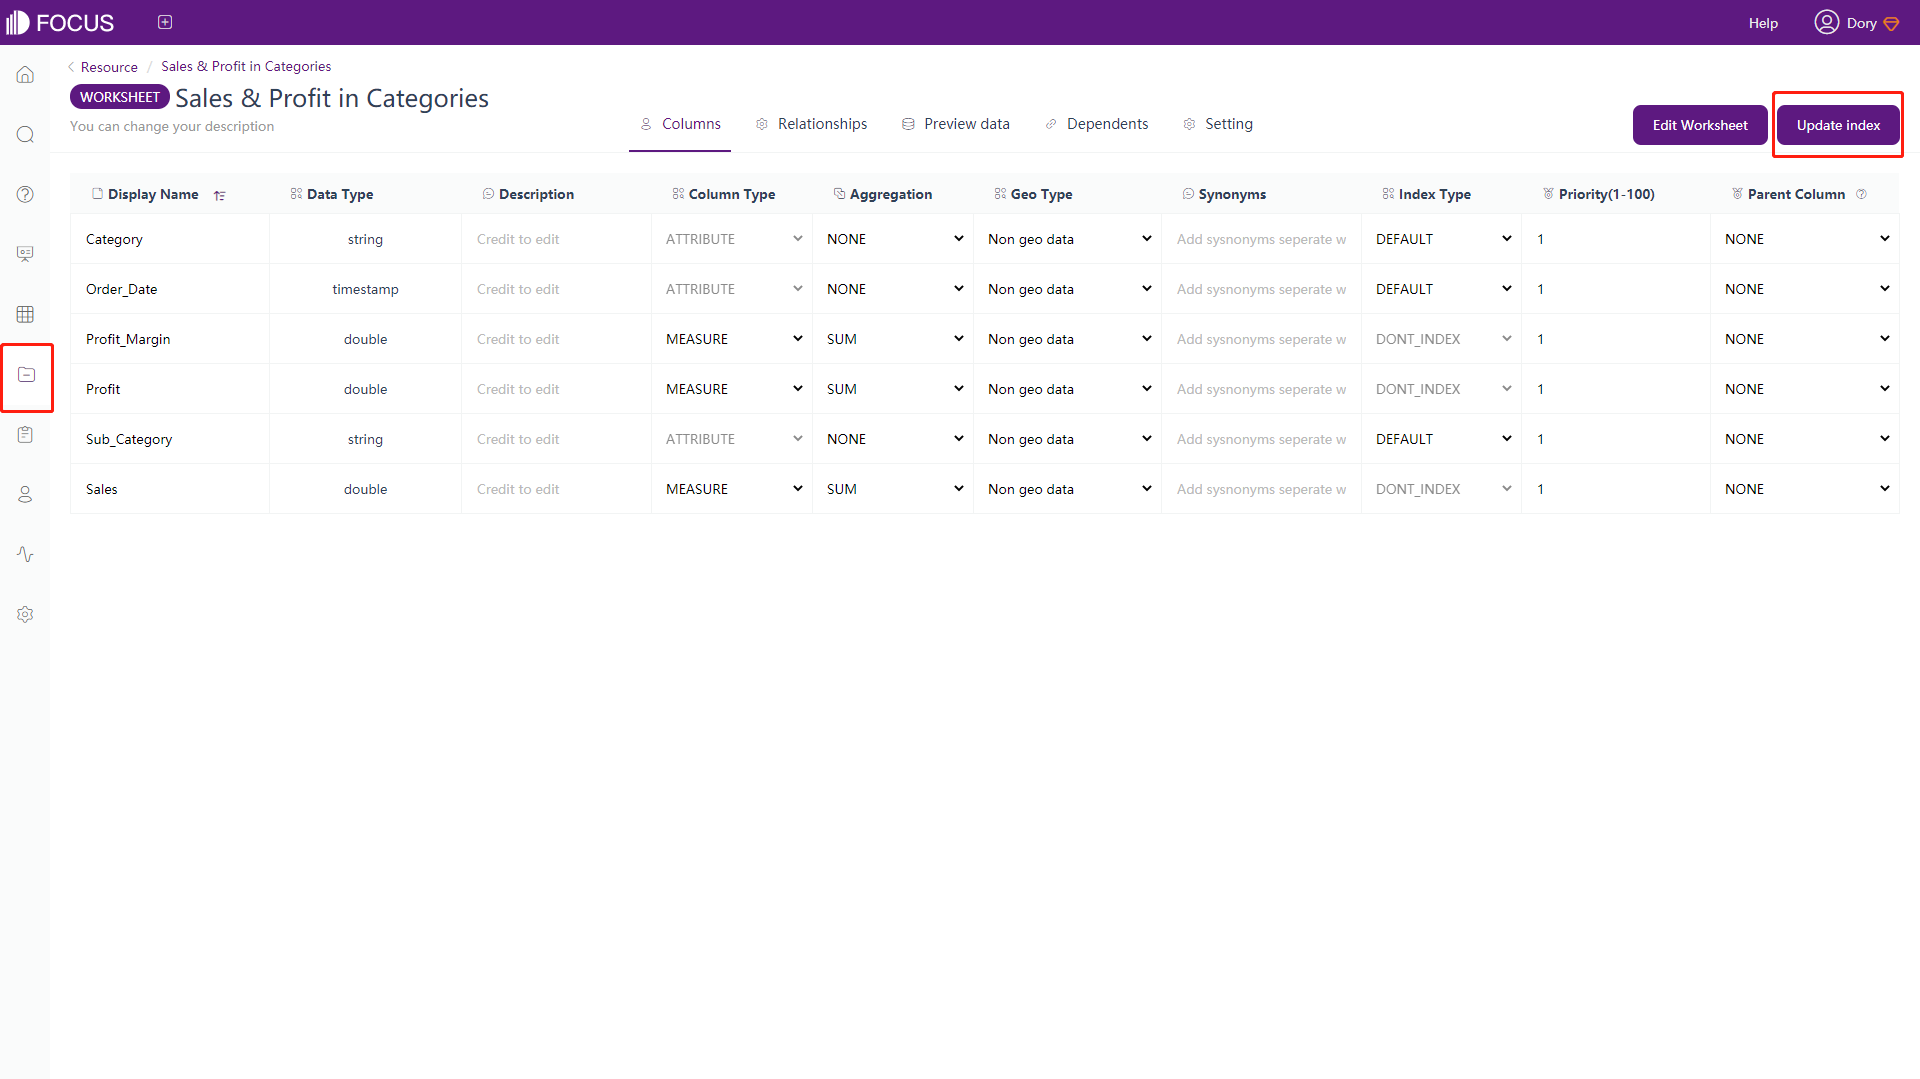
7.6 Update Intermediate Table
On the detail page of intermediate table, click “Update index” to immediately update the index of columns in the table. You can directly input the index to filter when searching, as shown in figure 7-6-1.
7.7 Import Resource
It is the same as importing data table. For details, please refer to Section 6.1.
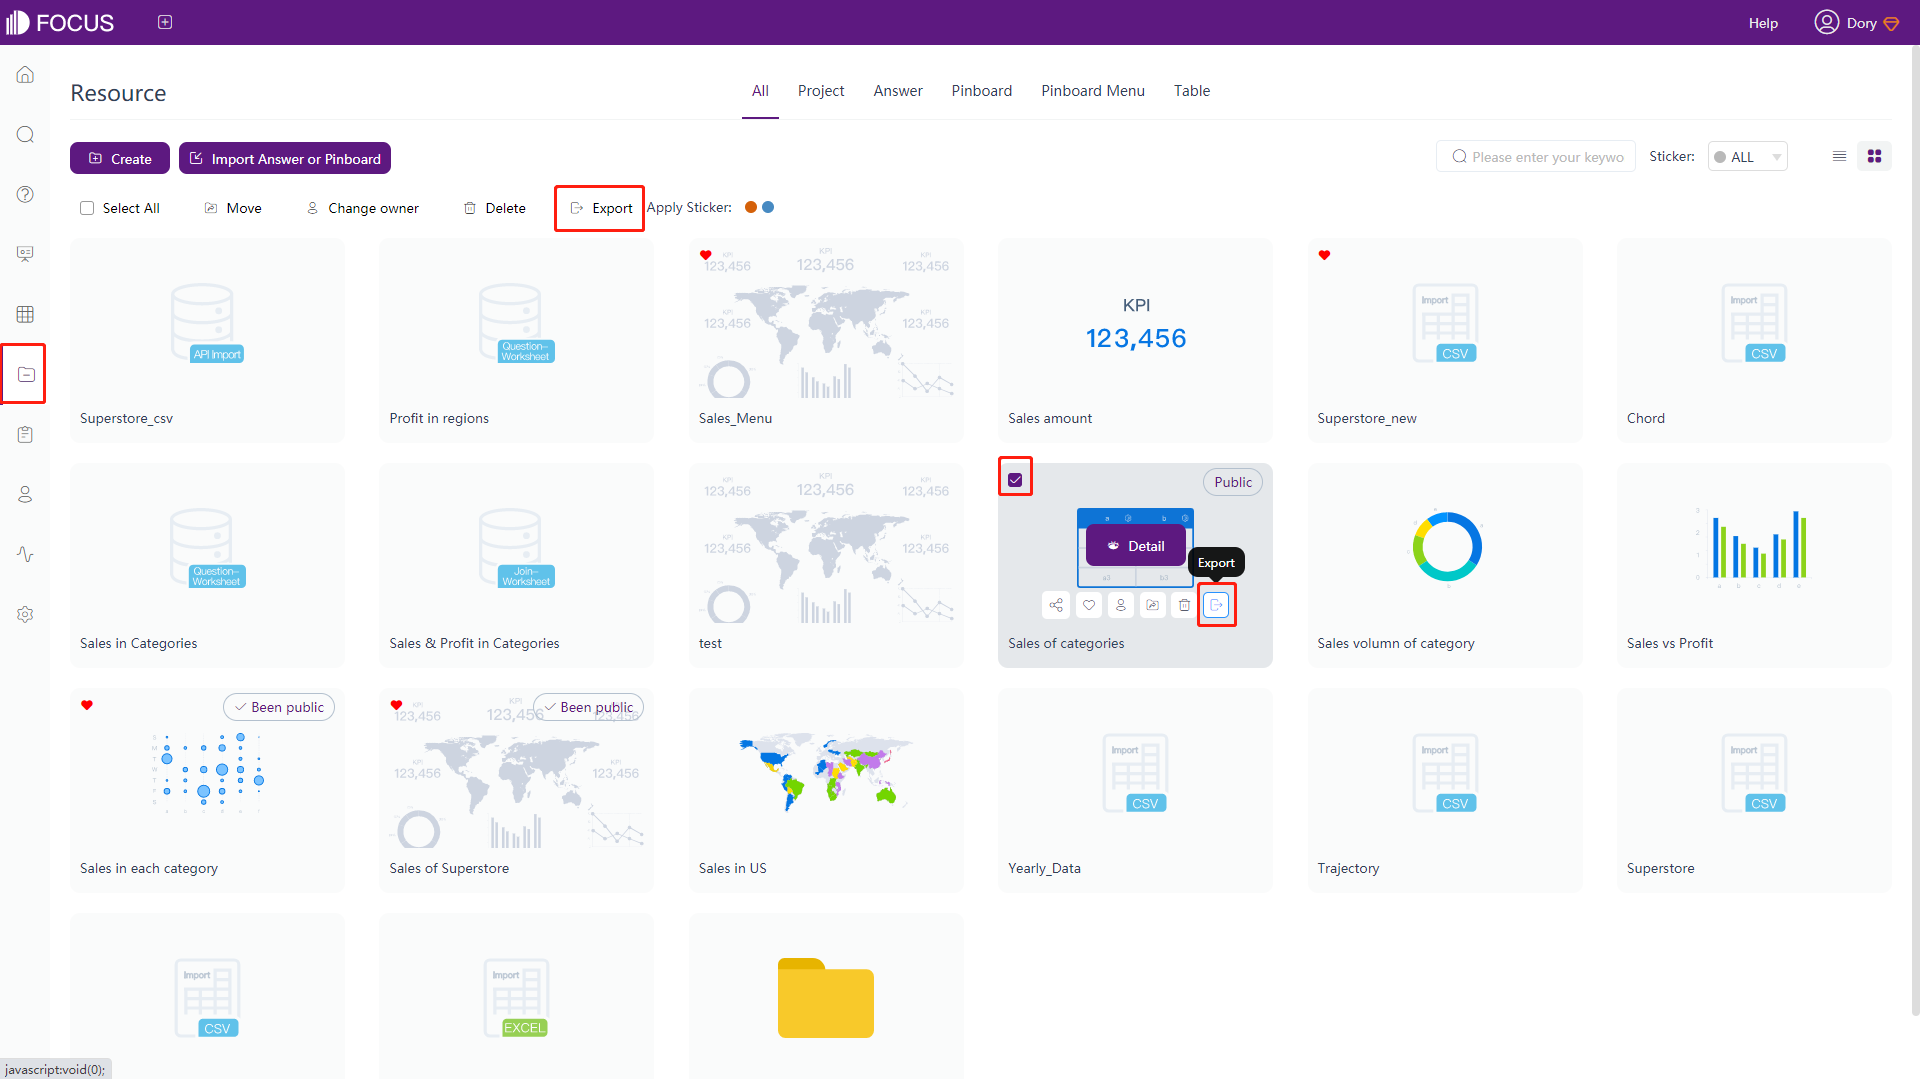
7.8 Import & Export Resource
Generally, resources need to be exported and imported to view answer and dashboard in a different environment.
After clicking “Export Resource”, click the “Submit” to download a zip file, as shown in figure 7-8-1.
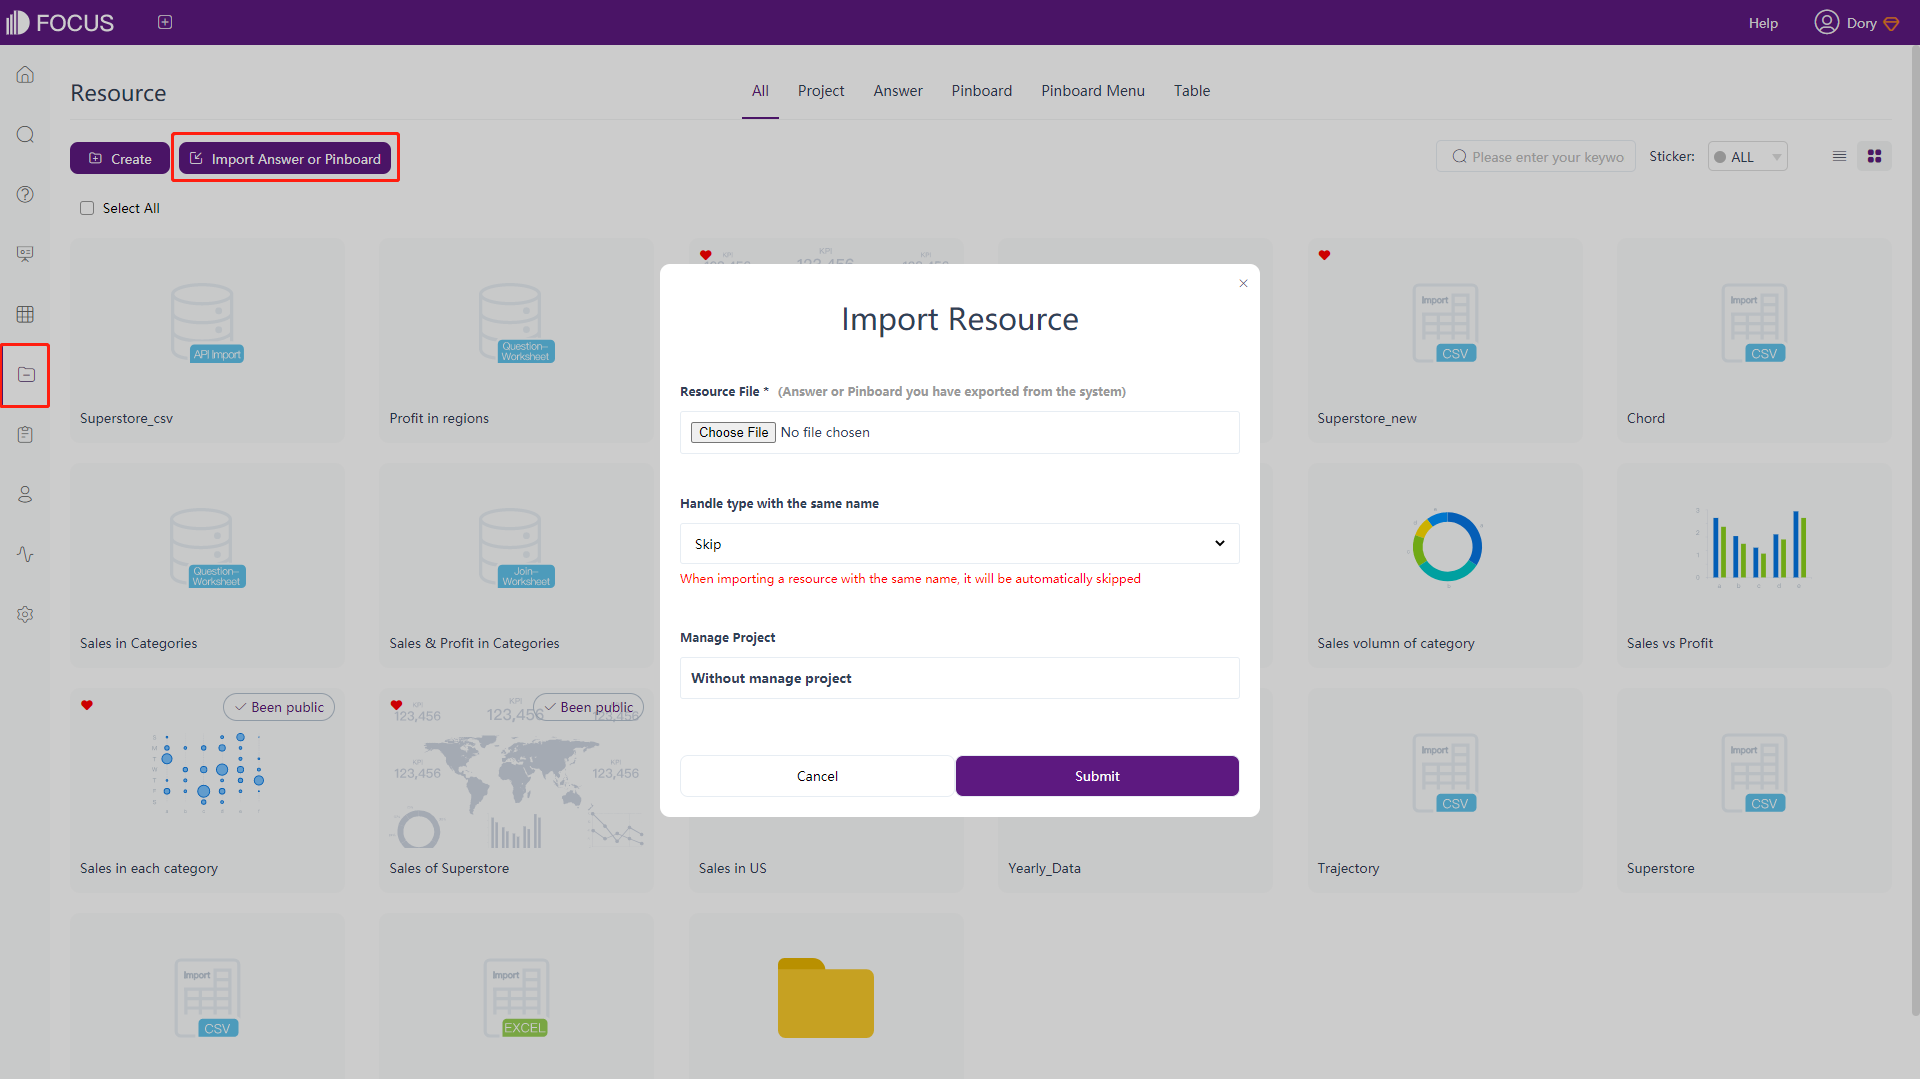
After clicking “Import Answer or dashboard”, click “Choose File”, select a zip file you want to import, and then select the method when the resource has the same name, and then click “Submit” to import the resource, as shown in figure 7-8-2.
7.9 Tags of Intermediate Table
Only users with resource administrator role can see the “Add/Edit Sticker” button at the bottom of the displayed label after clicking “Sticker”. Click “Add/Edit Sticker”, a color circle and naming bar will be displayed where user can add new tags.
Tags on the resource management module is the same as it on the dashboard module. For details, please refer to Section 5.6.
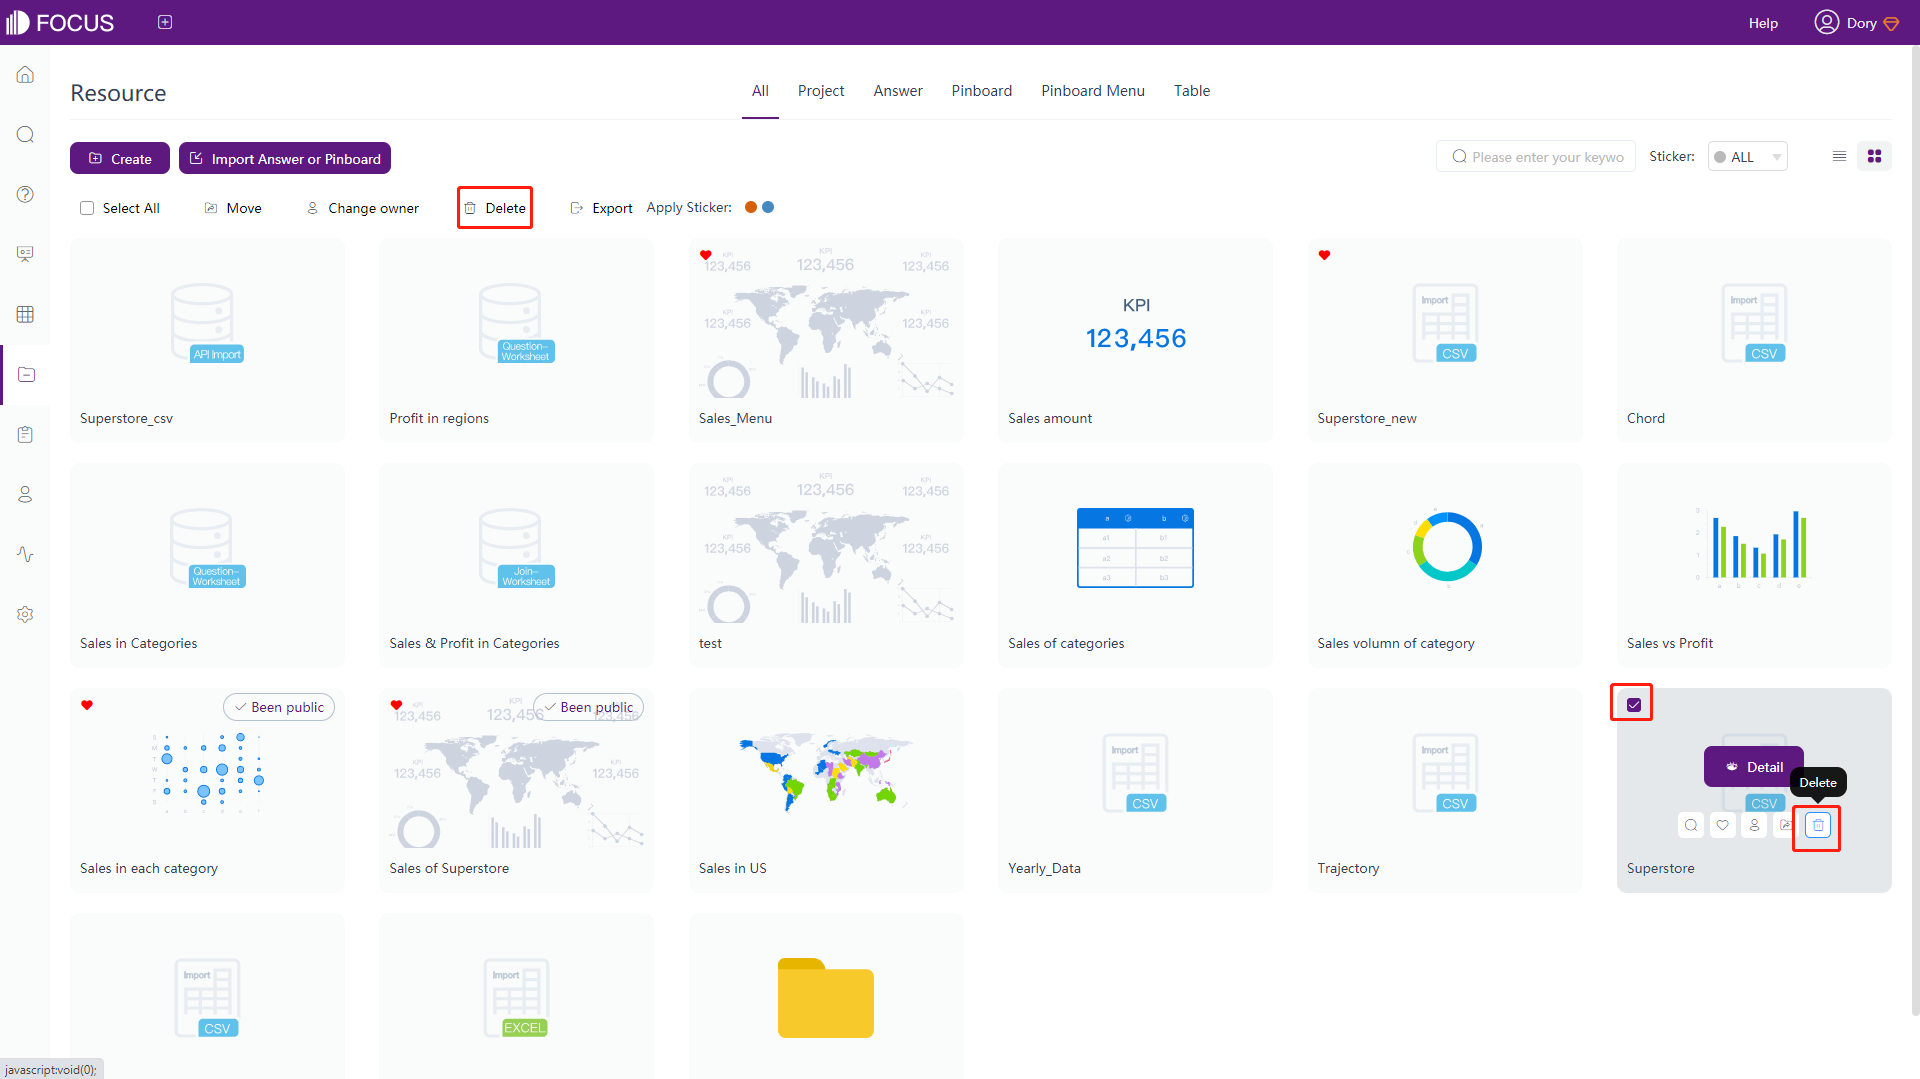
7.10 Remove Resource
In the resource management module, delete data by ticking the white box in front of the resource name, and then click the “Delete” button that appears at the top left of the page to delete it. Or hover over the resource you want to delete and click the “Delete” button. As shown in figure 7-10-1.
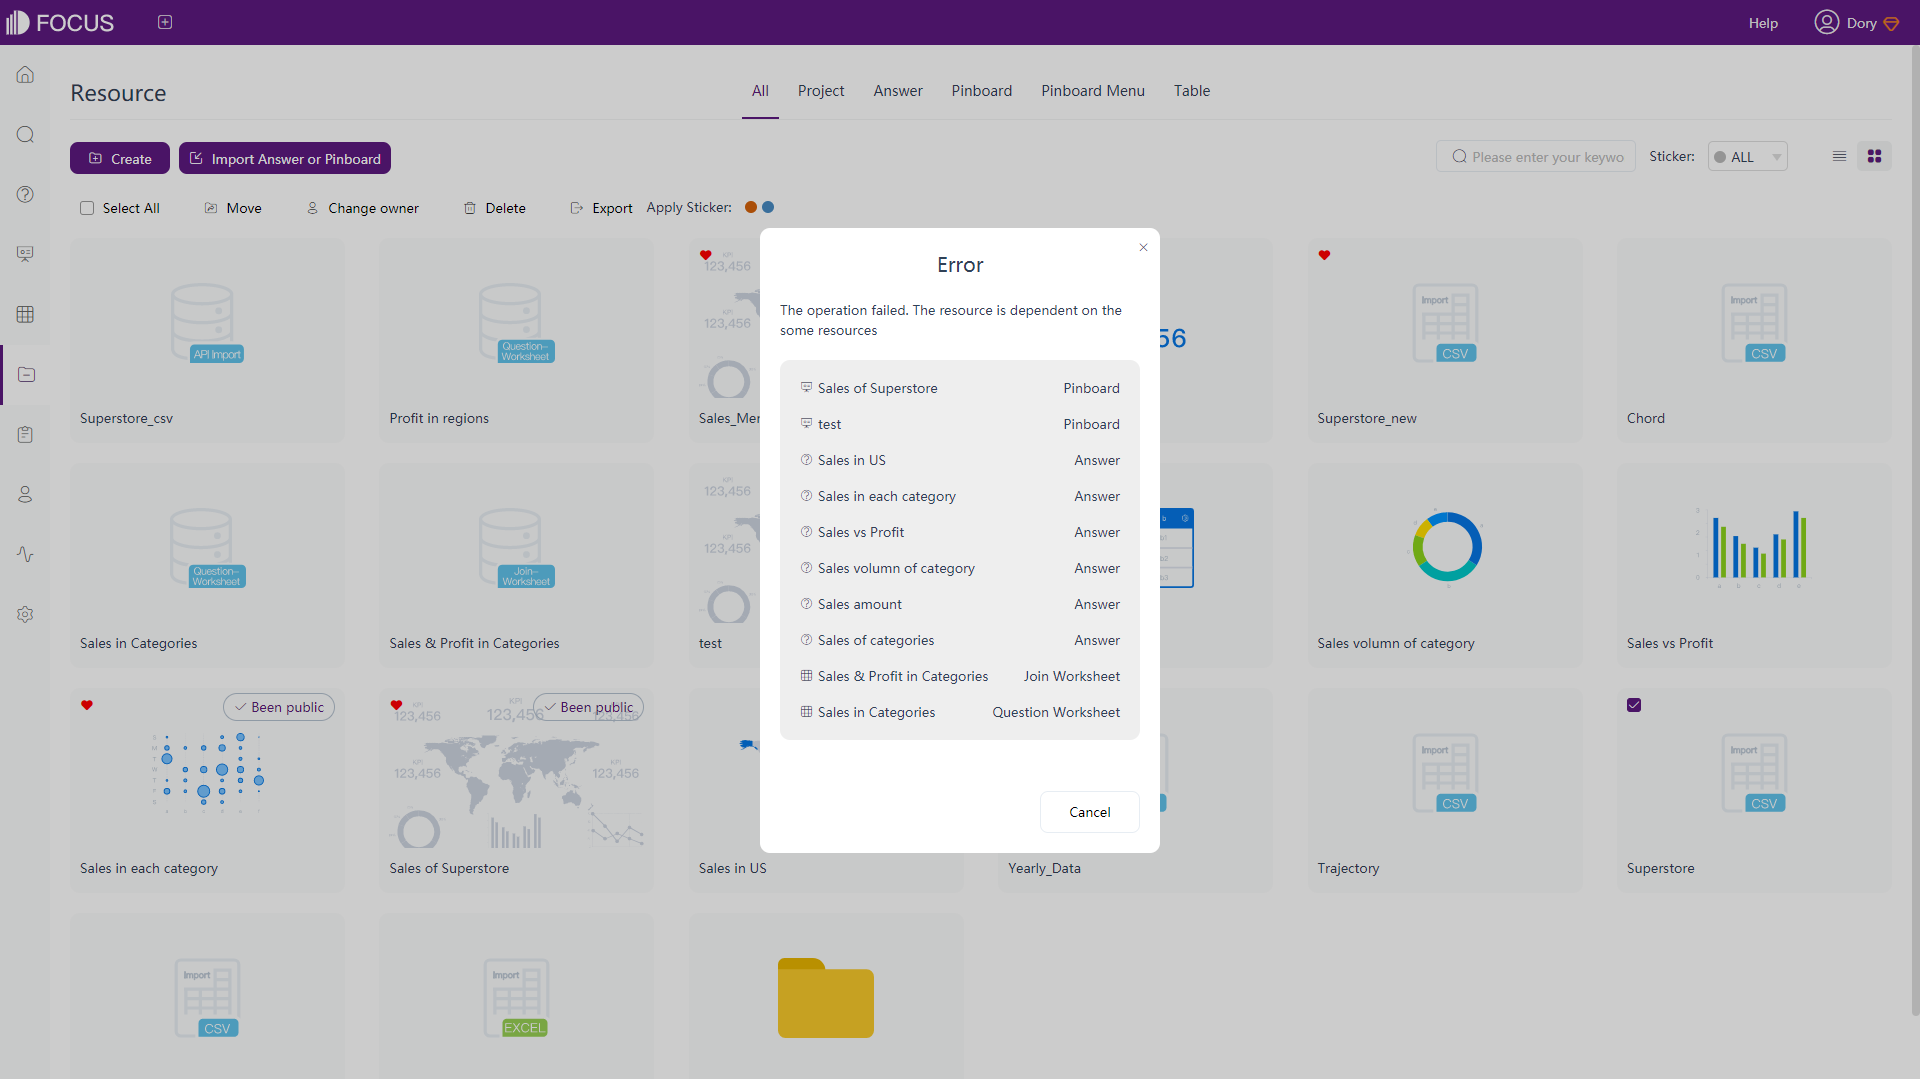
Users with resource administrator permissions can delete all tables, while other users can only delete intermediate tables created by themselves and shared tables. If there is a dashboard or a answer that is built on a table, there will be a prompt when deleting the table. The content that depends on the table will be displayed, as shown in figure 7-10-2. If you want to delete the table, you must first delete the dependent contents and then delete the table.
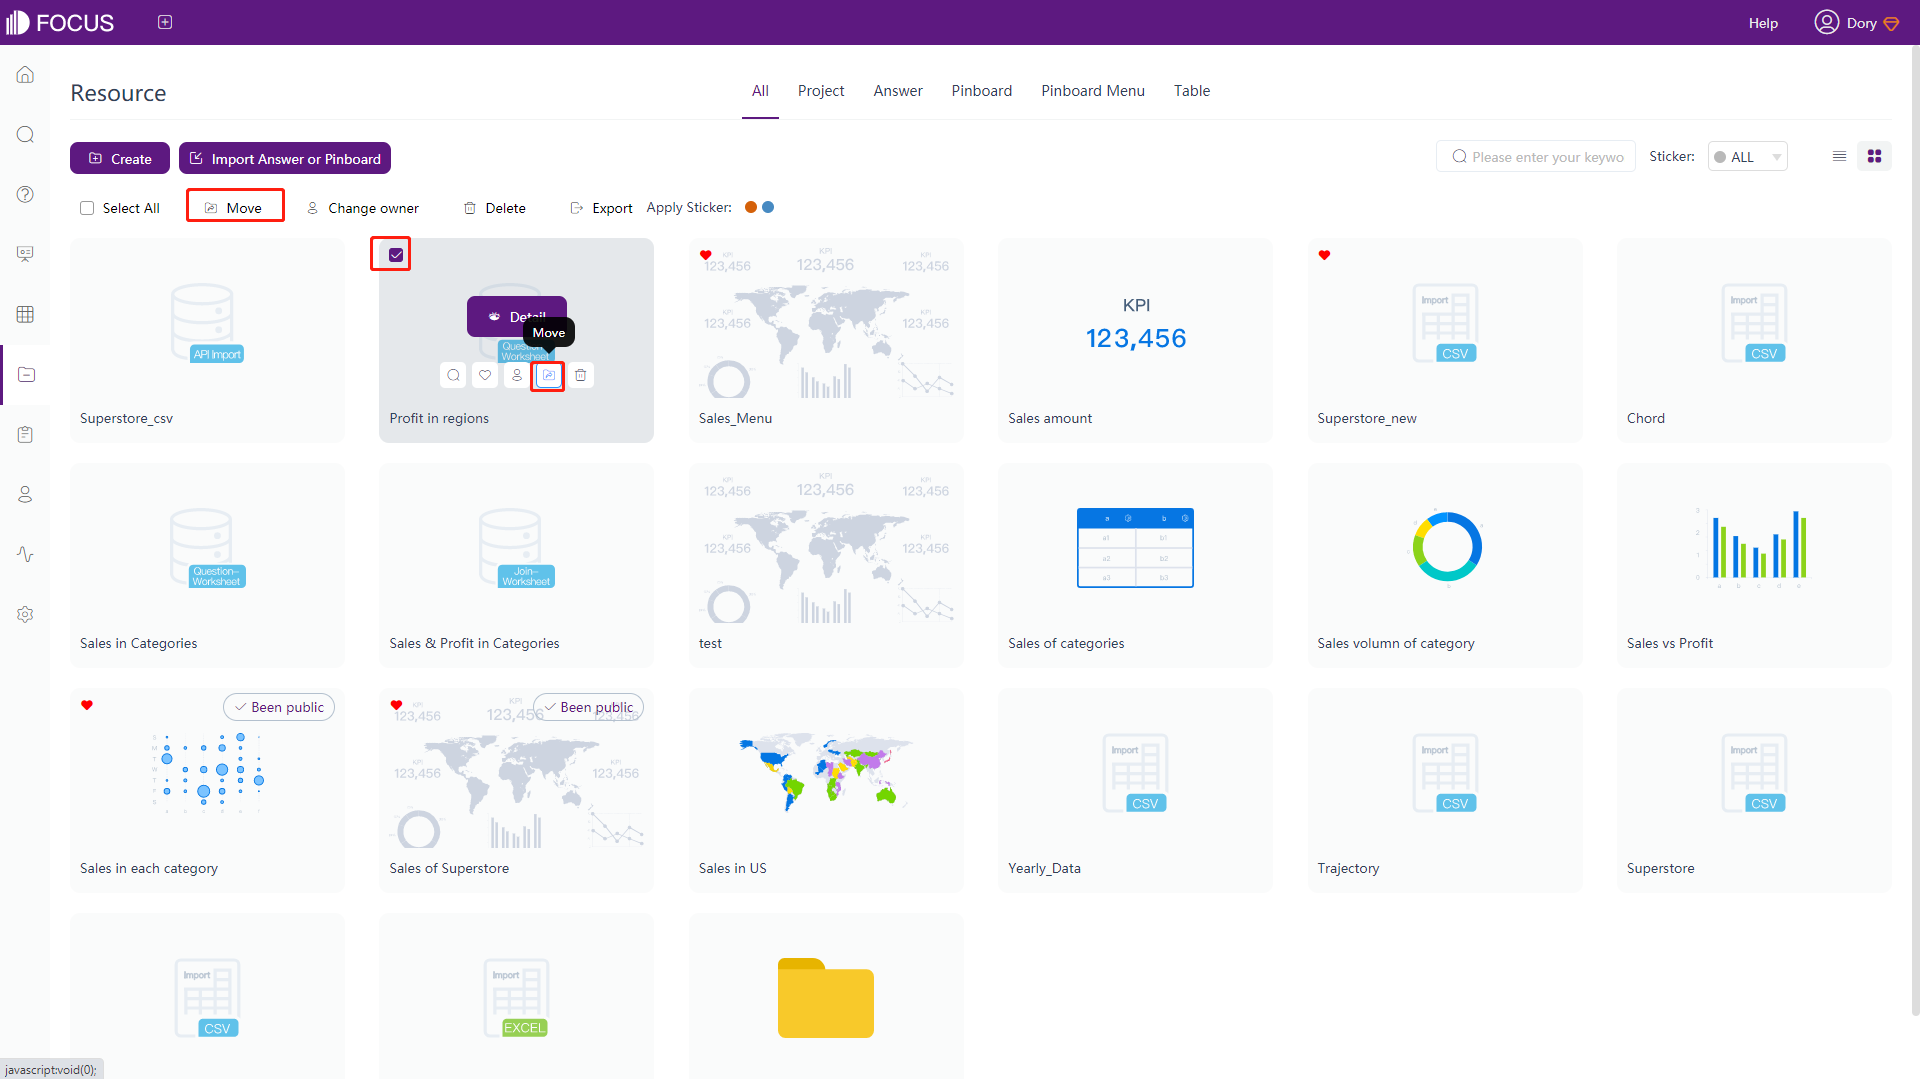
7.11 Move Resource
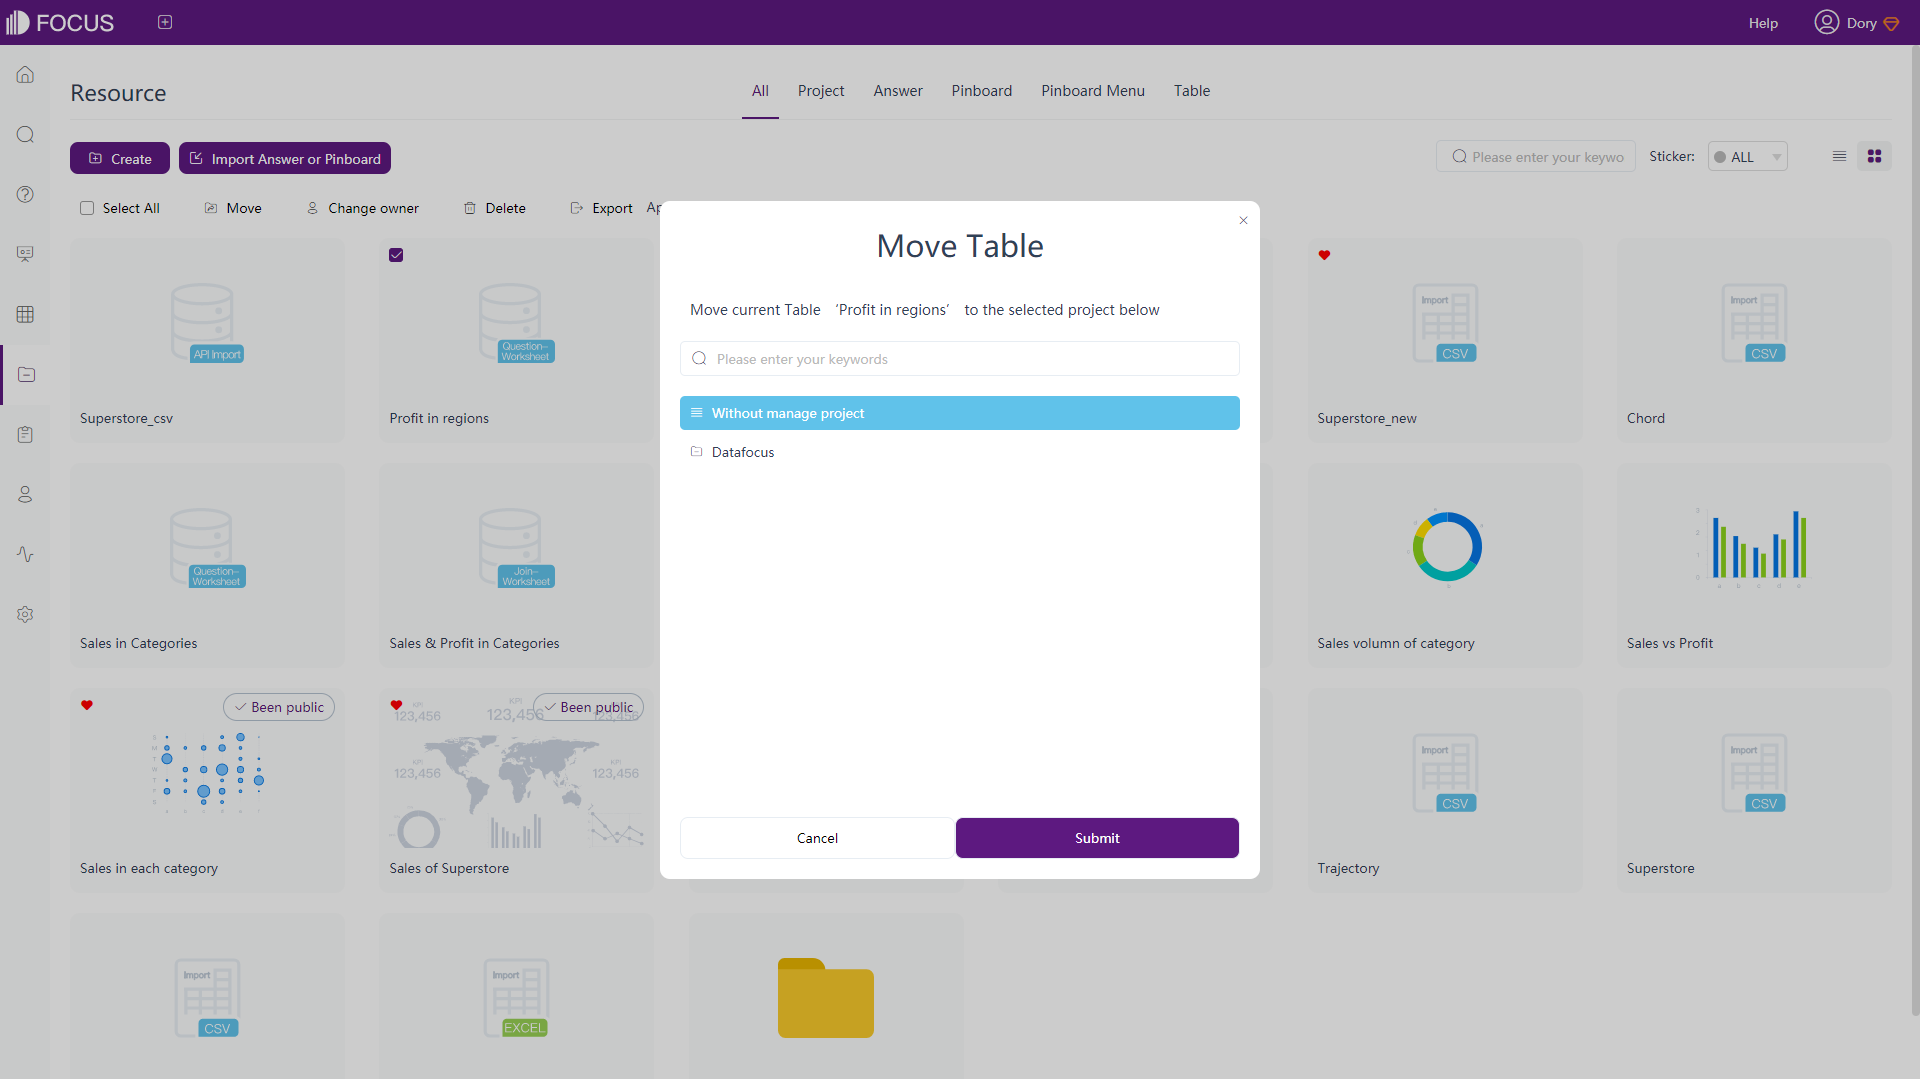
On the resource management module, you can move resources such as data tables, answer, and dashboards to different projects for better classification and management. As shown in figure 7-11-1, tick the white box in front of resource name, and then click the “Move” button that appears at the top left of the page to move it. Or hover over the resource and click the “Move” button. In the pop-up window, you can select the project to migrate to, as shown in figure 7-11-2.
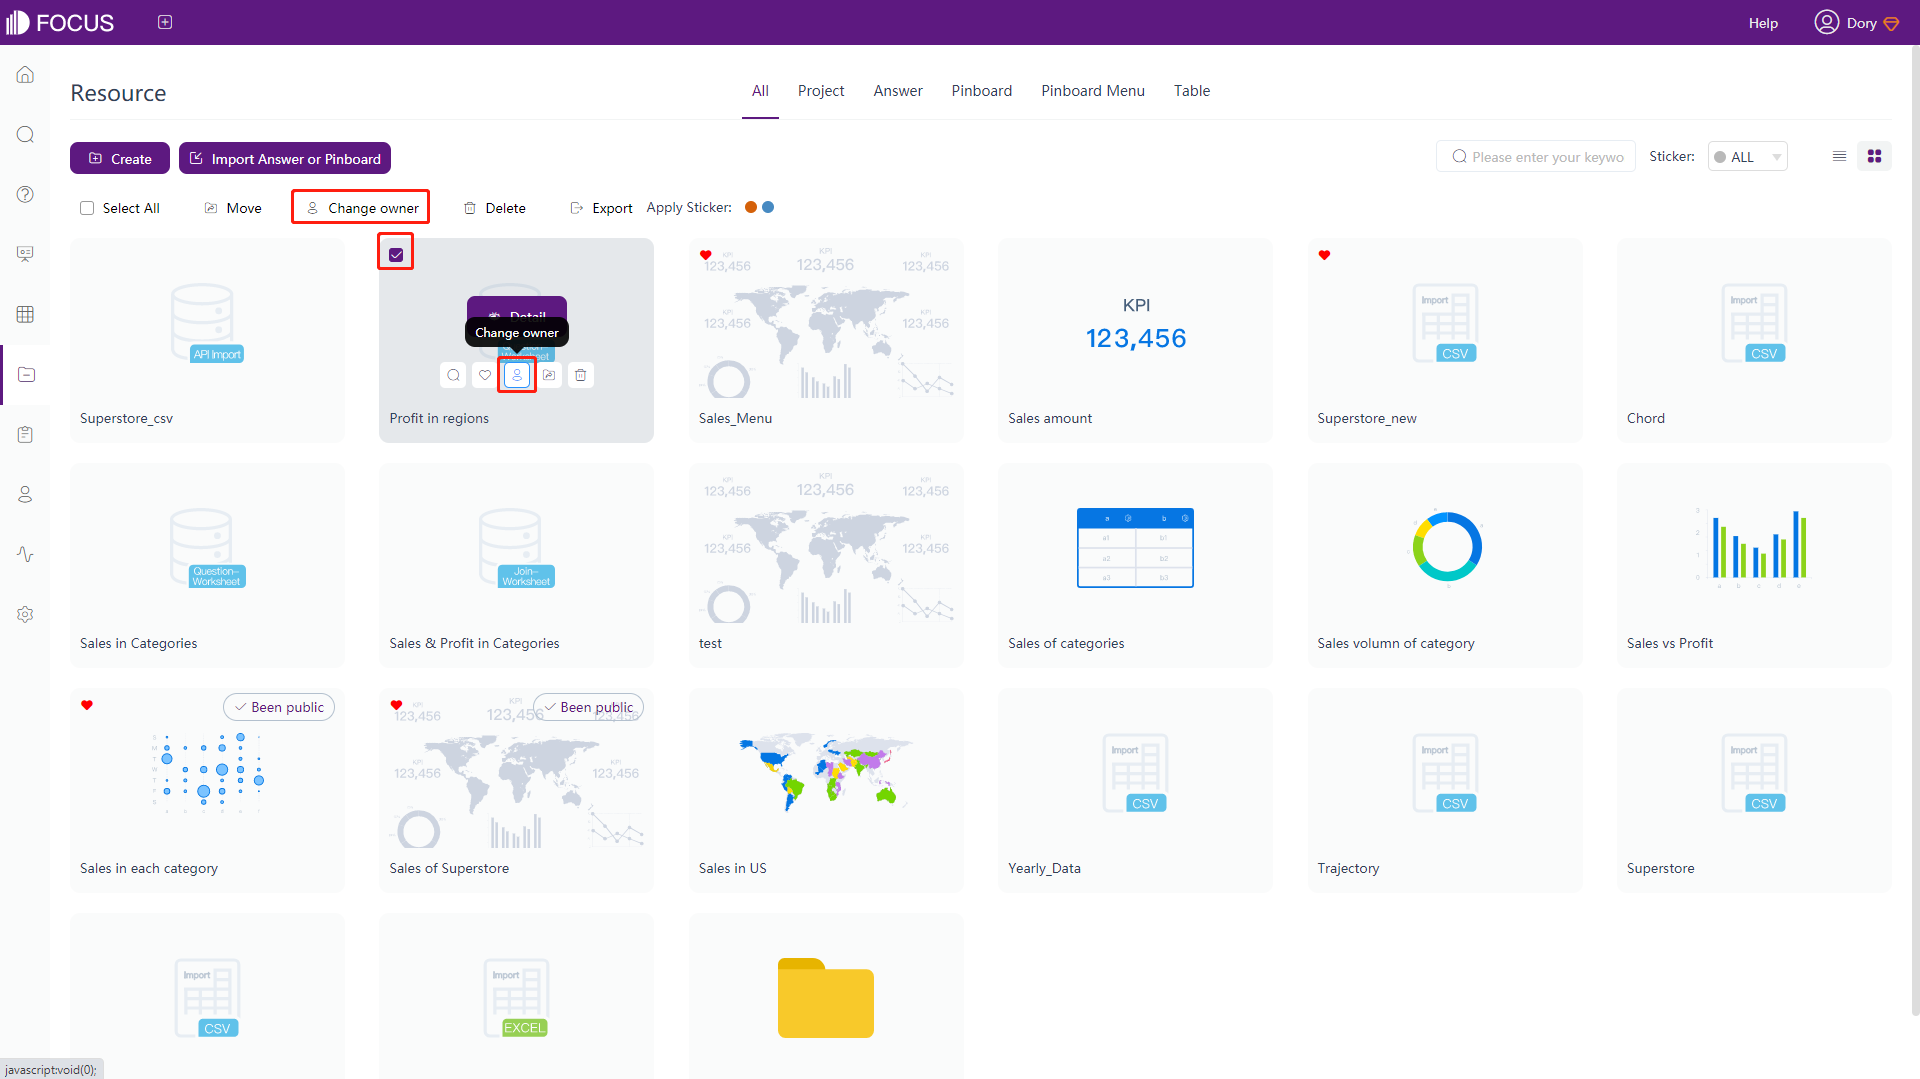
7.12 Change Owner
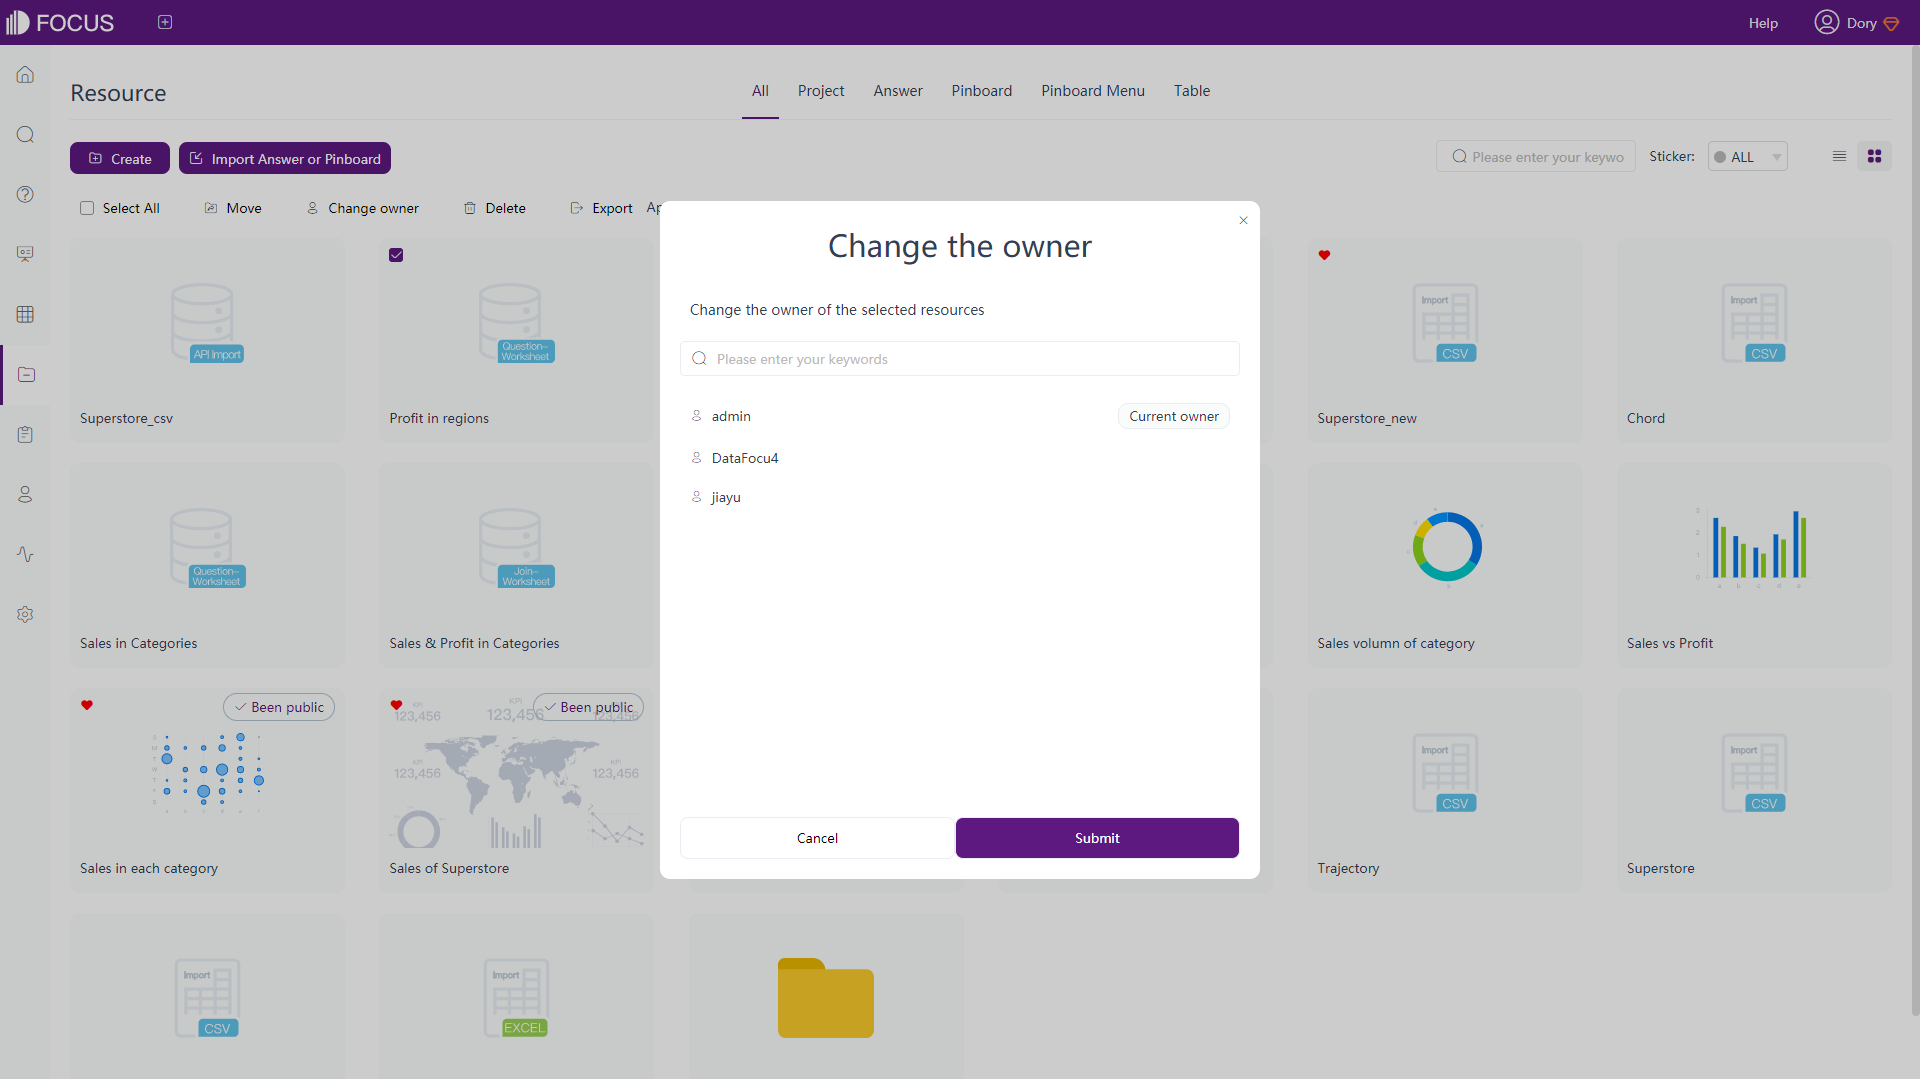
On the resource management module, you can change the owner of resources such as data tables, answer, and dashboard for unified management. As shown in figure 7-12-1, tick the white box before the resource name, and then click the “Change owner” button that appears at the top left of the page. Or hover over the resource and click the “Change Owner” button. In the pop-up window, you can select the owner of the change, as shown in figure 7-12-2.