Chapter 4 Answer
In DataFocus Cloud, users can save search results as answers for viewing, re-editing, and sharing.
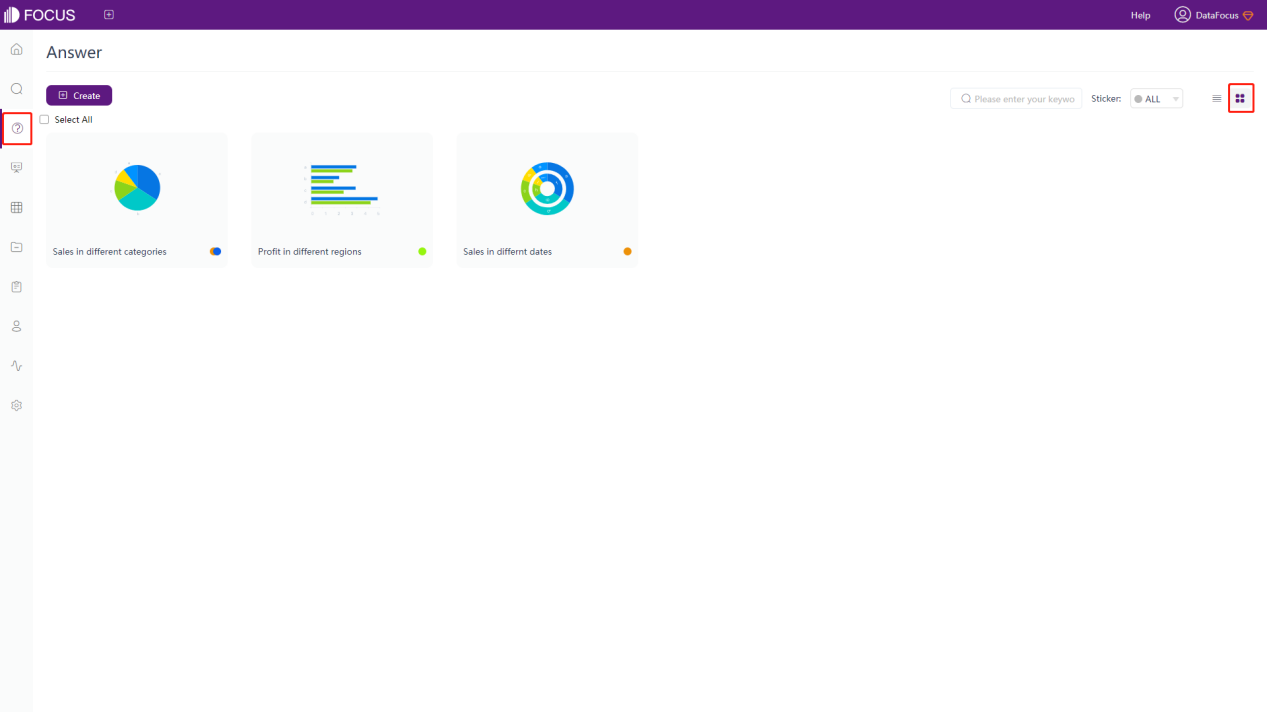
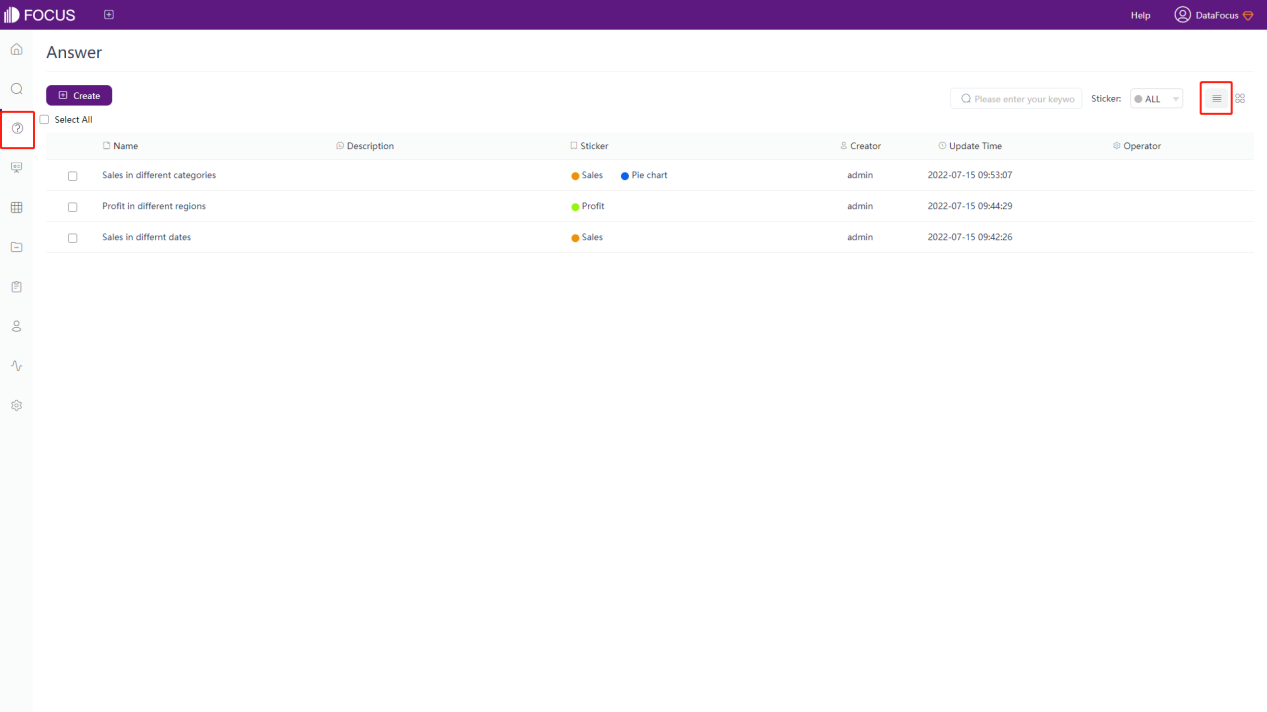
The history answer page has two display modes: thumbnail and list, as shown in figure 4-1-1 and figure 4-1-2.
4.1 Save as Answer
The search results can be saved as an answer. For details, please refer to Section 3.8.
4.2 Edit Answer
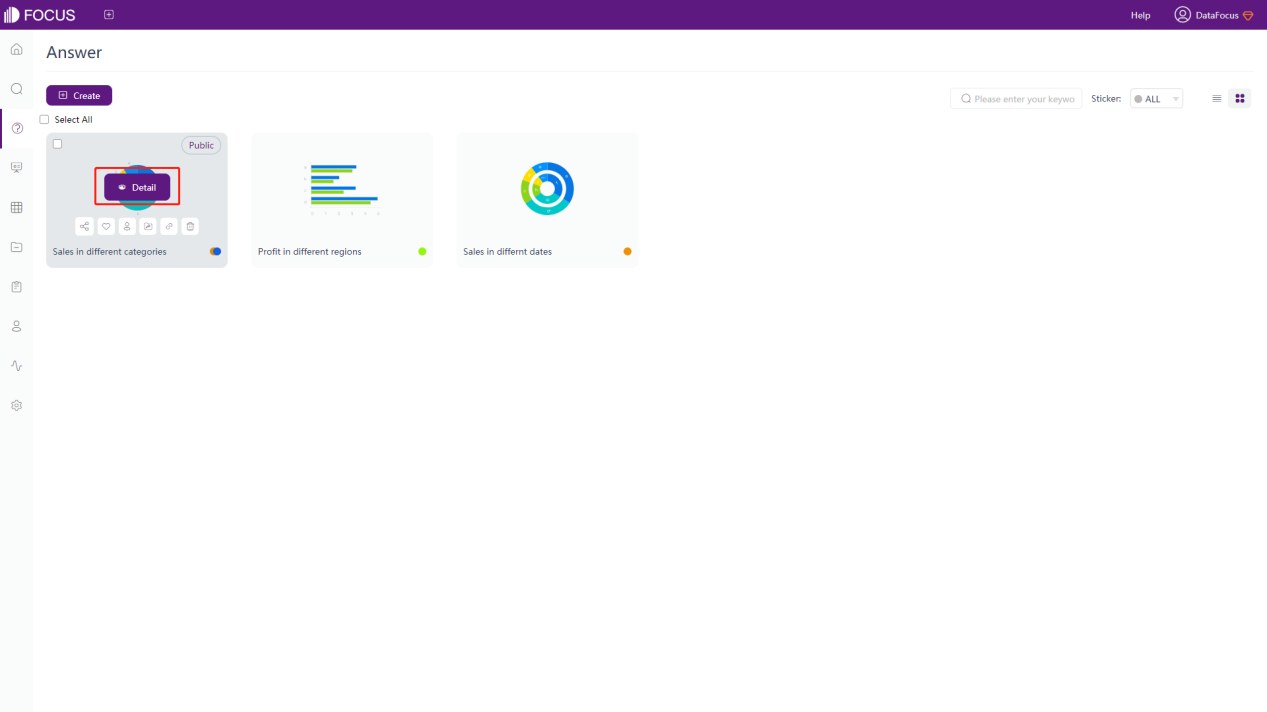
You can click on a single answer to enter the search analysis page and edit it again.
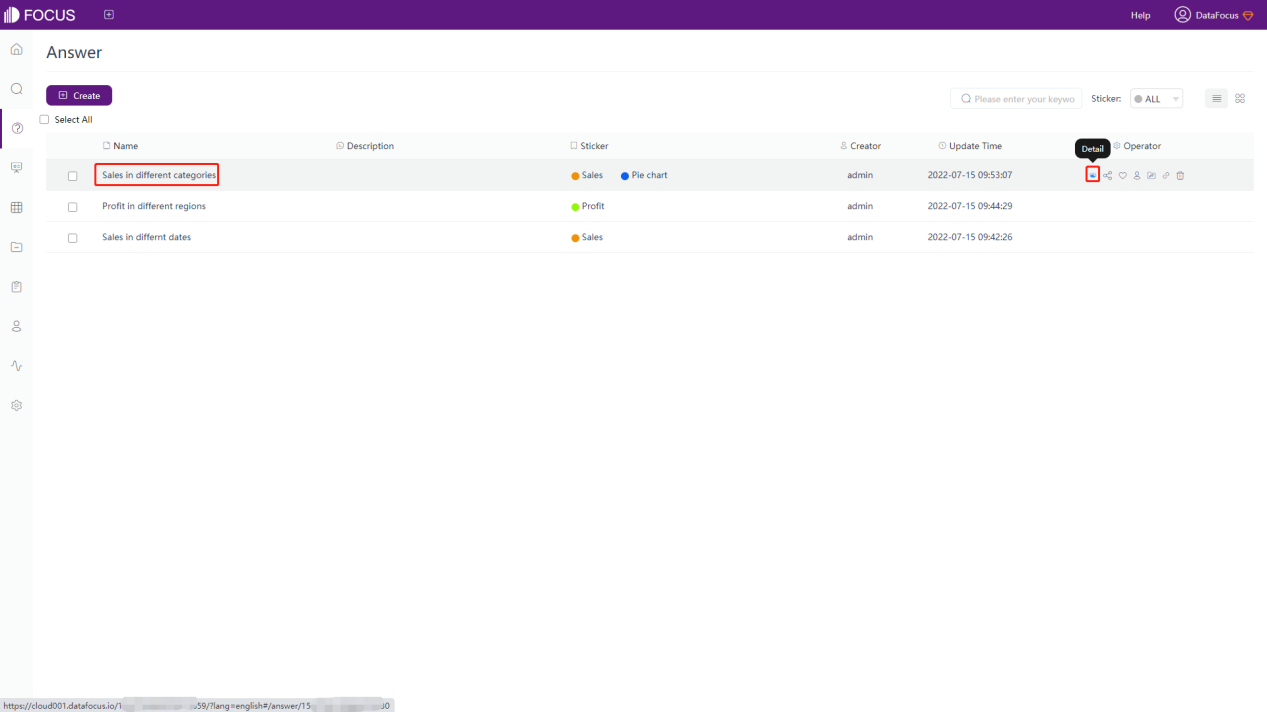
In the thumbnail display mode, move the mouse to the answer, and click the “Detail” button to enter the search page, as shown in figure 4-2-1.
In the list display mode, click the ‘![]() ’ button under the operation bar on the right of the answer or directly click the name of the answer to enter the search analysis page, as shown in figure 4-2-2.
’ button under the operation bar on the right of the answer or directly click the name of the answer to enter the search analysis page, as shown in figure 4-2-2.
After editing, click the “Actions” button at the top right of the page and select “Save as Answer” to modify the name and description of the answer. After clicking “Submit”, the content of the answer will be re-saved.
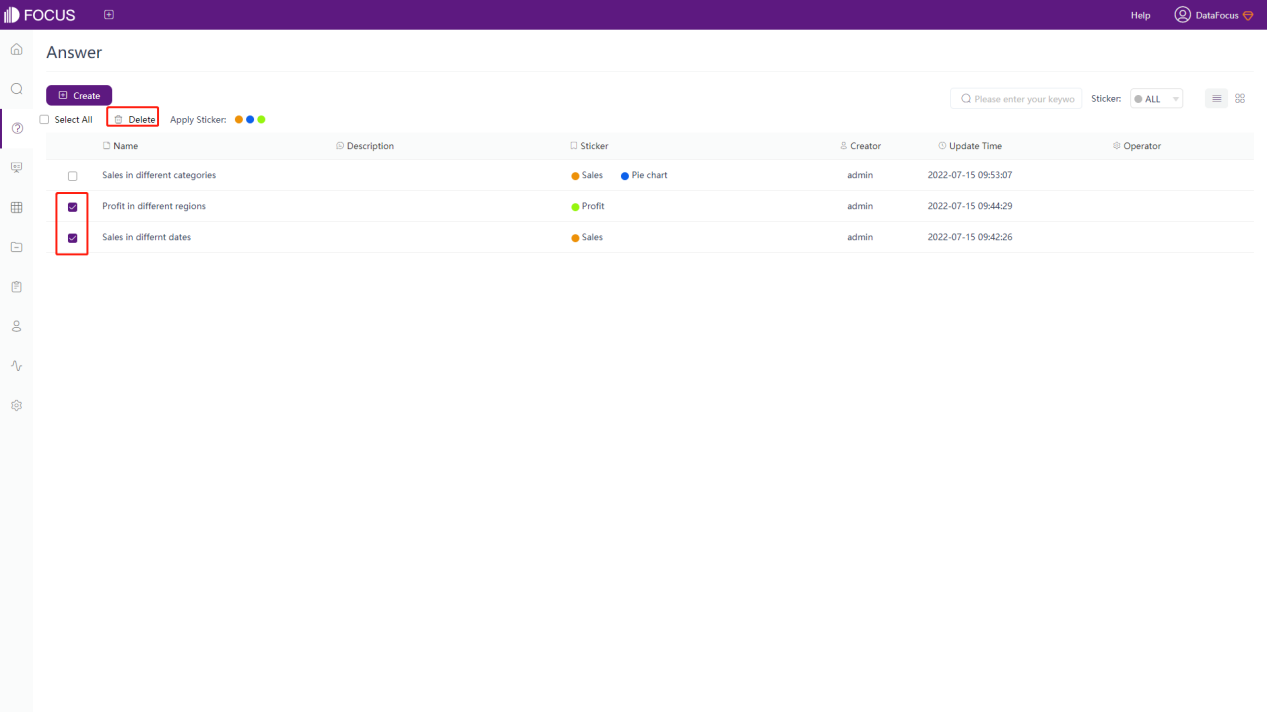
4.3 Delete Answer
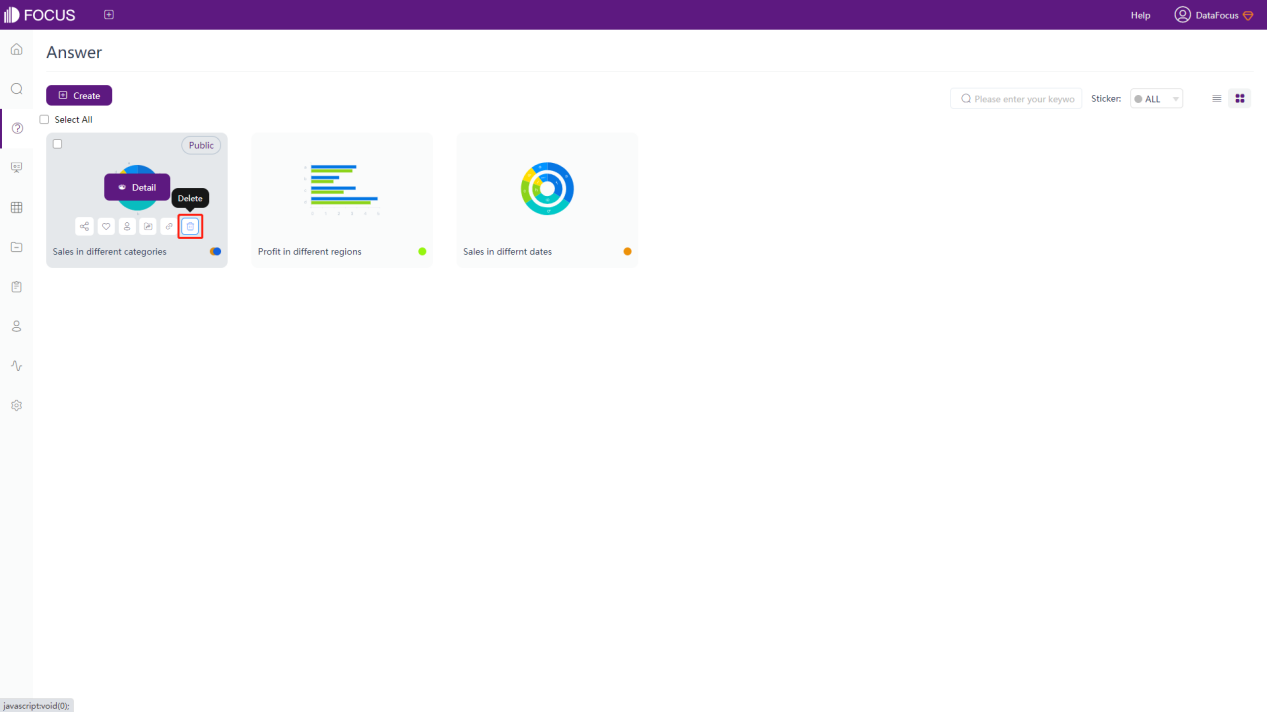
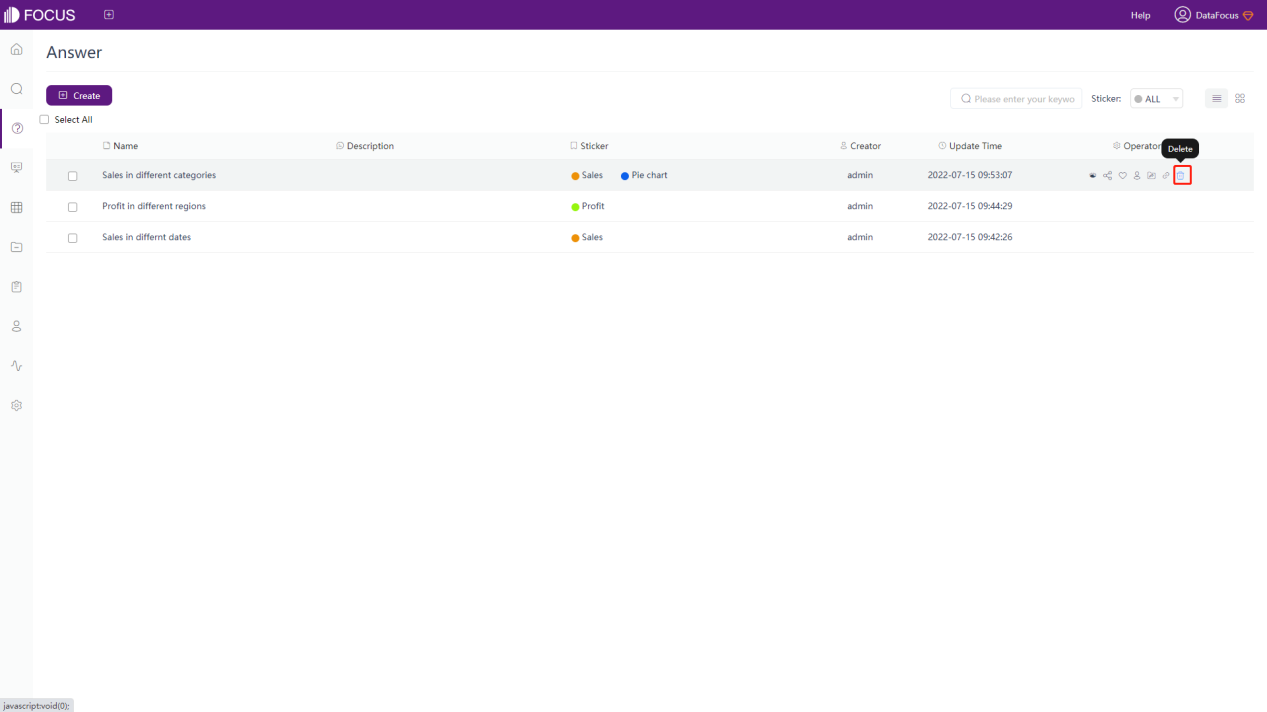
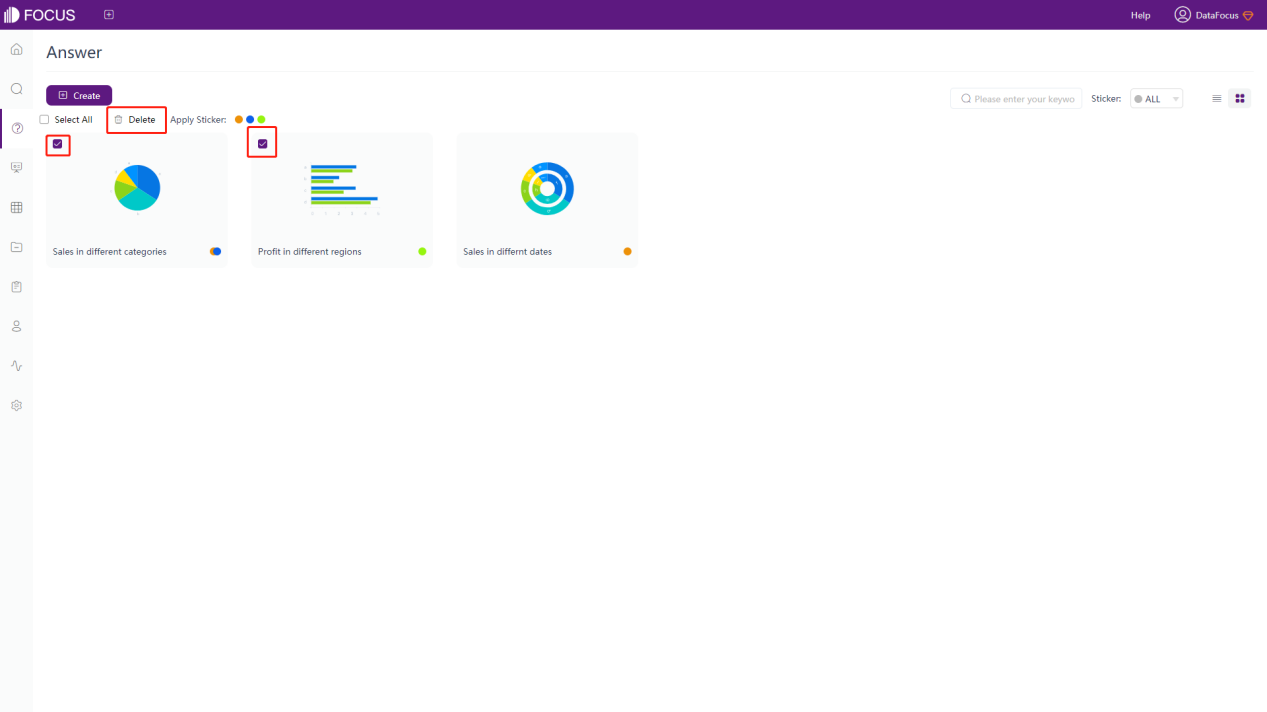
The method of deleting answers is the same as deleting dashboard. You can delete a single answer, as shown in figure 4-3-1 and 4-3-2, or you can delete answers in batches, as shown in figure 4-3-3 and 4-3-4 below.
4.4 Share Answer
The operations for sharing answers and sharing dashboards are the same.
4.4.1 Share with Users
To share content in the history answer module, the operation steps are as follows:
-
In the thumbnail display mode, hover over the answer, and the sharing button will appear (only the answer created by yourself or shared with you by other users can be shared), as shown in figure 4-4-1;
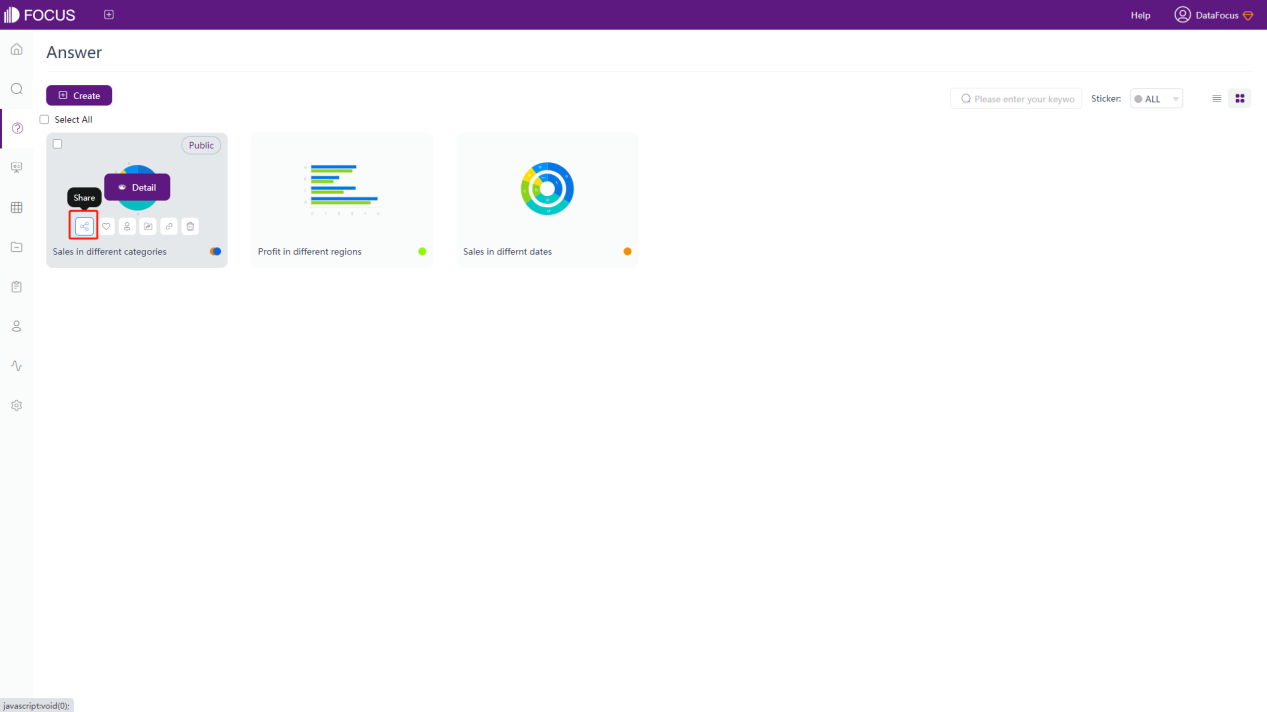
Figure 4-4-1 answer share button -
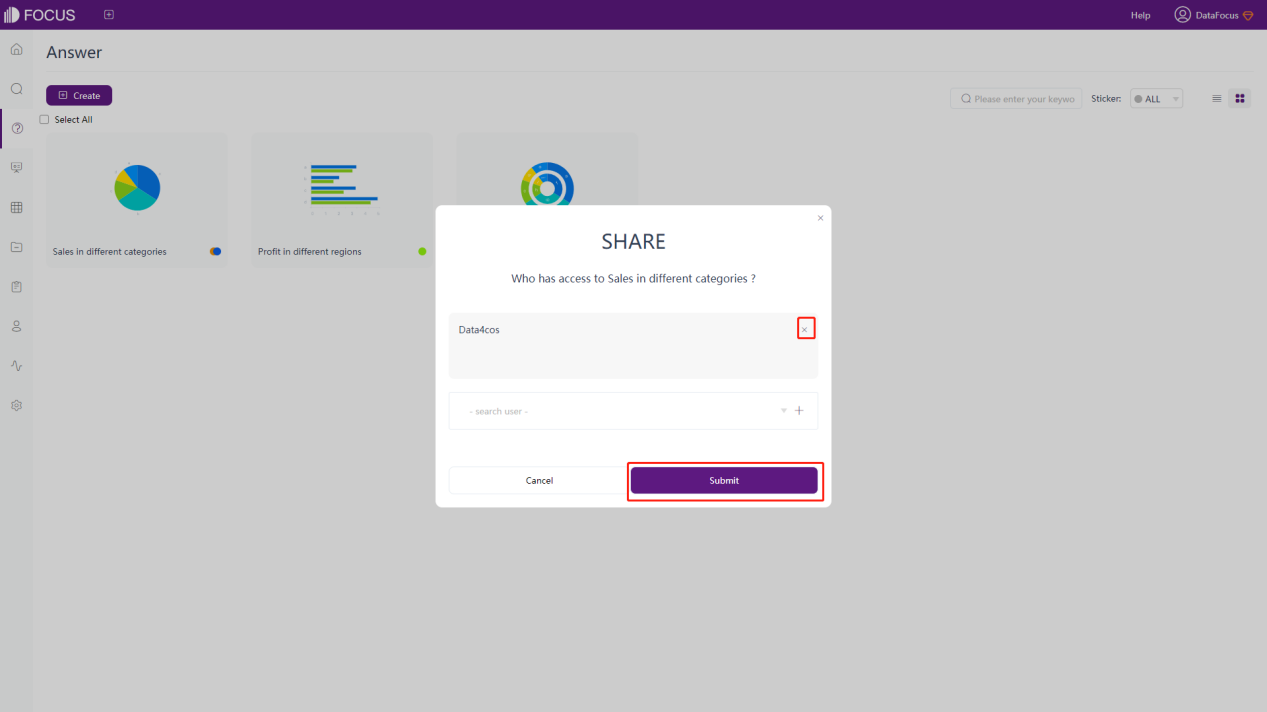
Click the “Share” button, the operation page will pop up, as shown in figure 4-4-2;
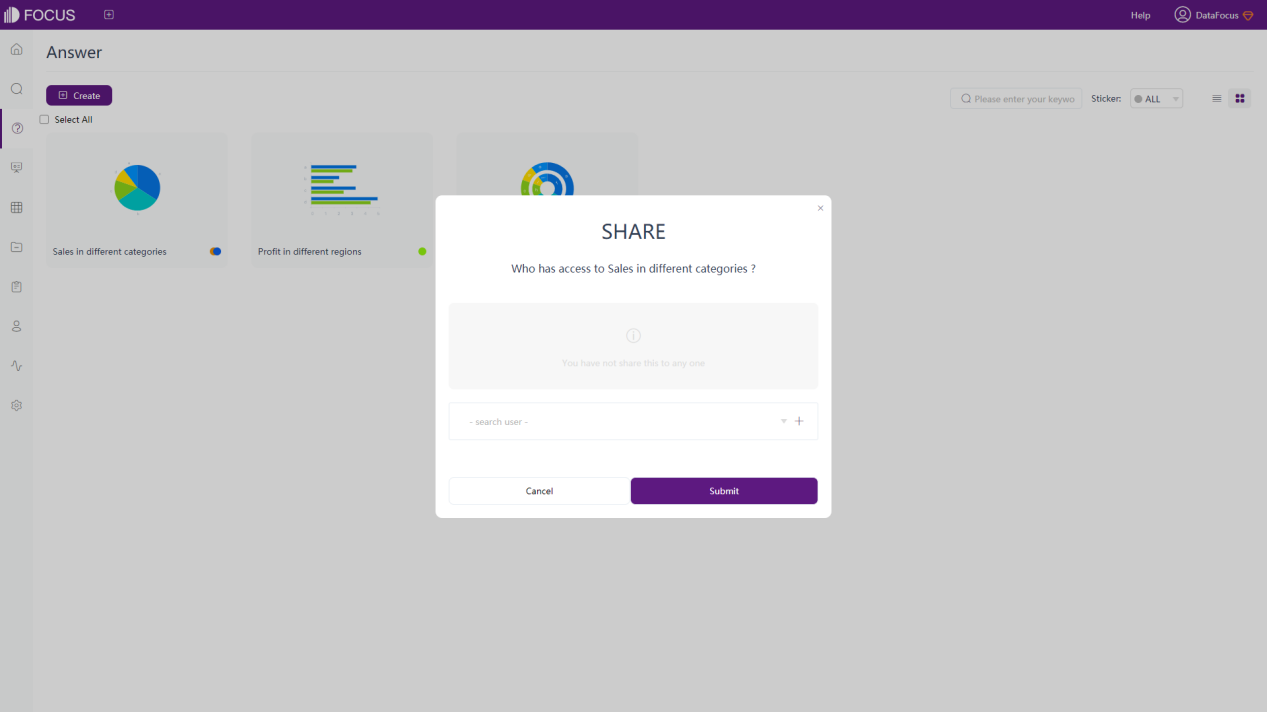
Figure 4-4-2 answer - share -
Enter the user name in the search box to search, and then click the “Add to Sharers” button to add the user to the share list, as shown in figure 4-4-3;
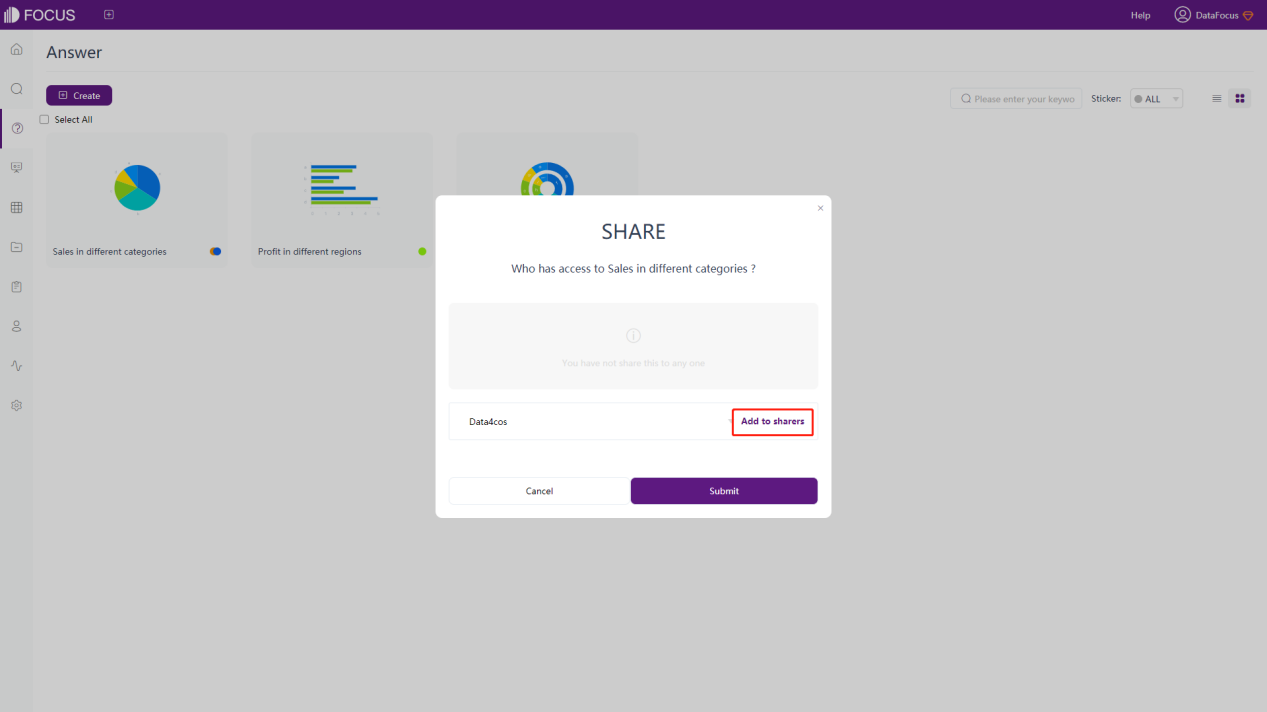
Figure 4-4-3 answer share - add users -
Finally, click the “Submit” button, and the content sharing is successful. Users can share answer with multiple users at the same time.
4.4.2 Share Resources Shared by Others
The answer shared by others can be shared again, but when re-sharing, the shared user only has permission to view the answer, but cannot perform operations such as editing.
Enter the user center module, click “Shared”, click the answer that needs to be shared, and the same steps as Section 4.4.1 can share the answer, as shown in figure 4-4-4.

4.4.3 Unshare
If the sharer cancels the shared content, the shared user will no longer be able to see the content, as shown in figure 4-4-5. The specific operations are as follows:
Select the answer that has been shared, click the “Share” button, you can see which users have permission to view the answer, click the “x” on the right side of the user name, and click the “Submit” button to cancel the sharing.
4.5 Comment on Answer
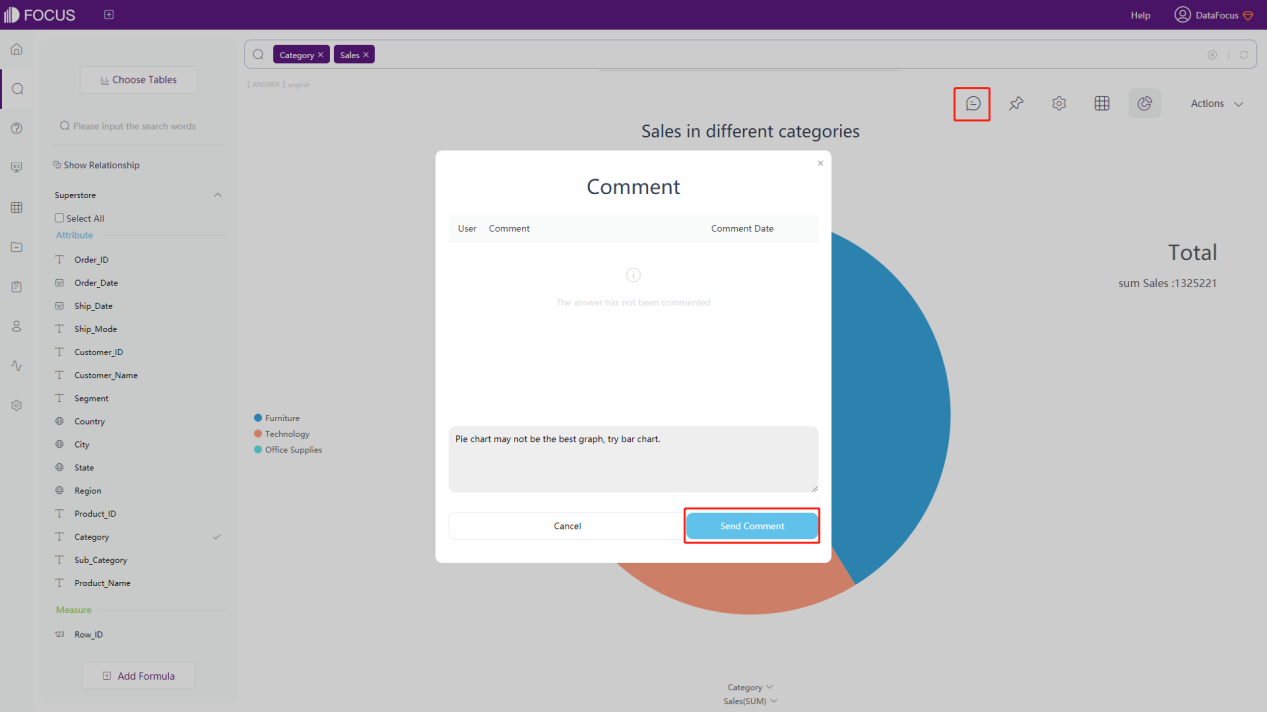
Click the “Detail” to enter the editing page of the history answer. Then click the “![]() ” button, and the “Comment” window will pop up. It displays the existing commenters, comments, comment time, and other information. You can add the comment on the bottom, and click “Send Comment” to comment on the answer, as shown in figure 4-5-1.
” button, and the “Comment” window will pop up. It displays the existing commenters, comments, comment time, and other information. You can add the comment on the bottom, and click “Send Comment” to comment on the answer, as shown in figure 4-5-1.
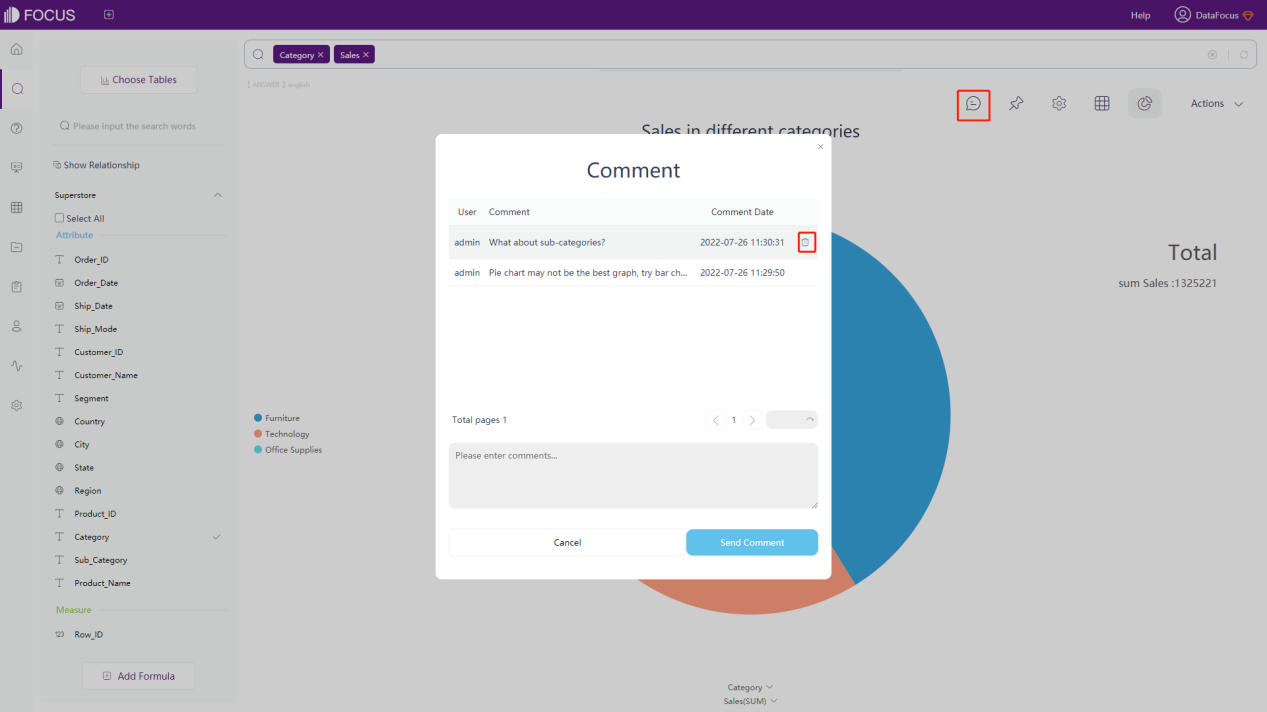
If you want to delete an existing comment, you can move the mouse to the corresponding comment entry on the comment window. The delete button “![]() ” will be displayed, as shown in figure 4-5-2, click the delete button to remove the comment. Only content sent by yourself can be deleted.
” will be displayed, as shown in figure 4-5-2, click the delete button to remove the comment. Only content sent by yourself can be deleted.
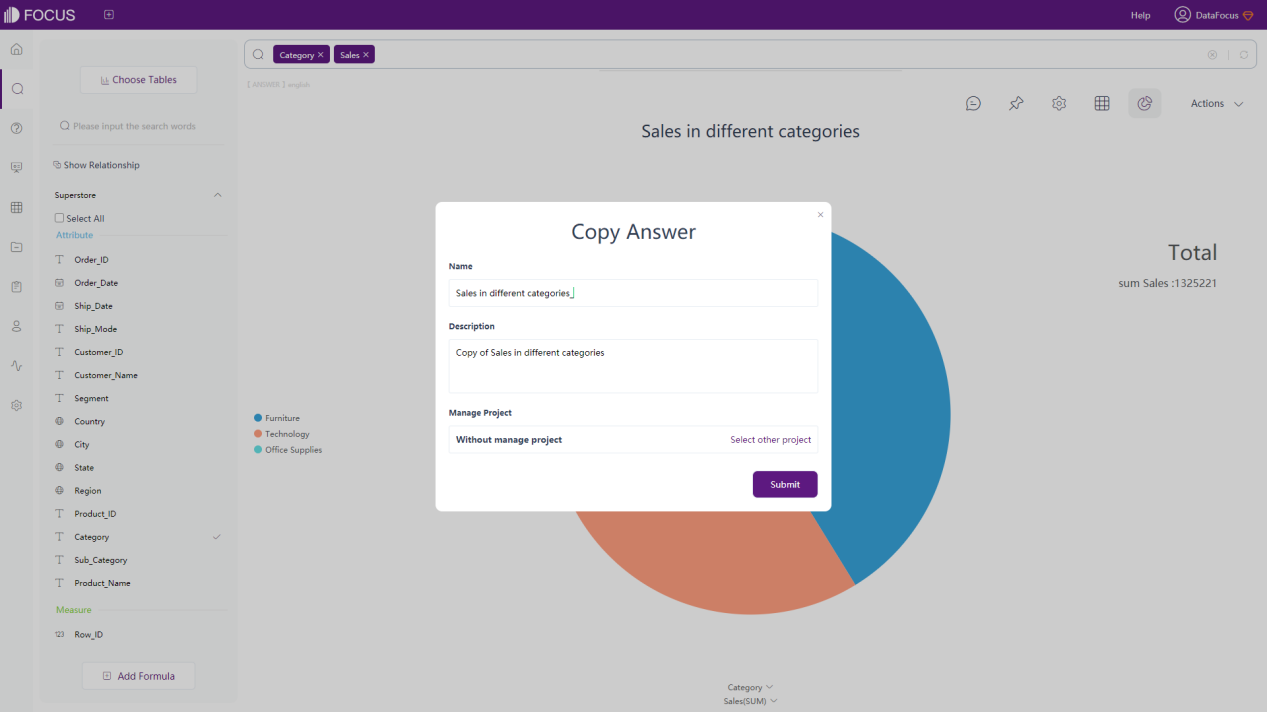
4.6 Copy Answer
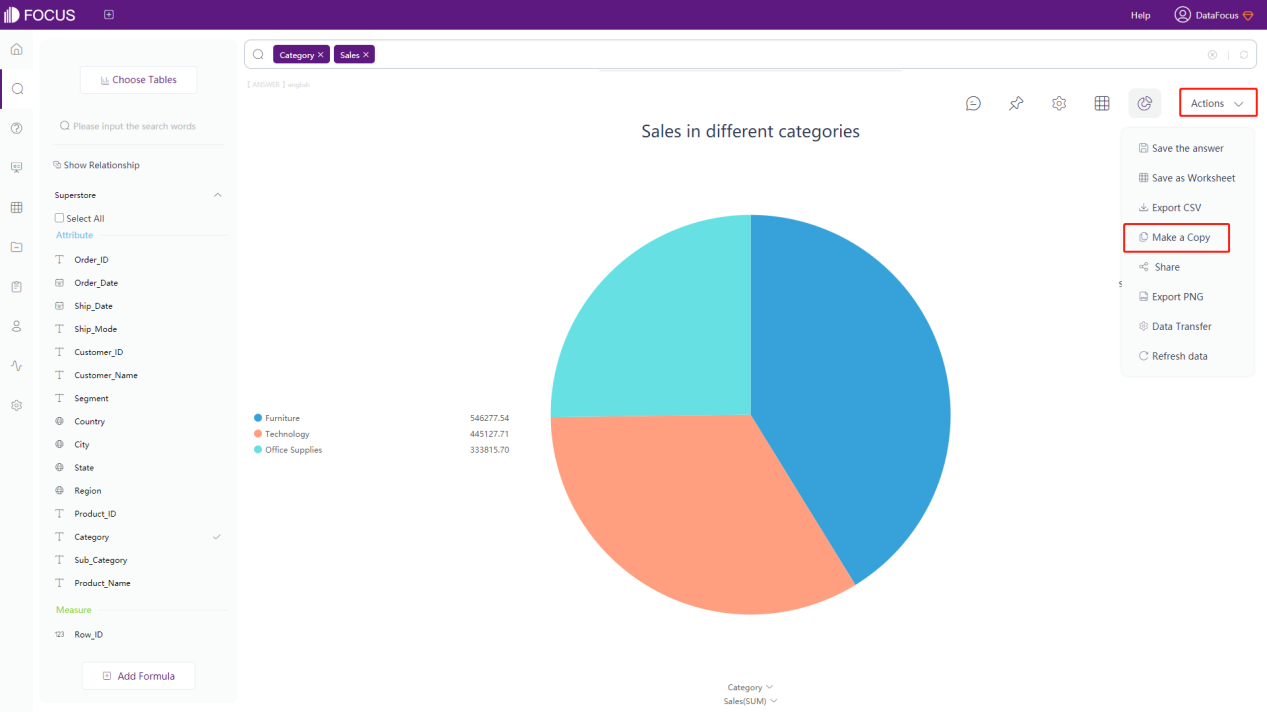
Click the “Detail” to enter the editing page of the history answer. Click the “Actions” button and click “Make a Copy” to copy the answer, as shown in figure 4-6-1. The copied answer can be saved directly, or saved after modifying the name, description, and adding a new management item, as shown in figure 4-6-2.
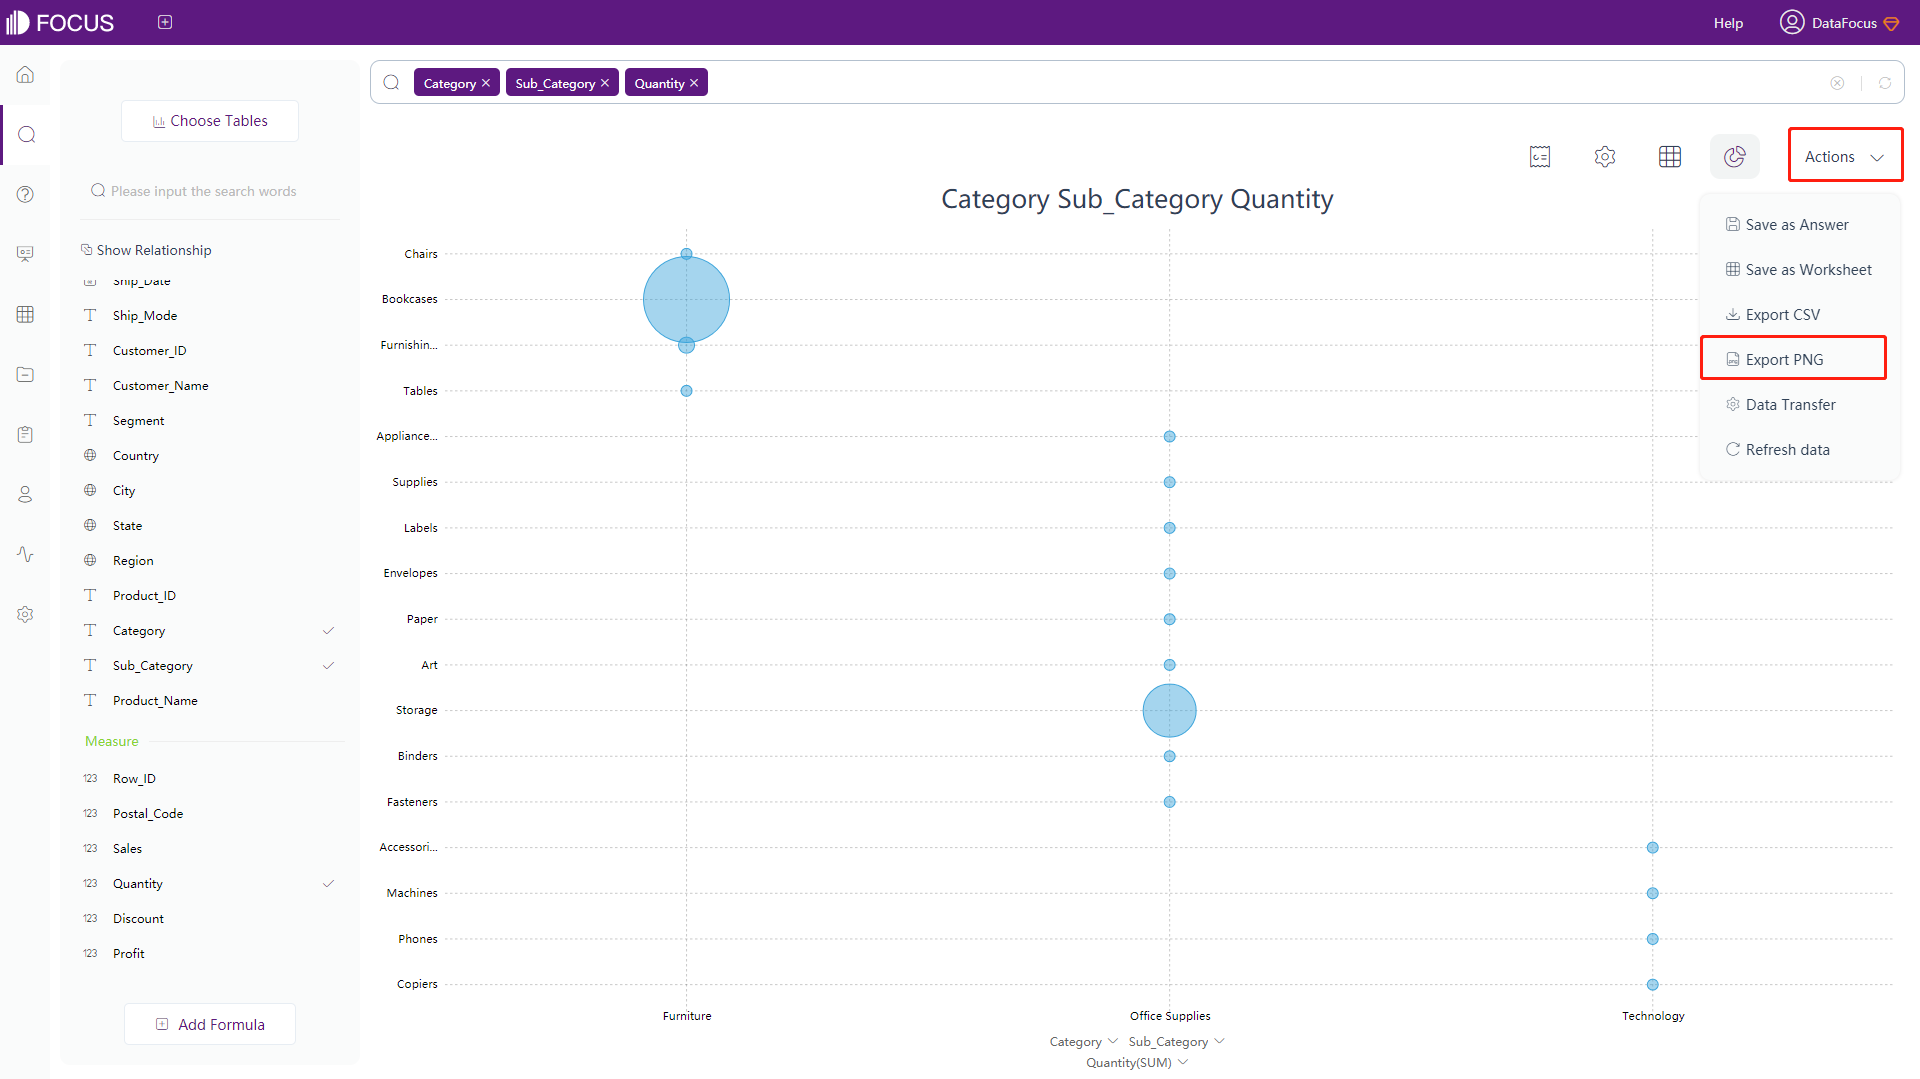
4.7 Export Answer
Click the “Detail” to enter the editing page of the history answer. Click the “Actions” button and click “Export PNG”, you can export the current answer as a png format image and download it to the local, as shown in figure 4-7-1.
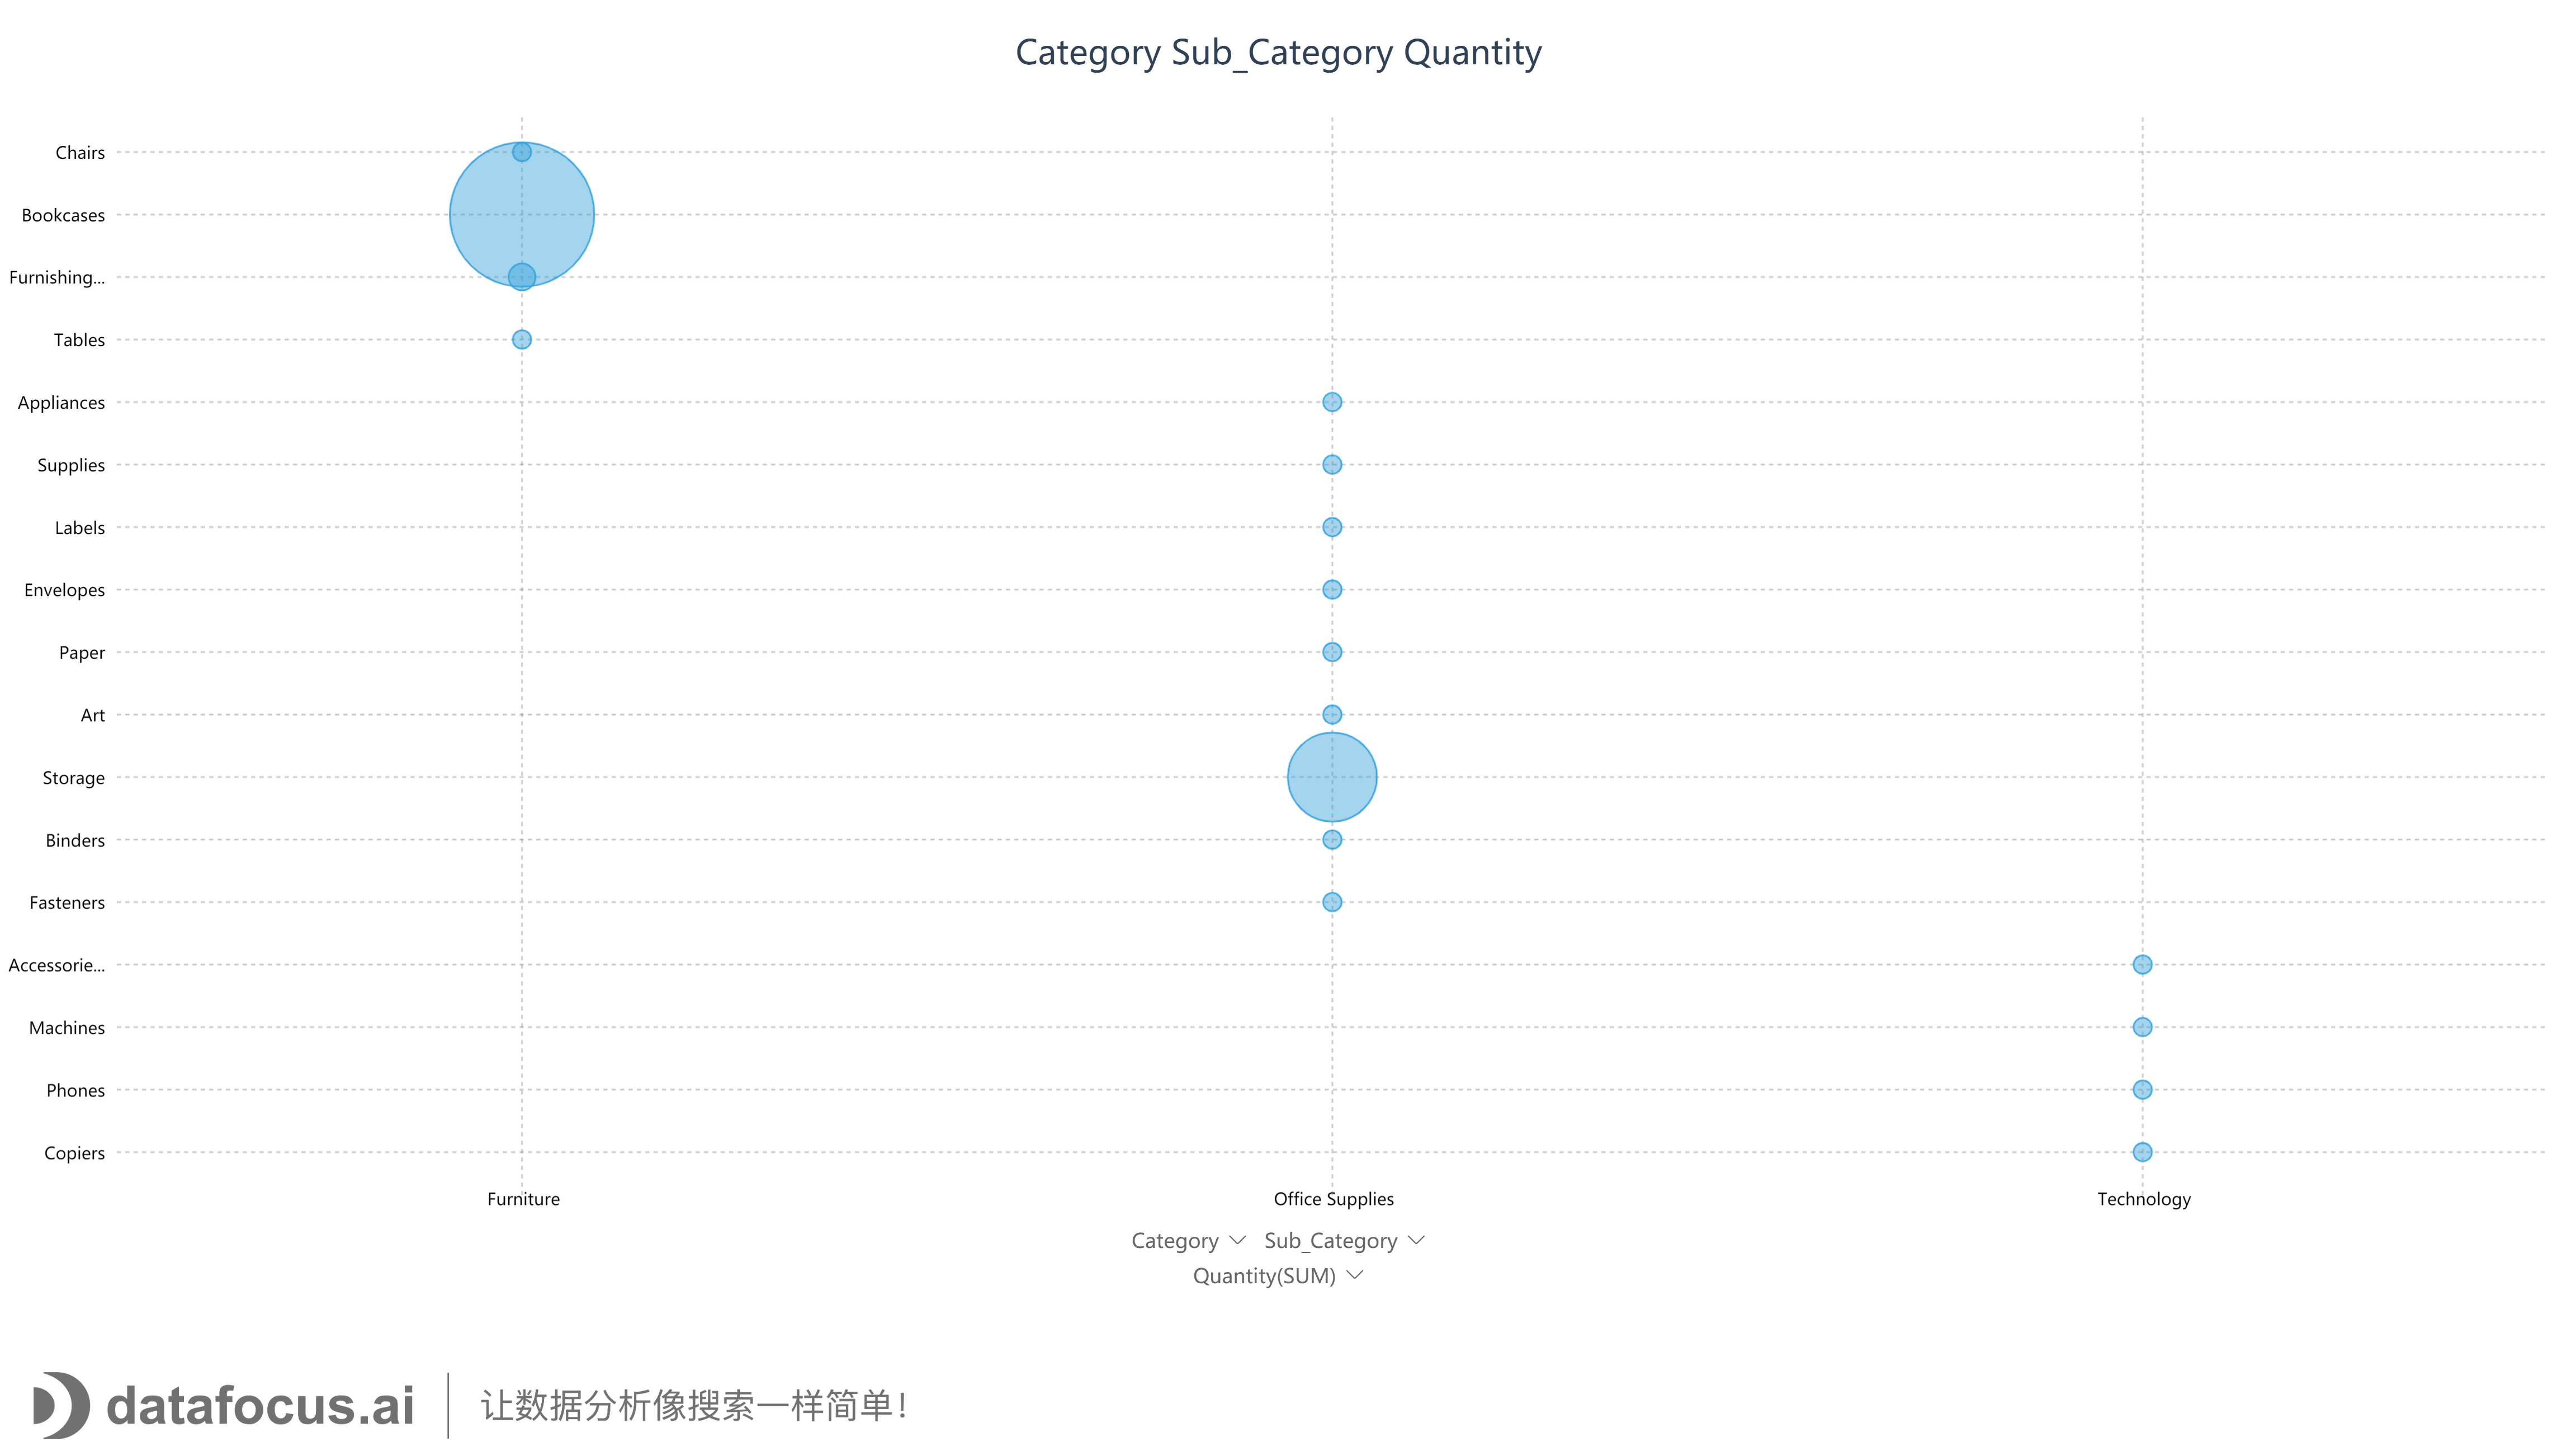
The exported image is shown in figure 4-7-2.
4.8 Tags of Answer
The tags of the answer are the same as that of the dashboard page. (For the creation of tags, please refer to Section 1.7)
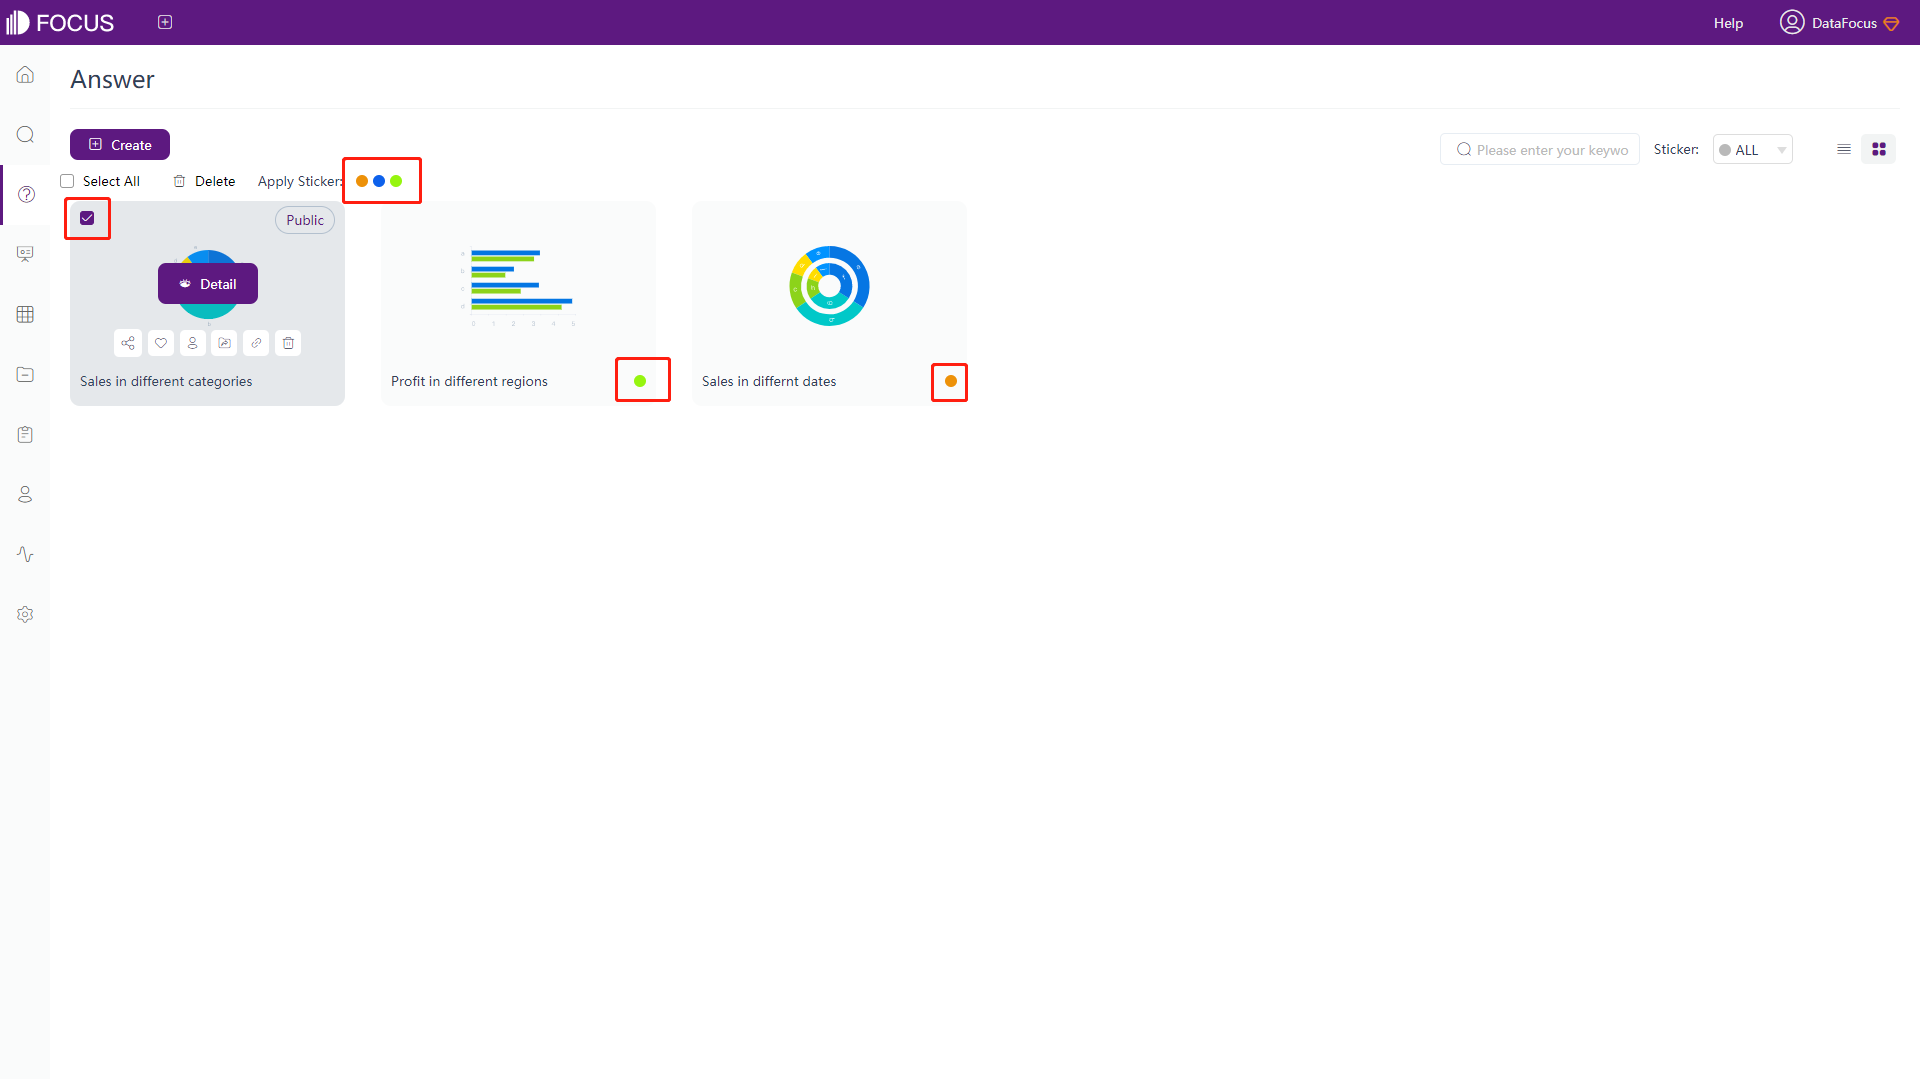
4.8.1 Add Tags
Adding tags to the answer is shown in figure 4-8-1:
-
Select the checkbox of the answer you want to add a tag to;
-
Click the color button on the right of the “Apply Sticker”;
-
The added tags will be displayed in the tag column on the bottom right of the corresponding answer.
Removing the tags is the same way as clicking the color button.
4.8.2 Filter by Tags
When there is too much content in the answer list, you can quickly filter out the content you want by selecting the tag, as shown in figure 4-8-2.
The operation is as follows:
-
Click the drop-down box on the right of “Sticker”;
-
Select the tag you want to view, and view the answer under the same group tag.
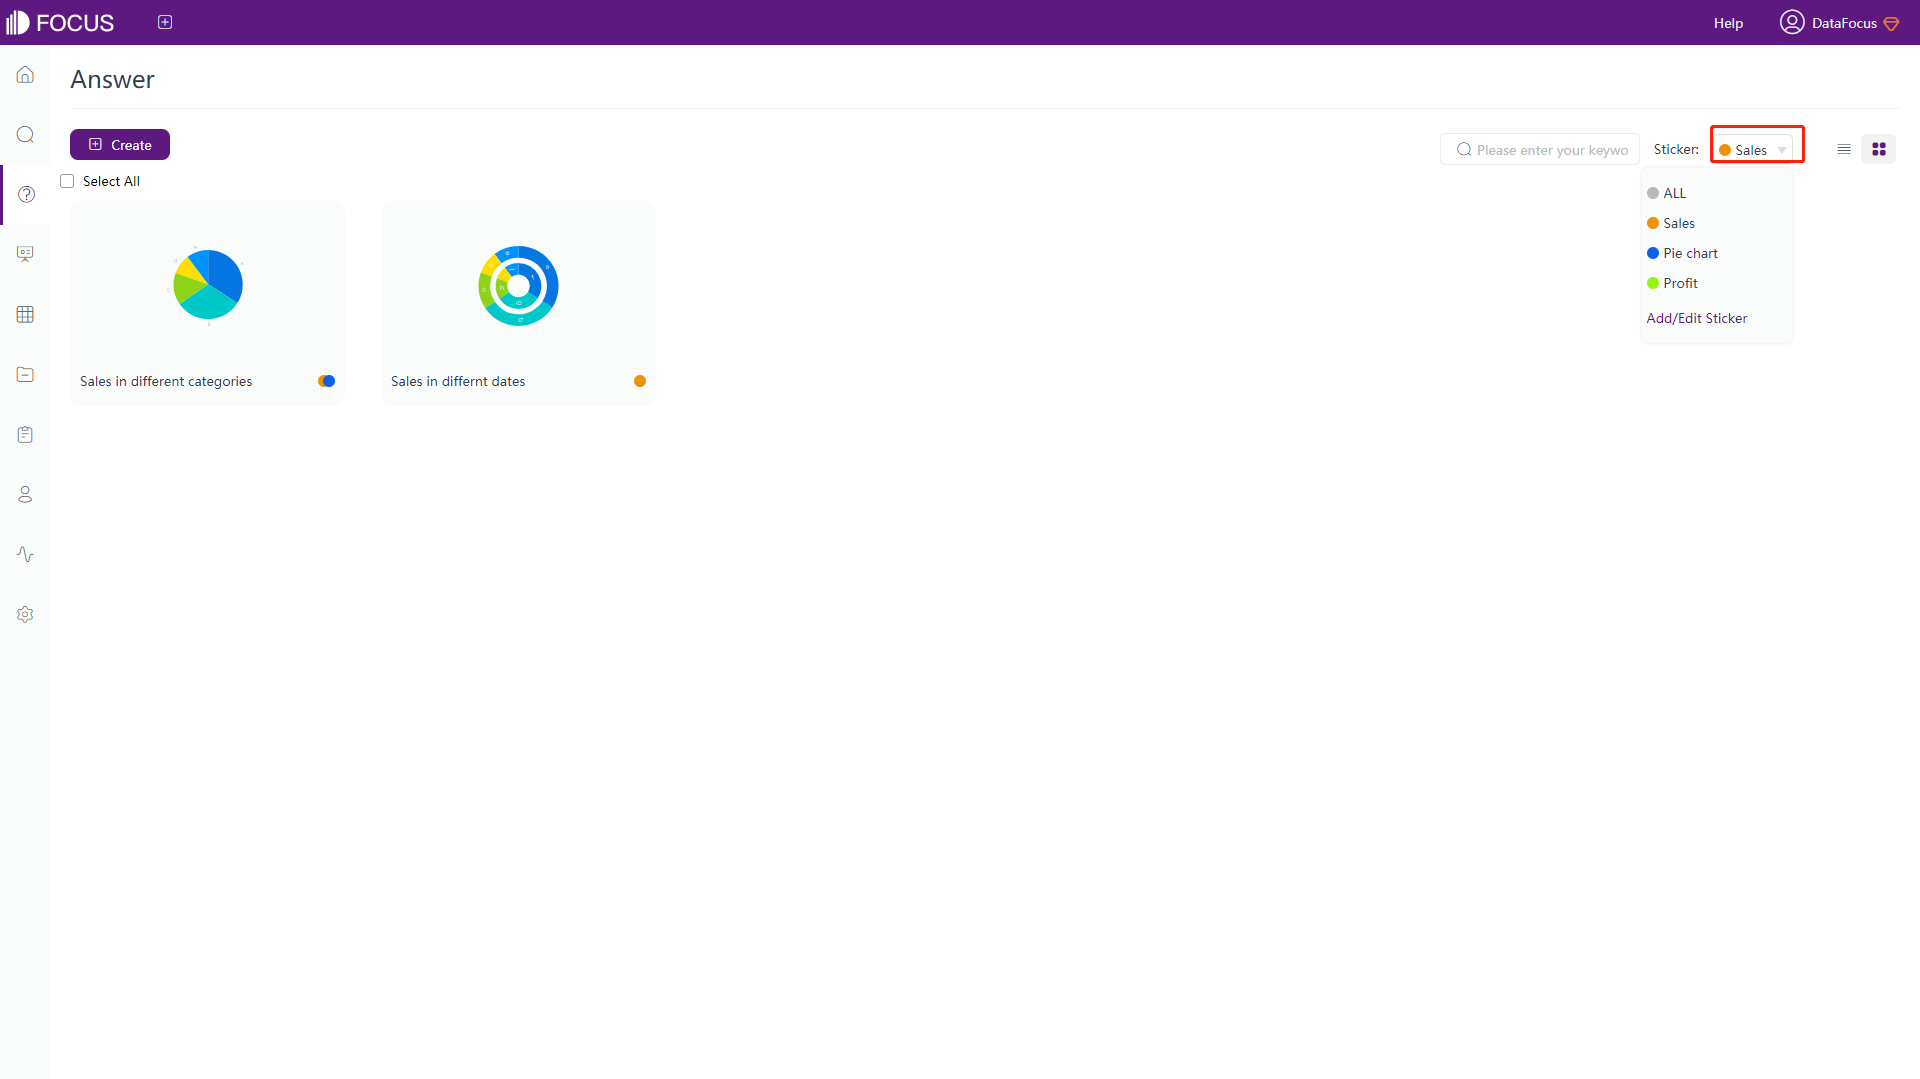
Figure 4-8-2 Filter by tags
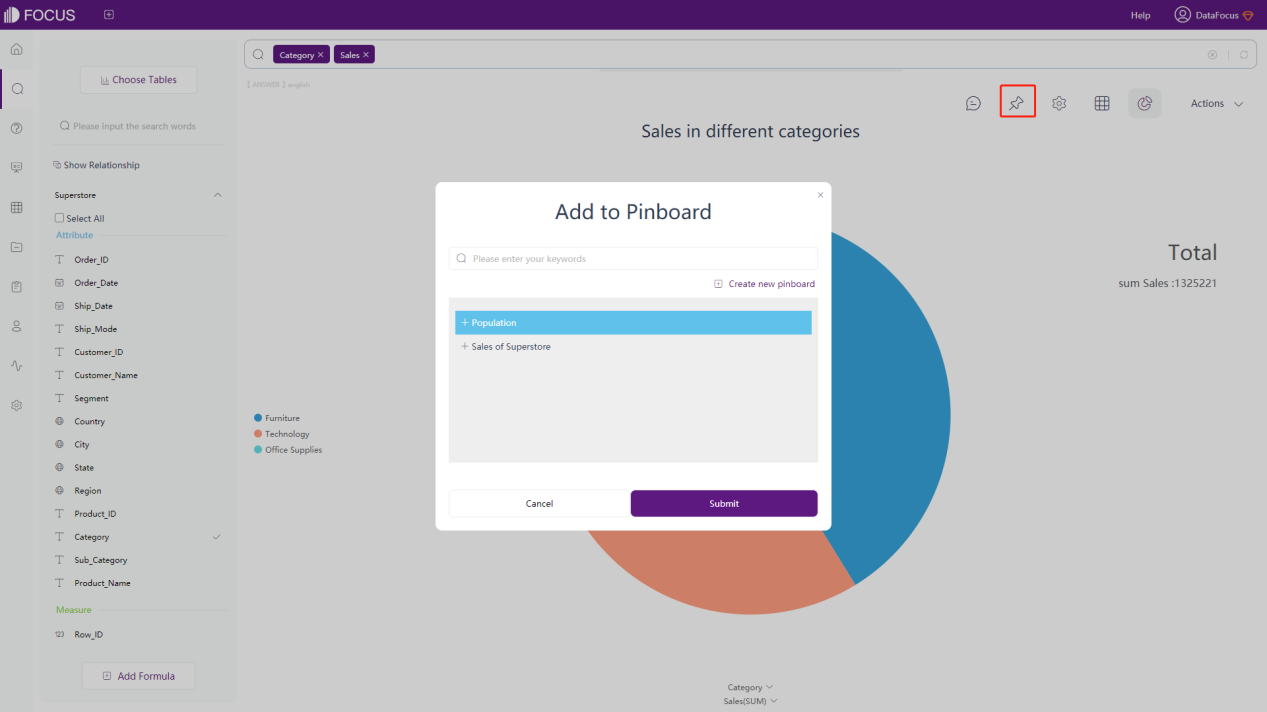
4.9 Add Answer to Dashboard
Go to the search analysis page by clicking on “Detail” of a single answer. Clicking the “Add to dashboard” button at the top right of the page, a new window will pop up. You can add the current answer to the existing dashboard, or create a new dashboard to save the current answer, as shown in figure 4-9-1.
The answer must be saved to the History answer module before being added to the dashboard.
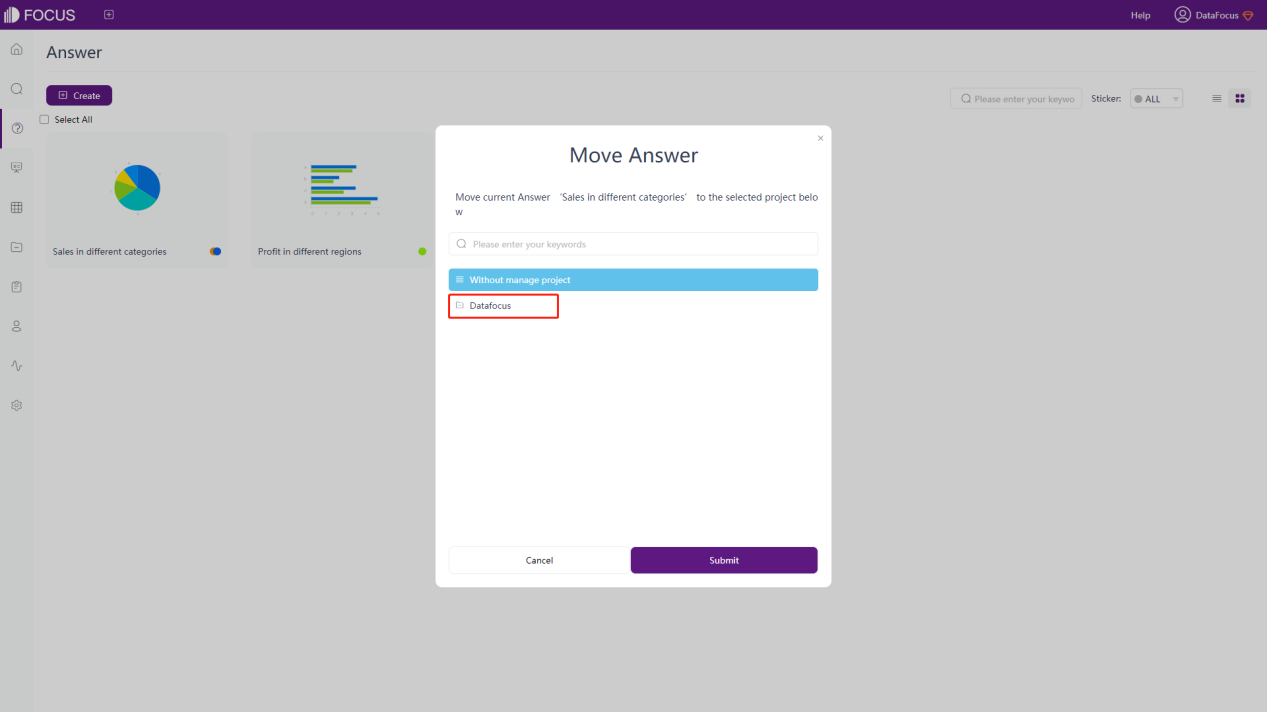
4.10 Move Answer
Enter the answer module, move the mouse to the top of the answer, and click the “ ” button, as shown in figure 4-10-1. Then you can move the answer to the created project. Select the project to be moved to, and click the “Submit” to move the answer, as shown in figure 4-10-2.

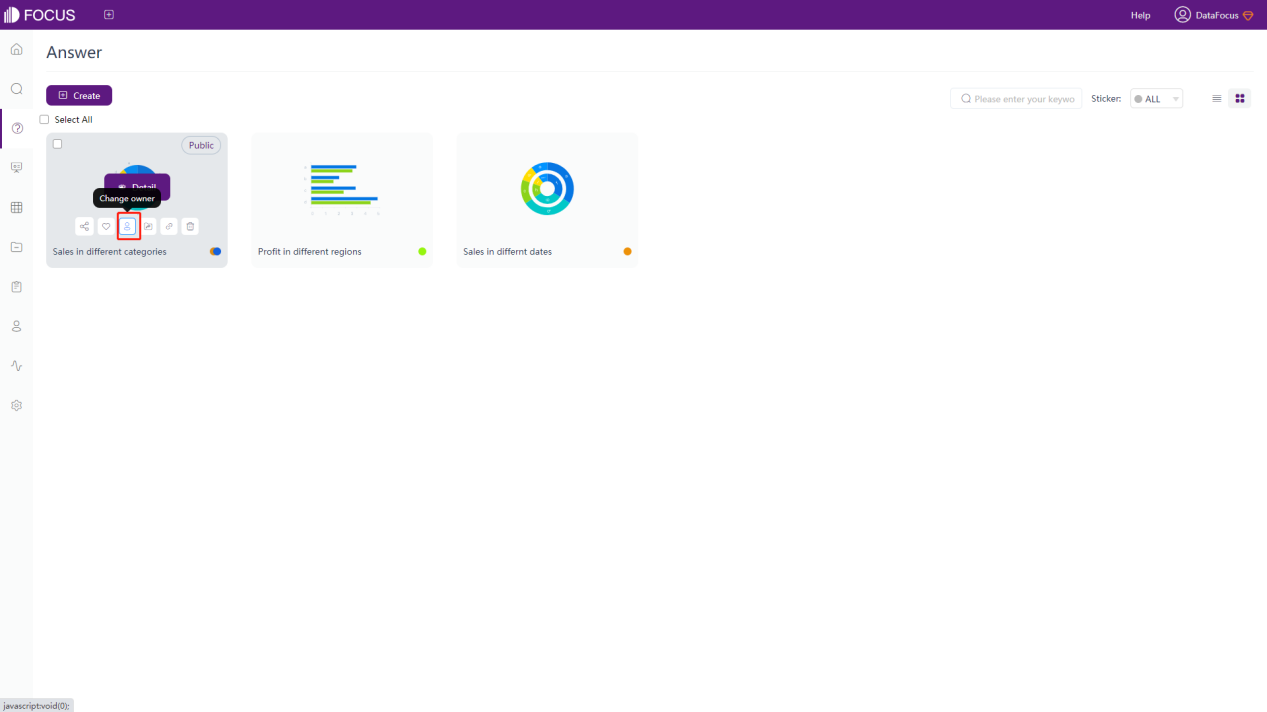
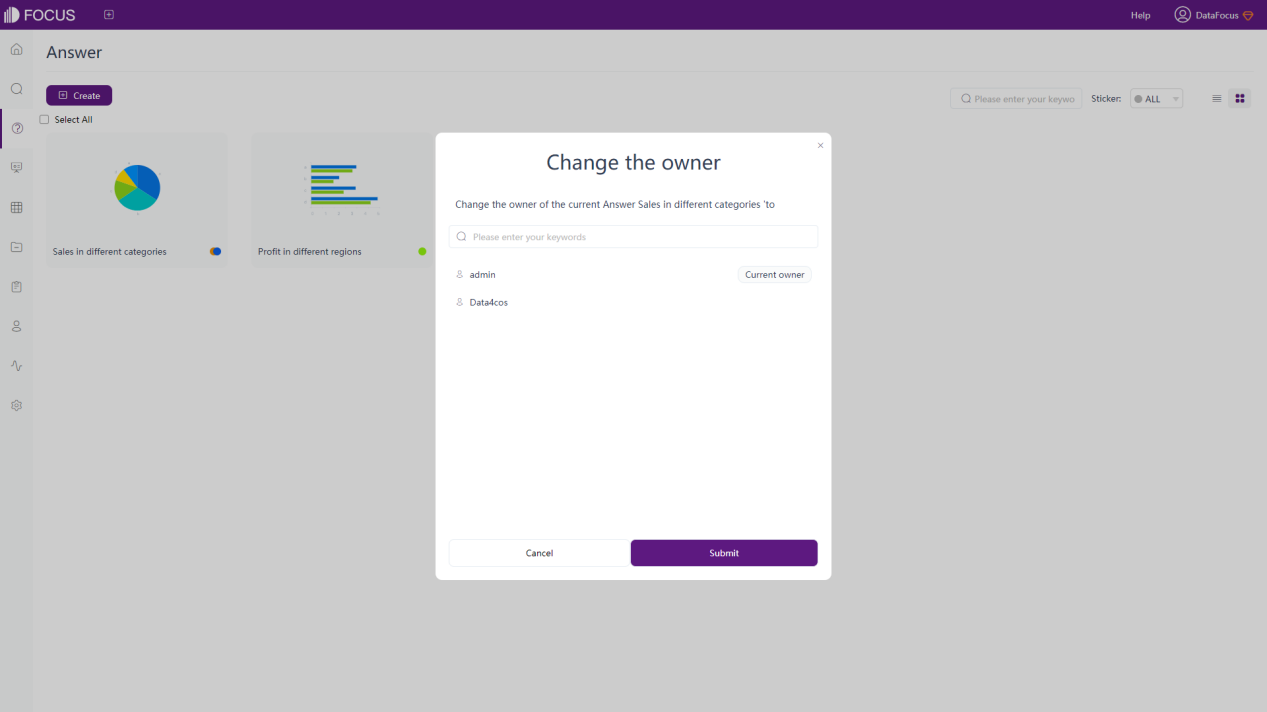
4.11 Change Owner of Answer
Enter the answer module, move the mouse to the top of the answer, and click the “ ” button, as shown in figure 4-11-1. Then you can change the owner of the answer, as shown in figure 4-11-2.
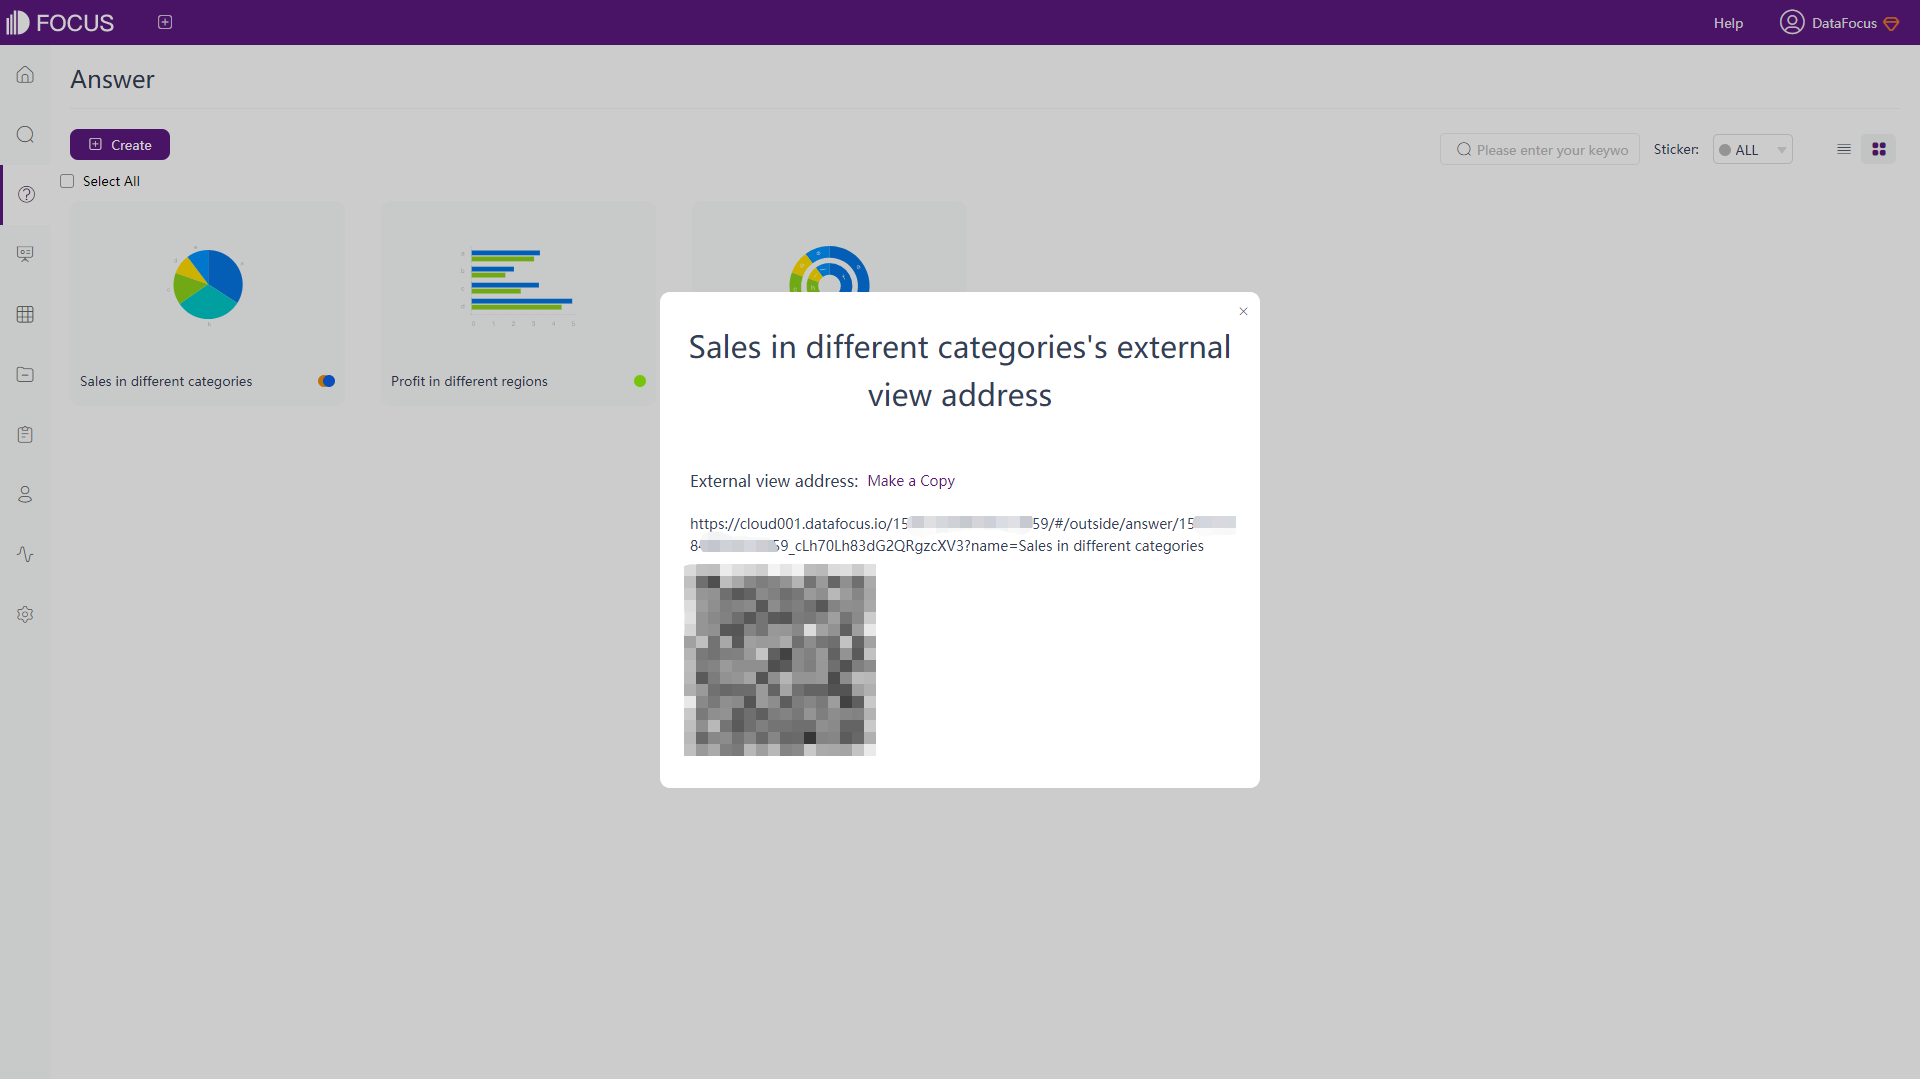
4.12 External Viewing Address
Enter the answer module, move the mouse to the top of the answer, and click the “ ” button, as shown in figure 4-12-1. Then the pop-up window will display the external viewing address, as shown in figure 4-12-2.